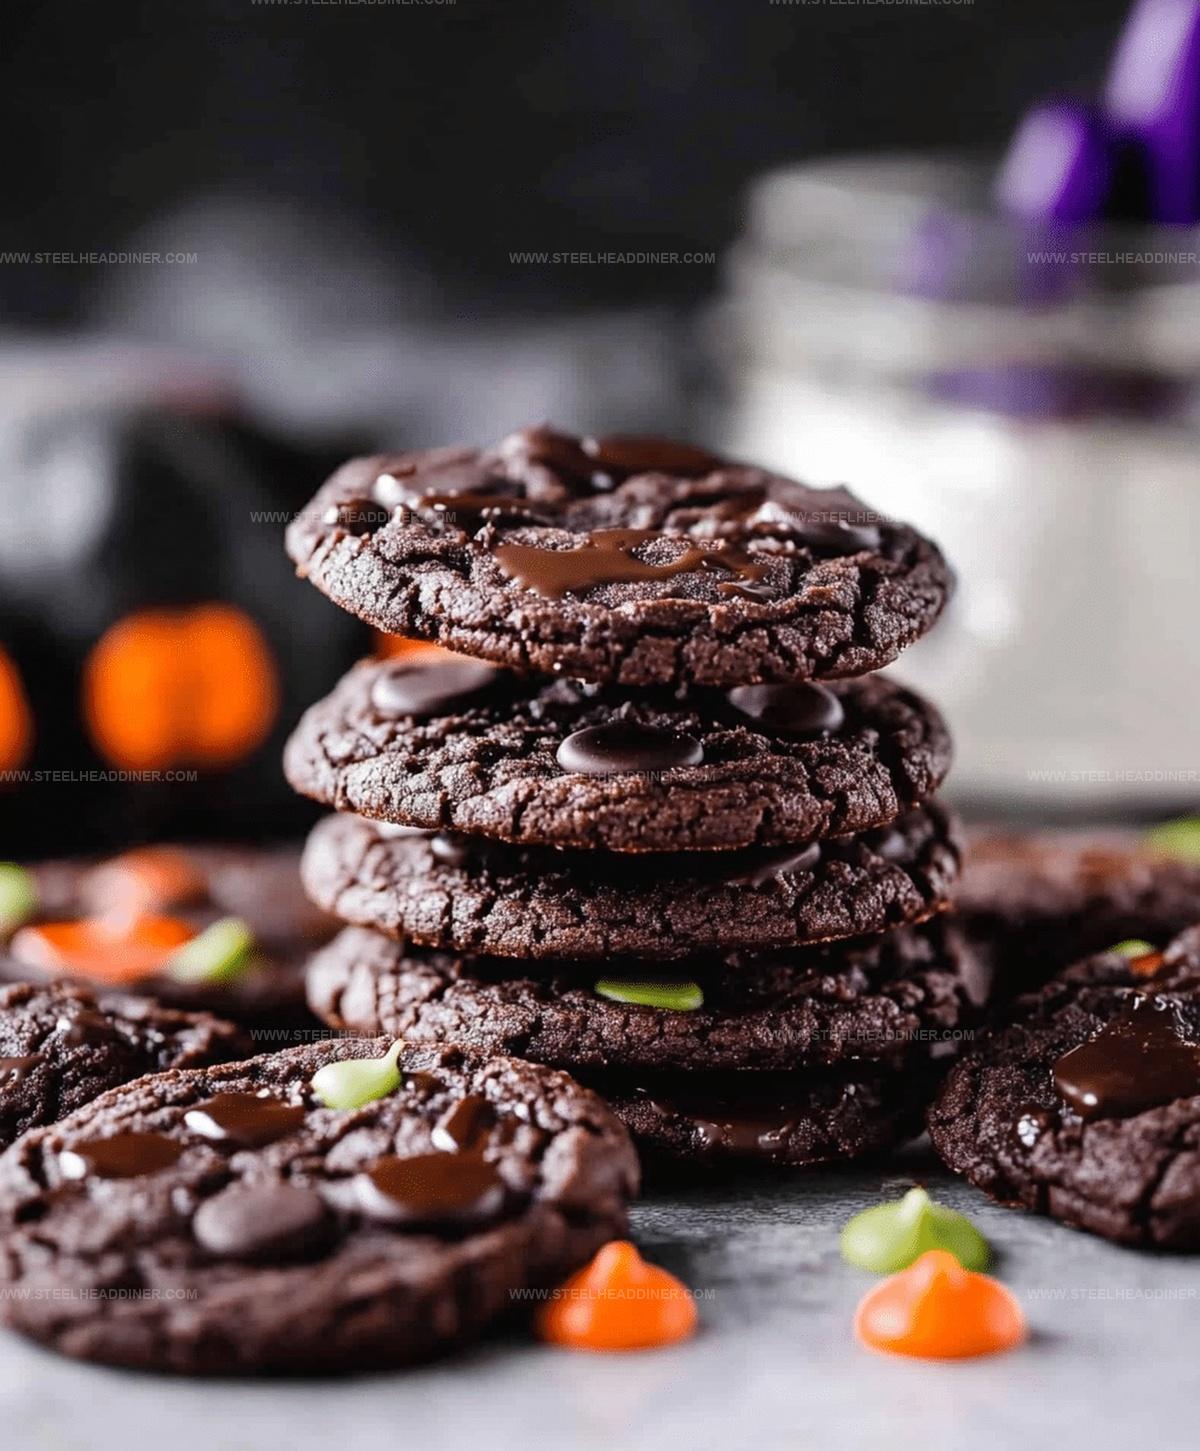
Wickedly Delicious Halloween Chocolate Cookies Recipe
Haunting Halloween chocolate cookies bring a delightful twist to seasonal baking adventures.
Dark, rich cocoa mingles with unexpected spices for a thrilling taste experience.
Creepy cookie shapes transform ordinary desserts into playful party treats.
Witches and goblins would surely crave these decadent morsels.
Sweet chocolate notes dance with subtle hints of warming cinnamon.
Crisp edges and soft centers promise pure indulgence.
Magic happens when you mix classic comfort with spooky charm.
Prepare to bewitch your taste buds with every magical bite.
Variations for Halloween Chocolate Cookies
Serving Suggestions for Halloween Chocolate Cookies
How to Store Halloween Chocolate Cookies
FAQs
Yes, you can prepare the cookie dough up to 3 days in advance and store it covered in the refrigerator. Just bring the dough to room temperature before baking.
While the recipe is classic, you can easily substitute ingredients. Use gluten-free flour for gluten-sensitive guests and swap butter for vegan alternatives to make them more inclusive.
Chill the dough for 30 minutes before baking. This helps the cookies maintain their shape and prevents excessive spreading. Also, ensure your butter isn’t too soft when mixing.
Halloween Chocolate Cookies to Celebrate
Ingredients for Halloween Chocolate Cookies
Dry Ingredients:Wet Ingredients:Decorative Ingredients:How to Bake Halloween Chocolate Cookies
Step 1: Warm Up the Oven
Get your trusty oven ready by setting it to a cozy 350°F. Line a baking sheet with parchment paper to prevent any sticky situations.
Step 2: Mix Dry Ingredients
Grab a mixing bowl and combine your dry ingredients:Whisk these together until they’re perfectly blended and look like a chocolatey powdery dream.
Step 3: Whip Up Wet Ingredients
In a separate bowl, cream together:Beat these until they become light and fluffy like a delightful cloud.
Add in a fresh egg and splash of vanilla extract, mixing until everything is smooth and inviting.
Step 4: Combine Wet and Dry Mixtures
Slowly pour the dry ingredients into the wet mixture.
Stir gently until a gorgeous chocolate dough forms. Don’t overmix – you want the cookies to stay tender.
Step 5: Shape Spooky Cookie Rounds
Roll the dough into small balls using your hands. Place them on the prepared baking sheet, leaving some space between each cookie.
Gently press down to slightly flatten them.
Step 6: Bake to Chocolatey Perfection
Slide the baking sheet into the preheated oven.
Bake for 10-12 minutes until the edges look set but the centers remain soft.
Step 7: Cool and Decorate
Let the cookies cool completely on a wire rack.
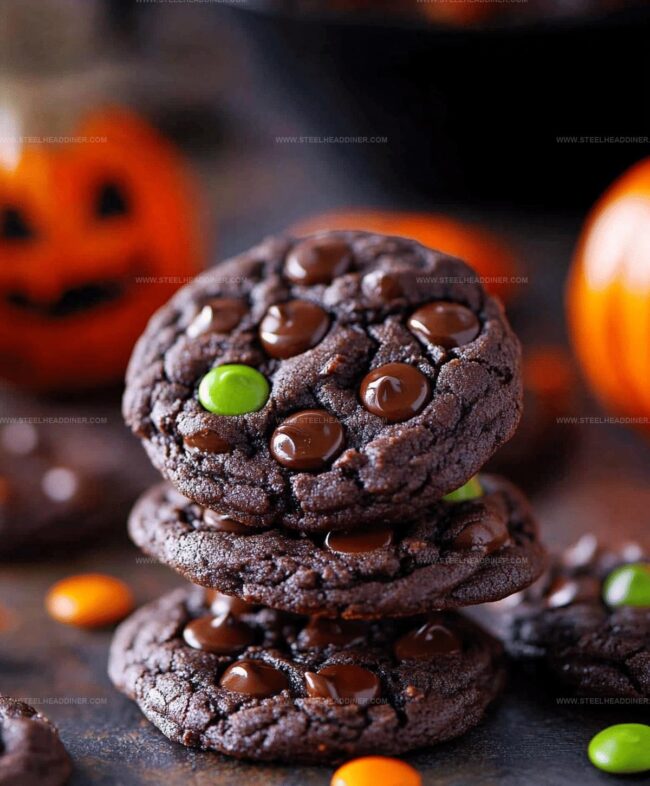
Get creative with Halloween-themed decorations like orange and black sprinkles, candy eyes, or spooky icing designs.
Pro Tips for Halloween Chocolate Cookies
Print
Spooky Halloween Chocolate Cookies Recipe
- Total Time: 32 minutes
- Yield: 12 1x
Description
Spooky halloween chocolate cookies deliver a haunting twist on classic chocolate treats. Ghoulish decorations and rich cocoa flavors make these cookies perfect for seasonal celebrations you’ll love to share with friends and family.
Ingredients
Main Ingredients:
- 1 1/2 cups all-purpose flour
- 1/2 cup cocoa powder
- 1/2 cup unsalted butter, softened
- 3/4 cup sugar
- 1 large egg
Leavening and Seasoning:
- 1/2 teaspoon baking soda
- 1/4 teaspoon salt
Flavoring and Decorations:
- 1 teaspoon vanilla extract
- Halloween-themed decorations (sprinkles, icing)
Instructions
- Prepare the oven by heating to 350F (175C), ensuring an even temperature for consistent baking.
- Combine dry ingredients in a mixing bowl, sifting flour, cocoa powder, baking soda, and salt to eliminate potential lumps and create a smooth, uniform mixture.
- Using an electric mixer, whip butter and sugar together until the mixture becomes light, airy, and pale, then incorporate egg and vanilla extract, blending until fully integrated.
- Gradually fold the dry ingredient mixture into the wet ingredients, stirring carefully to prevent overmixing and maintain a tender cookie texture.
- Shape the dough into uniform spheres, gently pressing each ball to create a slightly flattened disc on a parchment-lined baking tray.
- Transfer the prepared cookie sheet to the preheated oven and bake for 10-12 minutes, watching for slight cracking on the surface.
- Remove cookies from the oven and allow them to cool completely on the baking sheet, which helps them set and firm up.
- Once cooled, embellish the cookies with festive Halloween-themed decorations like sprinkles, icing, or spooky candy accents to create a seasonal treat.
Notes
- Chill the dough for 30 minutes before rolling to prevent spreading and maintain crisp edges during baking.
- Swap regular flour with gluten-free blend for those with wheat sensitivities, ensuring the same rich chocolate flavor.
- Use dark cocoa powder for deeper color and more intense chocolate taste, perfect for spooky Halloween aesthetics.
- Allow cookies to cool completely before decorating to prevent frosting from melting and ensure clean, precise Halloween designs.
- Prep Time: 20 minutes
- Cook Time: 12 minutes
- Category: Snacks, Desserts
- Method: Baking
- Cuisine: American
Nutrition
- Serving Size: 12
- Calories: 150 kcal
- Sugar: 14 g
- Sodium: 90 mg
- Fat: 7 g
- Saturated Fat: 4 g
- Unsaturated Fat: 3 g
- Trans Fat: 0.1 g
- Carbohydrates: 20 g
- Fiber: 2 g
- Protein: 2 g
- Cholesterol: 25 mg
Jack Monroe
Founder & Recipe Innovator
Expertise
Pacific Northwest cuisine, Single-serving recipe development, Sustainable sourcing and cooking, Modern comfort food
Education
Brightwater
Associate of Applied Science in Culinary Arts
Focus: Sustainable cooking, seasonal ingredients, and food systems education
Jack grew up with a fishing rod in one hand and a cast-iron skillet in the other. After graduating from Brightwater: A Center for the Study of Food, he set out to prove that cooking for one could still taste like a feast.
Jack believes that food should feel real: fresh, fearless, and a little wild, just like the rivers he grew up around. For Jack, every single dish is a small adventure, and the best ones are the ones you can cook with heart, not hassle.