
The Spookiest Halloween Monster Cookies Recipe Ever
Whip up some spine-tingling Halloween monster cookies that will make your friends shriek with delight!
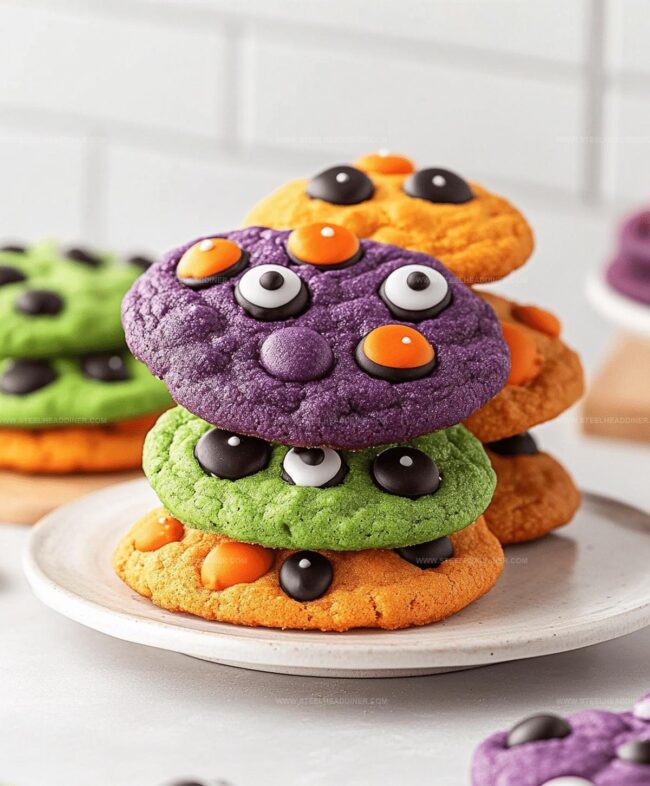
Creepy decorations transform ordinary treats into wickedly fun desserts.
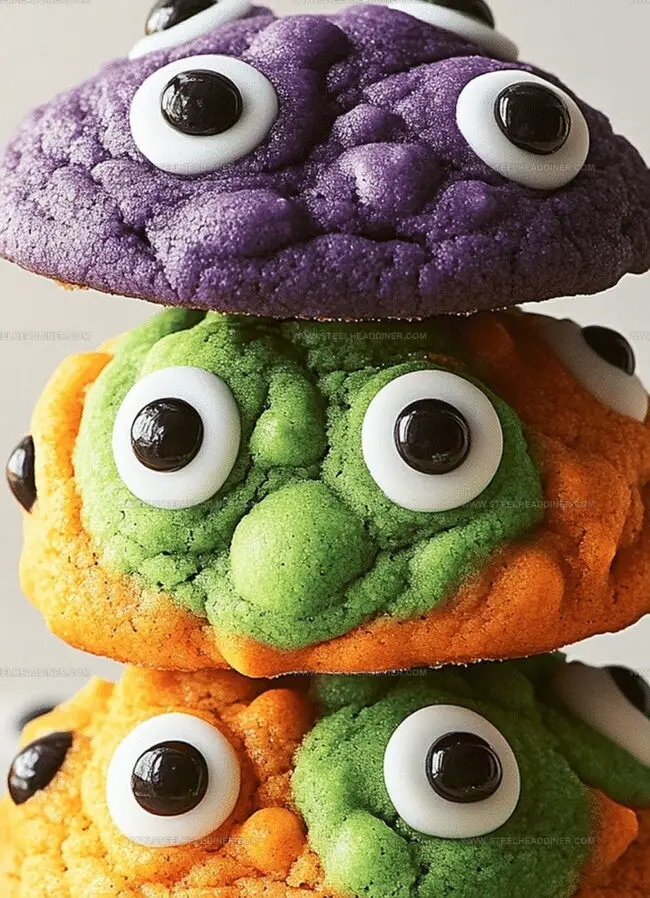
Little monsters adore these colorful, playful sweets packed with surprising textures.
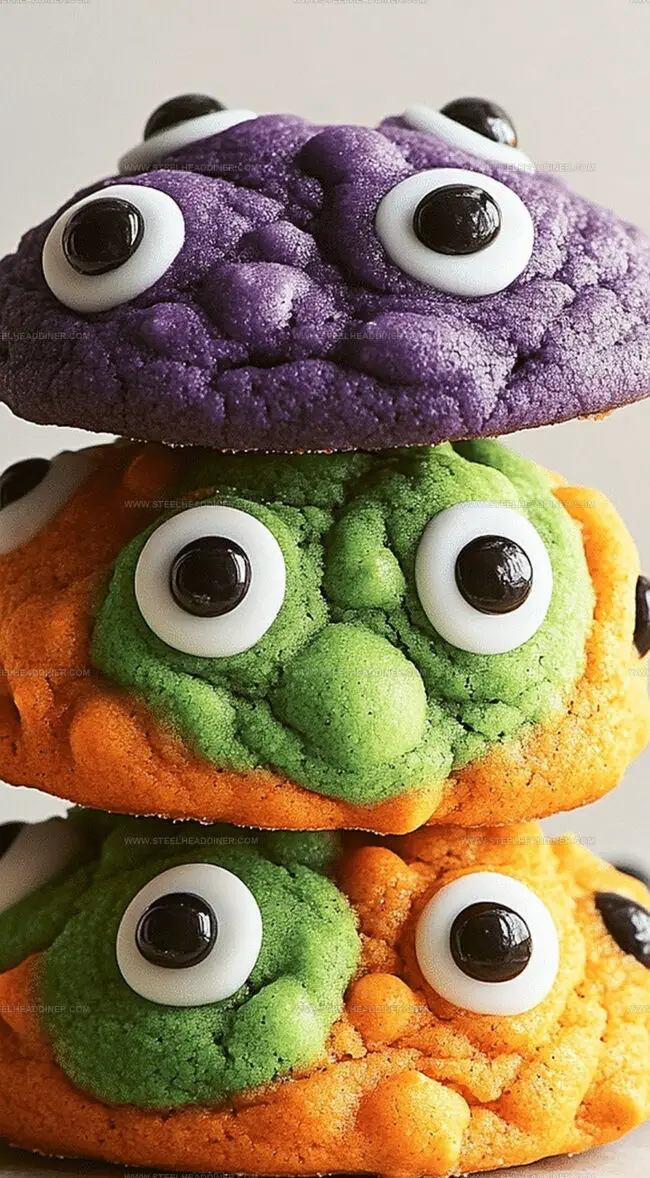
Chocolate chips and candy eyes create hilarious facial expressions on each cookie.
Festive sprinkles add supernatural sparkle to these delightful Halloween treats.
Kids and adults alike will go crazy for these wickedly cute confections.
You might want to make a double batch – they vanish faster than ghosts at midnight!
Monster-Sized Flavor in Halloween Monster Cookies
What You’ll Need for Halloween Monster Cookies
Base Ingredients:Dry Ingredients:Mix-In Ingredients:How to Make Halloween Monster Cookies
Step 1: Prep the Baking Station
Get your oven heated to 350F and line a baking sheet with parchment paper. Grab all your fun cookie-making tools and ingredients.
Step 2: Create a Creamy Base
In a large mixing bowl, blend together:Whip these ingredients until they transform into a smooth, creamy mixture that looks like delicious monster batter.
Step 3: Add Moisture and Flavor
Mix in eggs and vanilla extract.
Stir until everything combines into a perfectly blended concoction that looks glossy and inviting.
Step 4: Combine Dry Ingredients
In a separate bowl, whisk together:Make sure these dry ingredients are well-mixed and free of any lumps.
Step 5: Merge Wet and Dry Mixtures
Slowly incorporate the dry ingredients into the wet mixture. Stir gently but thoroughly to create a consistent dough that will become your monster cookies.
Step 6: Load Up with Monster Goodies
Fold in your fun mix-ins:These ingredients will give your cookies that wild monster personality.
Step 7: Shape Monstrous Cookies
Scoop the dough onto your prepared baking sheet.
Shape each dollop into round cookies, leaving space between them for spreading.
Step 8: Bake to Perfection
Pop the baking sheet into the oven and bake for 10-12 minutes.
Watch for edges to turn a light golden brown – this means they’re almost ready to become monster masterpieces.
Step 9: Create Spooky Faces
Once cookies have cooled slightly, attach candy eyes to transform them into adorable monster faces.
Let them cool completely before devouring these ghoulishly good treats.
Expert Tips for Perfect Halloween Monster Cookies
Flavor Variations for Halloween Monster Cookies
Serving Halloween Monster Cookies with Flair
Keeping Halloween Monster Cookies Fresh
FAQs
Yes! Kids can help mix ingredients, add candy eyes, and decorate the monsters, making it a fun family baking activity.
Absolutely! You can use various candy like Smarties, candy corn, or colored sprinkles to create unique monster faces.
Simply substitute the all-purpose flour with a gluten-free flour blend to create a celiac-friendly version of these monster cookies.
The candy eyes transform regular cookies into playful monsters, giving them a spooky and fun appearance perfect for Halloween celebrations.
Print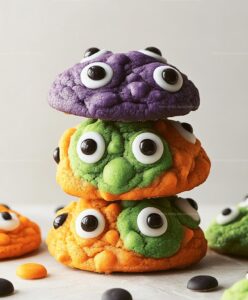
Spooky Halloween Monster Cookies Recipe
- Total Time: 32 minutes
- Yield: 24 1x
Description
Monster cookies from Halloween bring spooky delight to dessert tables with colorful candies and festive decorations. Creepy treats will charm party guests and satisfy sweet cravings in one delicious bite.
Ingredients
Primary Ingredients:
- 1 cup (240 ml) peanut butter
- 1/2 cup (113 g) unsalted butter, softened
- 2 large eggs
- 2 cups (180 g) old-fashioned oats
Sweeteners and Sugars:
- 1 cup (200 g) granulated sugar
- 1/2 cup (110 g) brown sugar, packed
Dry Ingredients and Mix-ins:
- 1 1/2 cups (180 g) all-purpose flour
- 1 teaspoon baking soda
- 1/2 teaspoon salt
- 1 teaspoon vanilla extract
- 1/2 cup (85 g) mini M&Ms
- 1/2 cup (85 g) chocolate chips
- Candy eyes (optional for decoration)
Instructions
- Warm the oven to 350F (175C) and prepare a baking sheet with parchment paper for easy cookie removal.
- Combine peanut butter, softened butter, and sugars in a mixing bowl, beating until the mixture becomes creamy and uniform.
- Incorporate eggs and vanilla extract, blending thoroughly to create a smooth base.
- In a separate container, carefully mix flour, baking soda, and salt until evenly distributed.
- Slowly fold the dry ingredient mixture into the wet ingredients, stirring consistently to prevent lumps.
- Gently fold in oats, colorful M&Ms, and chocolate chips, ensuring even distribution throughout the dough.
- Use a cookie scoop to portion the dough onto the prepared baking sheet, shaping each mound into a round cookie form.
- Place in the preheated oven and bake for 10-12 minutes, watching for light golden edges as a sign of doneness.
- Remove from oven and allow cookies to rest for 2-3 minutes on the baking sheet.
- While cookies are still slightly warm, carefully place candy eyes on each cookie to create playful monster faces.
- Transfer cookies to a wire rack and let cool completely, allowing the monster faces to set.
Notes
- Customize monster designs by using different colored M&Ms and candy eyes for unique, playful personalities.
- Swap peanut butter with sunflower seed butter for nut-free alternatives, perfect for school treats or allergy-sensitive environments.
- Chill dough for 30 minutes before baking to prevent excessive spreading and maintain cookie shape during Halloween festivities.
- Use silicone baking mats instead of parchment paper for eco-friendly, non-stick cookie preparation with easy cleanup.
- Prep Time: 20 minutes
- Cook Time: 12 minutes
- Category: Snacks, Desserts
- Method: Baking
- Cuisine: American
Nutrition
- Serving Size: 24
- Calories: 196
- Sugar: 10 g
- Sodium: 89 mg
- Fat: 11 g
- Saturated Fat: 3 g
- Unsaturated Fat: 8 g
- Trans Fat: 0 g
- Carbohydrates: 21 g
- Fiber: 2 g
- Protein: 5 g
- Cholesterol: 19 mg
Jack Monroe
Founder & Recipe Innovator
Expertise
Pacific Northwest cuisine, Single-serving recipe development, Sustainable sourcing and cooking, Modern comfort food
Education
Brightwater
Associate of Applied Science in Culinary Arts
Focus: Sustainable cooking, seasonal ingredients, and food systems education
Jack grew up with a fishing rod in one hand and a cast-iron skillet in the other. After graduating from Brightwater: A Center for the Study of Food, he set out to prove that cooking for one could still taste like a feast.
Jack believes that food should feel real: fresh, fearless, and a little wild, just like the rivers he grew up around. For Jack, every single dish is a small adventure, and the best ones are the ones you can cook with heart, not hassle.