
The Foolproof Cheesecake Water Bath Recipe for Silky Success
Mastering the perfect cheesecake water bath requires precision and gentle culinary techniques.
Creamy desserts demand special attention to texture and consistency.
Professional bakers know this method prevents cracking and ensures smooth, silky results.
Delicate custard-like surfaces depend on carefully controlled temperature environments.
water surrounds the springform pan, creating an even heating mechanism that protects delicate ingredients.
Moisture becomes your secret weapon against dry, brittle surfaces.
Baking becomes an art form when you understand these nuanced techniques.
Dive into this foolproof method and create a restaurant-worthy dessert that will impress everyone at your table.
Why Cheesecake Water Bath Changes Everything
Gather Ingredients for Cheesecake Water Bath
For the Crust:For the Cheesecake Filling:For the Water Bath:Cheesecake Water Bath Step-by-Step
Step 1: Prepare Baking Equipment
Preheat your oven to 325°F. Take a 9-inch springform pan and carefully wrap its exterior with aluminum foil, creating a waterproof barrier.
This prevents water from sneaking into your delicate cheesecake during baking.
Step 2: Create Crunchy Graham Cracker Crust
Combine graham cracker crumbs with melted butter.
Press this mixture firmly into the bottom of the springform pan, creating a solid, even foundation for your cheesecake. Use the back of a spoon or your fingers to compact the crust smoothly.
Step 3: Whip Creamy Cheesecake Filling
In a large mixing bowl, blend softened cream cheese and sugar until silky smooth. Add eggs one at a time, ensuring each is fully incorporated before adding the next.
Gently fold in vanilla extract and sour cream, mixing until the filling becomes luxuriously uniform.
Step 4: Pour and Smooth Filling
Carefully transfer the cheesecake mixture over the prepared graham cracker crust.
Use a spatula to spread the filling evenly, eliminating any air bubbles and creating a perfectly flat surface.
Step 5: Prepare Water Bath
Place the springform pan inside a larger roasting pan.
Carefully pour hot water into the roasting pan, filling it approximately halfway up the sides of the cheesecake pan. This water bath technique helps prevent cracking and ensures a creamy texture.
Step 6: Bake to Perfection
Slide the water bath setup into the preheated oven. Bake for 60-70 minutes.
The cheesecake is ready when the center remains slightly wobbly but appears set around the edges.
Step 7: Gentle Cooling Process
Once baking completes, turn off the oven.
Crack the oven door open slightly and let the cheesecake rest inside for one hour. This gradual cooling prevents sudden temperature changes that might cause surface cracking.
Step 8: Chill and Serve
Remove the cheesecake from the water bath. Refrigerate for a minimum of 4 hours, though overnight chilling produces the best texture and flavor.
Before serving, run a knife along the pan’s edge to release the sides, then slice and enjoy your creamy masterpiece.
Making the Most of Cheesecake Water Bath
New Approaches for Cheesecake Water Bath
Presentation Tips for Cheesecake Water Bath
Storing Cheesecake Water Bath for Later
FAQs
A water bath helps create a moist, even baking environment that prevents cracks and ensures a smooth, creamy texture by protecting the delicate cheesecake from direct, harsh oven heat.
Look for a slightly jiggly center with set edges. The cheesecake should wobble like jelly when gently shaken, not appear liquid. The top should be lightly golden and not cracked.
Wrap the outside of the pan completely with aluminum foil, making sure to cover the bottom and sides securely. This creates a waterproof barrier that prevents water from seeping into the cheesecake during baking.
Print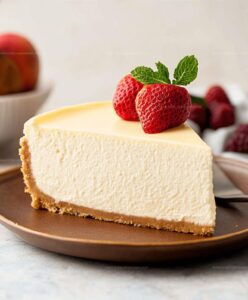
Cheesecake Water Bath Recipe
- Total Time: 2 hours 35 minutes
- Yield: 8 1x
Description
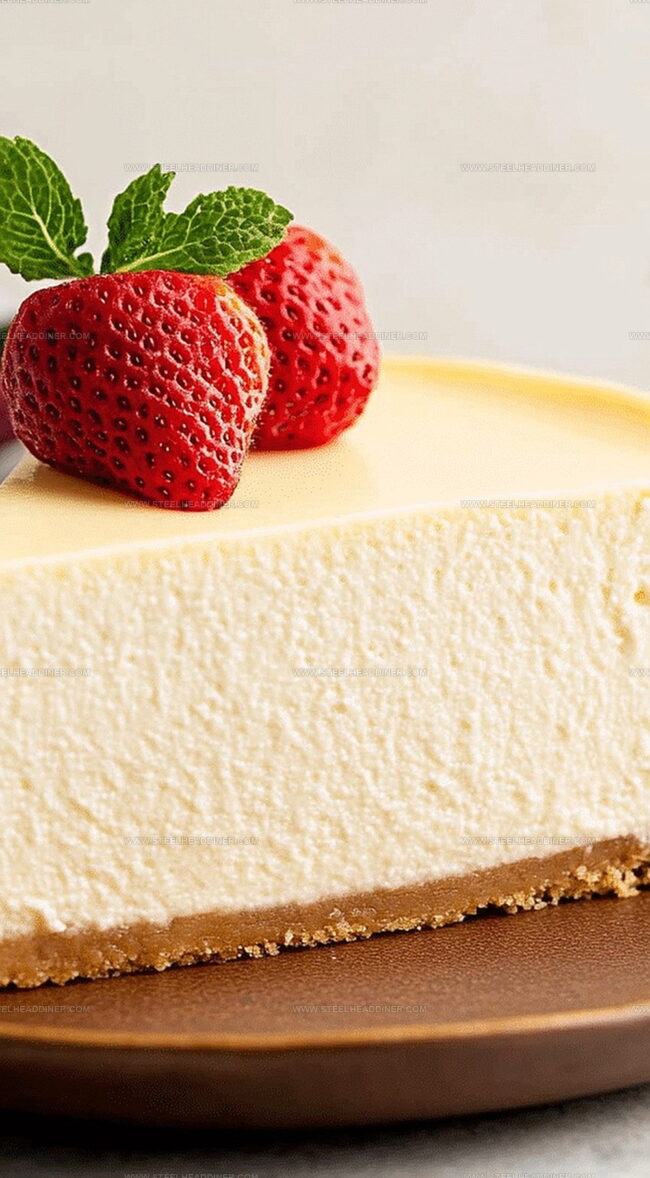
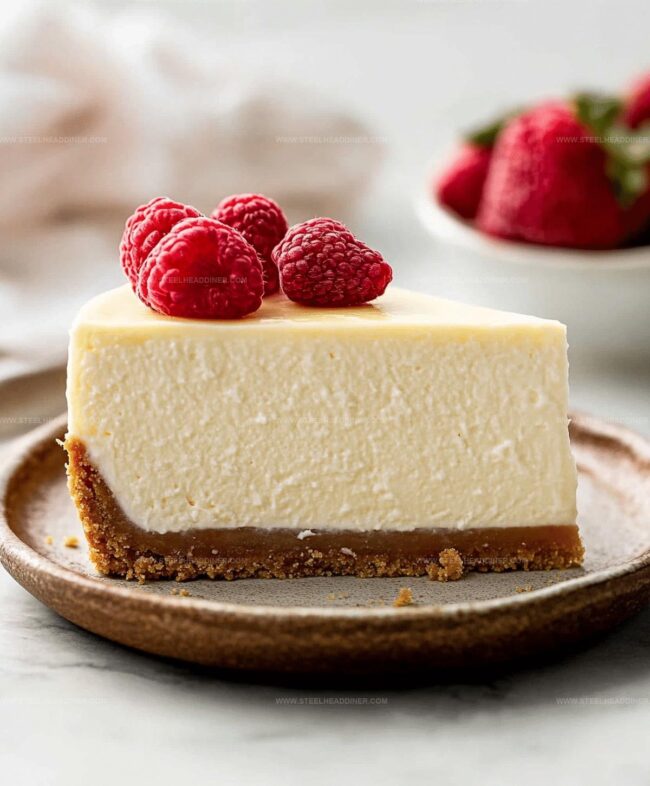
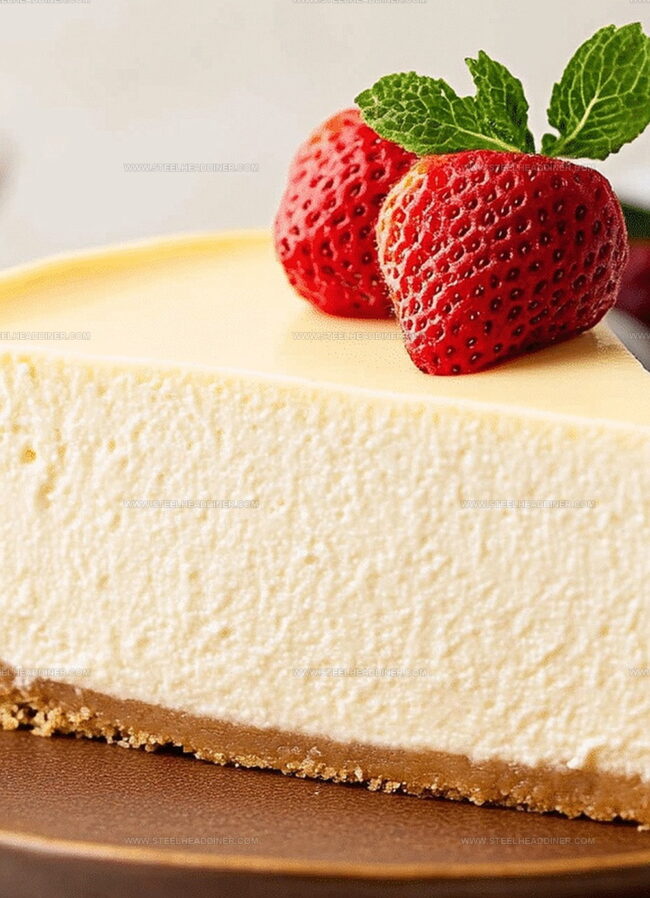
Classic New York Cheesecake with water bath technique combines creamy richness and silky texture. Baker’s secret method ensures smooth, crack-free dessert you’ll crave after each delightful slice.
Ingredients
- 24 oz cream cheese (softened)
- 1 cup granulated sugar
- 3 large eggs
- 1 cup sour cream
- 1 tsp vanilla extract
- 2 cups graham cracker crumbs
- 1/2 cup (120 ml) melted butter
Instructions
- Fortify a 9-inch springform pan by meticulously wrapping its exterior with aluminum foil, creating a waterproof barrier against potential moisture infiltration.
- Craft a robust foundation by amalgamating graham cracker crumbs with melted butter, then firmly pressing the mixture into the pan’s base to establish a sturdy crust.
- Utilize an electric mixer to transform cream cheese and sugar into a velvety, uniform consistency, then gently incorporate eggs individually, ensuring thorough integration after each addition.
- Enhance the mixture’s complexity by blending in vanilla extract and sour cream, continuing to mix until the filling achieves a harmonious, silky texture.
- Delicately transfer the creamy filling onto the prepared crust, employing a spatula to smooth the surface and eliminate any potential air pockets.
- Position the springform pan within a larger roasting vessel, strategically pouring scalding water to approximately halfway up the cheesecake pan’s exterior.
- Slide the water bath into a preheated 325°F (160°C) oven, allowing the cheesecake to bake for 60-70 minutes until the center maintains a subtle, elegant wobble.
- Terminate the baking process by switching off the oven, slightly ajar the door, and permit the cheesecake to gradually cool within the residual warmth for one hour.
- Carefully extract the pan from the water bath, then refrigerate for a minimum of 4 hours, ideally overnight, to achieve optimal set and flavor development.
Notes
- Wrap the springform pan tightly with multiple layers of heavy-duty aluminum foil to guarantee a water-tight seal and prevent any moisture from seeping into the delicate cheesecake.
- Use room temperature ingredients, especially cream cheese and eggs, to ensure a smooth, lump-free batter that blends seamlessly and creates a silky texture.
- Create a perfectly even crust by pressing the graham cracker mixture firmly and evenly into the bottom of the pan, using the back of a measuring cup for consistent compression.
- Allow the cheesecake to cool gradually in the oven with the door slightly open to prevent sudden temperature changes that could cause cracking, resulting in a beautifully smooth and crack-free surface.
- Prep Time: 25 minutes
- Cook Time: 2 hours 10 minutes
- Category: Desserts
- Method: Baking
- Cuisine: American
Nutrition
- Serving Size: 8
- Calories: 494
- Sugar: 25 g
- Sodium: 322 mg
- Fat: 38 g
- Saturated Fat: 22 g
- Unsaturated Fat: 14 g
- Trans Fat: 1 g
- Carbohydrates: 28 g
- Fiber: 1.5 g
- Protein: 8 g
- Cholesterol: 120 mg
Jack Monroe
Founder & Recipe Innovator
Expertise
Pacific Northwest cuisine, Single-serving recipe development, Sustainable sourcing and cooking, Modern comfort food
Education
Brightwater
Associate of Applied Science in Culinary Arts
Focus: Sustainable cooking, seasonal ingredients, and food systems education
Jack grew up with a fishing rod in one hand and a cast-iron skillet in the other. After graduating from Brightwater: A Center for the Study of Food, he set out to prove that cooking for one could still taste like a feast.
Jack believes that food should feel real: fresh, fearless, and a little wild, just like the rivers he grew up around. For Jack, every single dish is a small adventure, and the best ones are the ones you can cook with heart, not hassle.