
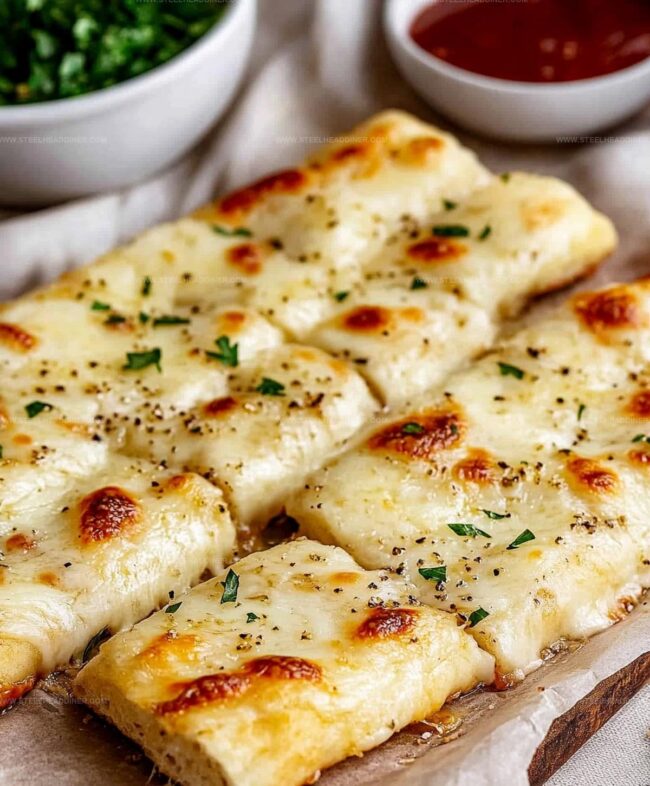
Irresistible Homemade Cheesy Garlic Breadsticks Recipe
Crafting delectable homemade cheesy garlic breadsticks brings pure comfort to any kitchen adventure.
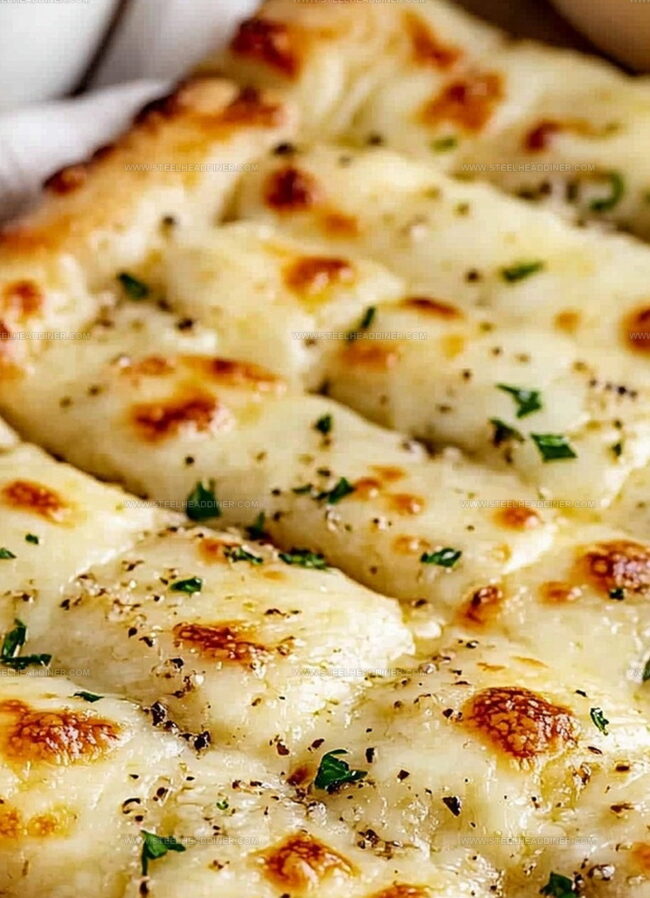
Soft dough mingles with aromatic herbs and melted cheese, creating irresistible magic.
Memories of warm, golden-brown edges and rich flavors dance through every bite.
Kneading becomes a sensory journey that connects you with culinary creativity.
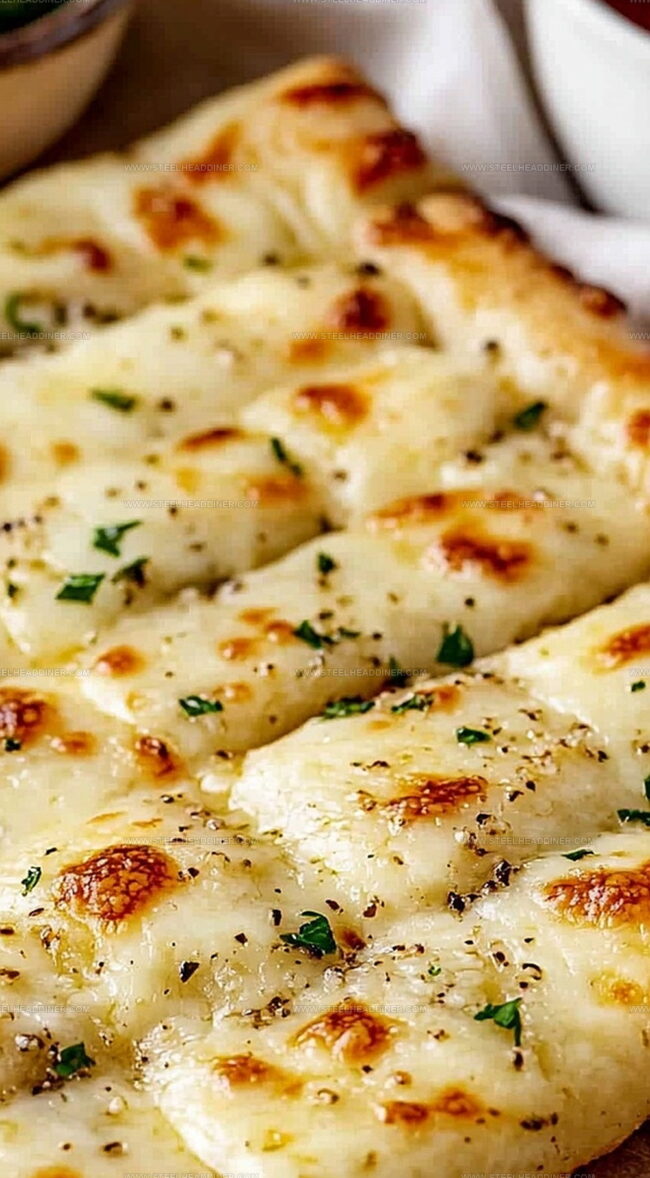
Crisp exterior and pillowy center promise satisfaction beyond expectations.
Cheese lovers will adore this simple yet spectacular recipe that turns ordinary ingredients into extraordinary delights.
Let’s transform your next meal with these incredible breadsticks that sing with bold, garlicky personality.
Homemade Cheesy Garlic Breadsticks Bursting with Flavor
Ingredients That Make These Garlic Breadsticks Irresistible
Base Ingredients:Flavor Enhancers:Finishing Touches:Step-by-Step Instructions for Soft and Cheesy Breadsticks
Step 1: Warm Up the Cooking Zone
Fire up your oven to 375°F (190°C) and grab a baking sheet. Line it with parchment paper to prevent any sticky situations.
Step 2: Roll Out the Dough
Take your pizza dough and transform it into a beautiful rectangle or circle. Roll it out until it’s about a quarter-inch thick, creating the perfect canvas for your cheesy masterpiece.
Step 3: Spread the Flavor Base
Grab your melted butter and paint the entire surface of the dough. Sprinkle minced garlic evenly across the landscape, ensuring every bite will be packed with zesty goodness.
Step 4: Create a Cheese Wonderland
Shower your dough with an epic cheese blend:Dust the cheese with:Step 5: Bake to Perfection
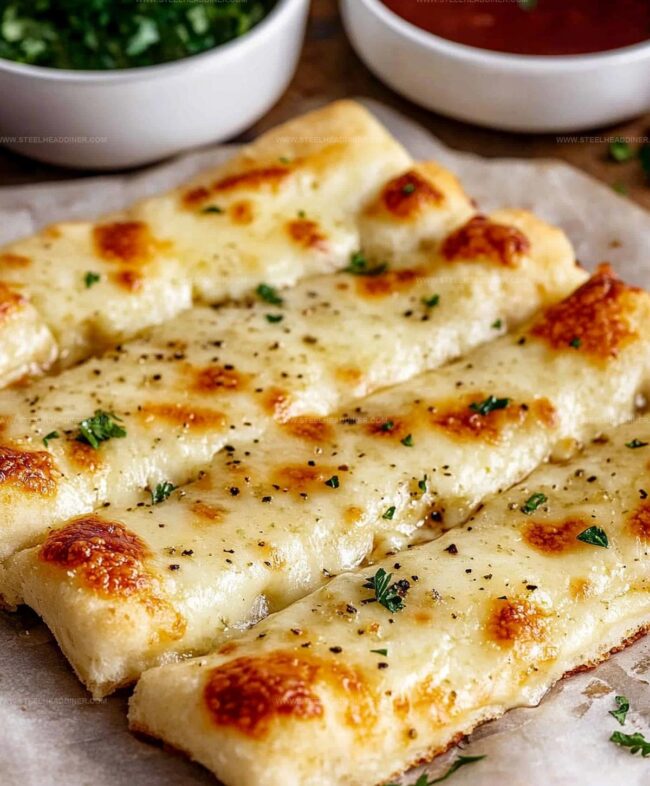
Slide your creation into the preheated oven. Bake for 15-18 minutes until the cheese transforms into a bubbly golden blanket and the crust turns a beautiful golden brown.
Step 6: Final Flourish and Serve
Sprinkle fresh chopped parsley over the top. Slice into tempting strips and serve while warm, creating an irresistible appetizer that’ll have everyone coming back for more.
Pro Tips to Get Perfect Garlic Flavor and Golden Crust
Fun Ways to Customize Your Cheesy Garlic Breadsticks
Serving Ideas for This Perfect Side or Snack
How to Store Garlic Breadsticks to Keep Them Fresh and Soft
FAQs
Yes, you can easily use pre-made pizza dough from the grocery store to save time and still get delicious results.
Look for a golden-brown crust and fully melted cheese. The edges should be crispy and the center should look bubbly and well-baked.
Mozzarella and Parmesan are ideal because they melt smoothly and provide great flavor. You can also mix in other cheeses like provolone or cheddar for variety.
Substitute the regular pizza dough with a gluten-free pizza dough or cauliflower crust to make this recipe suitable for gluten-sensitive individuals.
Print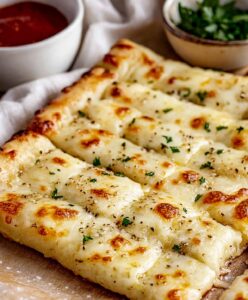
Crispy Cheesy Garlic Breadsticks Recipe
- Total Time: 35 minutes
- Yield: 8 1x
Description
Homemade cheesy garlic breadsticks blend Italian comfort with irresistible flavor profiles. Crisp edges and melted cheese create a perfect appetizer for gatherings and casual meals.
Ingredients
Main Ingredients:
- 1 pound (454 grams) pizza dough
- 1 cup (120 grams) shredded mozzarella cheese
- 1/4 cup (25 grams) grated Parmesan cheese
Flavor Enhancers:
- 2 cloves garlic, minced
- 2 tablespoons unsalted butter, melted
- 1/2 teaspoon Italian seasoning
Seasoning:
- 1/4 teaspoon salt
- 1/4 teaspoon black pepper
- 1 tablespoon chopped parsley (optional)
Instructions
- Warm the oven to 375F (190C) and prepare a baking sheet with parchment paper for optimal non-stick surface.
- Gently stretch the pizza dough into a thin rectangular shape, ensuring an even thickness of approximately 14-inch.
- Generously coat the dough surface with melted butter, creating a rich and flavorful base.
- Distribute minced garlic evenly across the buttered dough, spreading the aromatic ingredient for consistent flavor.
- Sprinkle a generous layer of mozzarella and Parmesan cheeses over the garlic-infused surface.
- Enhance the flavor profile by adding Italian seasoning, a pinch of salt, and freshly ground black pepper.
- Transfer the prepared dough to the preheated oven and bake for 15-18 minutes until the cheese turns golden and bubbly.
- Remove from the oven and garnish with fresh, finely chopped parsley for a vibrant touch.
- Slice the baked breadsticks into appealing strips and serve immediately while warm and crispy.
Notes
- Customize the dough by using whole wheat or gluten-free pizza dough for a healthier or dietary-specific version.
- Experiment with different cheese combinations like cheddar, provolone, or gouda to create unique flavor profiles.
- Add extra toppings like crispy bacon bits, sliced olives, or diced jalapeños for more texture and taste variety.
- Let the breadsticks rest for a few minutes after baking to allow the cheese to set and prevent burning your mouth.
- Prep Time: 15 minutes
- Cook Time: 20 minutes
- Category: Appetizer, Snacks
- Method: Baking
- Cuisine: Italian
Nutrition
- Serving Size: 8
- Calories: 260 kcal
- Sugar: 1 g
- Sodium: 450 mg
- Fat: 14 g
- Saturated Fat: 7 g
- Unsaturated Fat: 6 g
- Trans Fat: 0.2 g
- Carbohydrates: 22 g
- Fiber: 1 g
- Protein: 13 g
- Cholesterol: 30 mg
Jack Monroe
Founder & Recipe Innovator
Expertise
Pacific Northwest cuisine, Single-serving recipe development, Sustainable sourcing and cooking, Modern comfort food
Education
Brightwater
Associate of Applied Science in Culinary Arts
Focus: Sustainable cooking, seasonal ingredients, and food systems education
Jack grew up with a fishing rod in one hand and a cast-iron skillet in the other. After graduating from Brightwater: A Center for the Study of Food, he set out to prove that cooking for one could still taste like a feast.
Jack believes that food should feel real: fresh, fearless, and a little wild, just like the rivers he grew up around. For Jack, every single dish is a small adventure, and the best ones are the ones you can cook with heart, not hassle.