Heavenly Easter Egg Cheesecake Recipe for Sweet Spring Joy
Springtime calls for a delightful twist on classic desserts with this Easter egg cheesecake that promises pure indulgence.
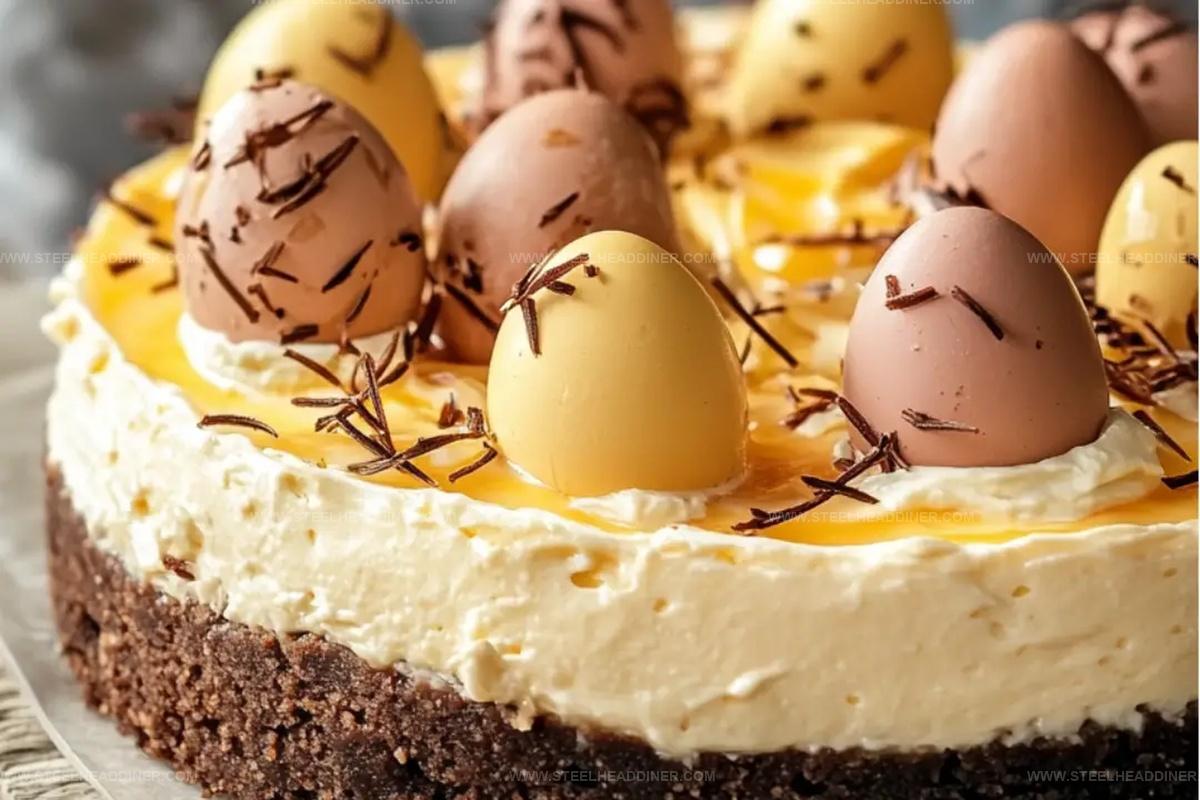
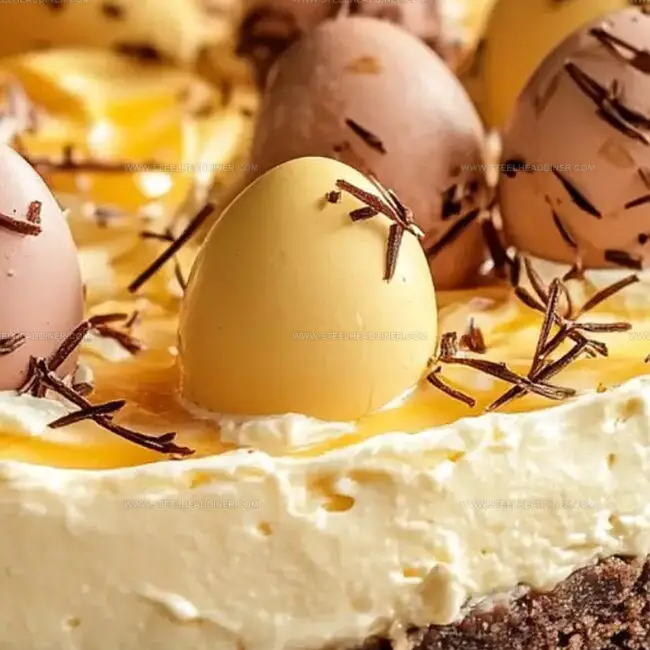
Sweet lovers will adore the creamy texture and rich chocolate notes dancing through each slice.
Chocolate lovers rejoice as this decadent treat blends traditional cheesecake with festive Easter egg charm.
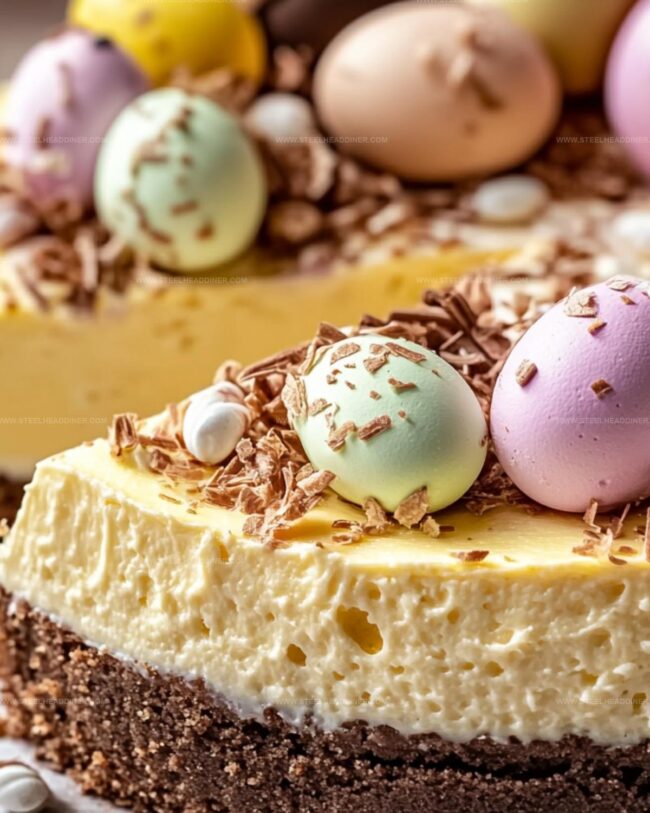
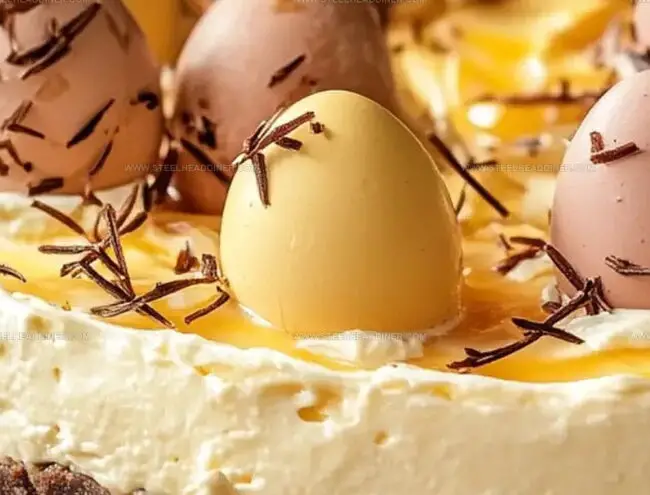
The smooth cream cheese base provides a luxurious canvas for colorful chocolate eggs nestled throughout.
Cracked Easter eggs create delightful bursts of flavor and whimsy in every single bite.
Each forkful delivers a perfect balance of creamy cheesecake and chocolate excitement.
You won’t be able to resist this spectacular dessert that celebrates the joy of Easter in the most delicious way possible.
Easter Egg Cheesecake Highlights
Ingredients Needed for Easter Egg Cheesecake
Chocolate Base:Cheesecake Filling Ingredients:Decorative Ingredients:Baking Instructions for Easter Egg Cheesecake
Step 1: Slice Chocolate Eggs
Grab a sharp knife and run it under hot water. Wipe the knife dry completely.
Gently slice the chocolate eggs along their natural seam, creating two perfect halves. Place the egg halves carefully in a muffin tin or on a stable tray to keep them steady.
Step 2: Whip Cream Cheese Base
In a large mixing bowl, blend these ingredients until silky smooth:Use an electric mixer to create a creamy, lump-free mixture.
Step 3: Create Fluffy Cream
In a separate bowl, whip heavy cream until soft, billowy peaks form.
Use a gentle folding technique to incorporate the whipped cream into the cream cheese mixture. If you want playful colors, separate the mixture into small bowls and add a few drops of pastel food coloring.
Step 4: Fill Chocolate Shells
Carefully spoon or pipe the dreamy cheesecake filling into each chocolate egg half. Use a spatula to smooth the tops, creating a neat, elegant finish.
Step 5: Add Festive Touches
Decorate your egg cheesecakes with delightful toppings:Get creative and make each egg unique!
Step 6: Chill and Set
Place the decorated chocolate egg cheesecakes in the refrigerator.
Let them chill for at least 2 hours to firm up and develop incredible flavor. Serve cold and enjoy the delicious surprise inside each chocolate egg!
Expert Advice for Easter Egg Cheesecake
Variations to Explore with Easter Egg Cheesecake
Ideal Pairings for Easter Egg Cheesecake
Best Storage for Easter Egg Cheesecake
FAQs
Use a warm, sharp knife and gently slice along the seam. Run the knife under hot water, wipe it dry, and cut slowly to ensure clean, smooth halves without breaking the chocolate.
Yes, you can prepare the filling up to 24 hours in advance. Store it in an airtight container in the refrigerator. When ready to use, give it a quick stir before filling the chocolate eggs.
Hollow chocolate eggs are ideal. Choose medium to large-sized eggs with thick walls that can hold the cheesecake filling without breaking. Milk or dark chocolate eggs work well, depending on your preference.
Print
Easter Egg Cheesecake Recipe
- Total Time: 2 hours 30 minutes
- Yield: 8 1x
Description
Indulgent Easter Egg Cheesecake brings spring’s sweetest memories to life with its creamy layers and chocolate charm. Chocolate lovers will savor each rich, decadent bite of this festive dessert that promises pure celebration on a plate.
Ingredients
Main Ingredients:
- 8 ounces (225 grams) cream cheese, softened
- 1/2 cup heavy whipping cream
- 1/2 cup powdered sugar
Flavoring and Coloring:
- 1 teaspoon vanilla extract
- 1/4 cup white chocolate, melted
Decorative Ingredient:
- Food coloring (pastel colors like pink, yellow, blue, or purple)
Instructions
- Prepare the chocolate egg vessels by delicately slicing them in half using a knife warmed under hot water. Gently wipe the blade dry and slice along the natural seam. Position the halves securely in a muffin tin or tray to maintain stability.
- Create the creamy filling by vigorously beating cream cheese with powdered sugar until achieving a silky-smooth consistency. Incorporate vanilla extract and melted white chocolate, blending thoroughly.
- In a separate mixing bowl, whip heavy cream until soft, billowy peaks emerge. Tenderly fold the whipped cream into the cream cheese mixture, ensuring a light, airy texture.
- For a playful touch, separate the filling into smaller bowls and introduce pastel food coloring, creating a soft, festive palette.
- Carefully fill each chocolate egg half with the prepared cheesecake mixture, using a spoon or piping bag. Smooth the surface with a spatula for a polished appearance.
- Embellish the filled eggs with miniature chocolate eggs, colorful sprinkles, crumbled cookies, or a dollop of additional whipped cream for visual appeal.
- Refrigerate the decorated eggs for a minimum of 2 hours at 40°F, allowing the filling to set and flavors to meld perfectly.
Notes
- Use a sharp, warm knife for clean cuts through chocolate eggs, preventing cracking and ensuring smooth edges.
- Ensure cream cheese is at room temperature to achieve a silky, lump-free mixture that blends seamlessly.
- Fold whipped cream gently into the cheesecake mixture to maintain its light, airy texture and avoid deflating the volume.
- Try pastel food coloring for a playful, spring-inspired presentation that delights both kids and adults.
- Prep Time: 30 minutes
- Cook Time: 2 hours
- Category: Desserts
- Method: Blending
- Cuisine: American
Nutrition
- Serving Size: 8
- Calories: 213 kcal
- Sugar: 14 g
- Sodium: 102 mg
- Fat: 18 g
- Saturated Fat: 11 g
- Unsaturated Fat: 6 g
- Trans Fat: 0.5 g
- Carbohydrates: 10 g
- Fiber: 0 g
- Protein: 3 g
- Cholesterol: 61 mg
Maya Thompson
Culinary Content Creator & Nutrition Enthusiast
Expertise
Healthy single-serving recipes, Meal prepping for individuals, Integrating nutrition into everyday cooking, Vegetarian and plant-based cuisine
Education
The Chef’s Academy at Harrison College
Associate of Applied Science in Culinary Arts
Focus: Nutrition, meal planning, and culinary techniques for healthy living.
Maya found her passion in the kitchen by mixing good food with good energy. After earning her culinary degree at The Chef’s Academy at Harrison College, she made it her mission to keep cooking simple, wholesome, and packed with flavor.
At Steelhead Diner, Maya shares easy, healthy recipes built for real life. For Maya, great food seems like a celebration of everyday moments, made better one fresh bite at a time.