Dreamy Easter Fudge Recipe: Easy & Fun With Mini Eggs
Whip up a delightful sweet treat that combines creamy chocolate and classic Easter mini eggs in this irresistible Easter fudge.
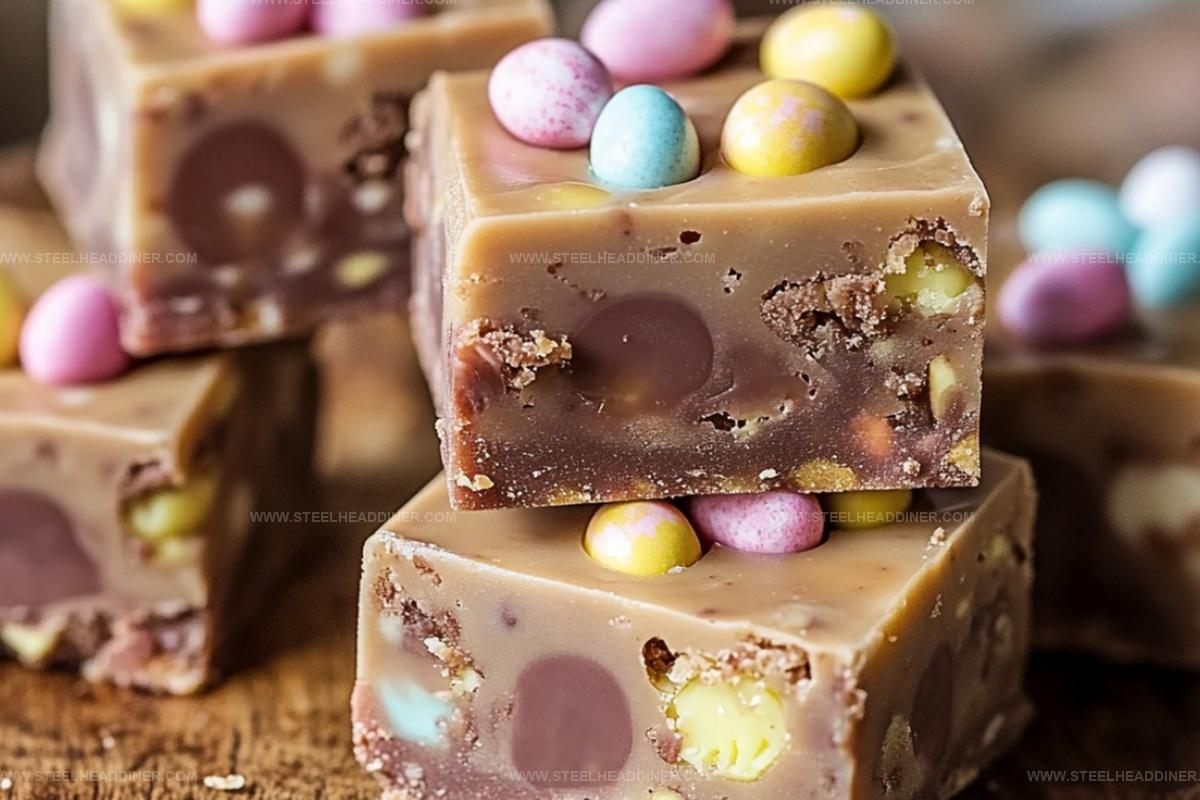
The recipe blends smooth white chocolate with crunchy pastel-colored candies for a festive dessert.
Each bite delivers a perfect balance of rich chocolate and playful egg crunch.
These delectable squares melt in your mouth with a delightful texture that surprises and delights.
No complicated techniques or expensive ingredients stand between you and this simple confection.
The colorful mini eggs scattered throughout create a beautiful visual and taste sensation.
Indulge in this easy-to-make fudge that promises to be the star of your spring celebration.
Easter Fudge (Easy with Mini Eggs) Features

Ingredients List for Easter Fudge (Easy with Mini Eggs)
Chocolate Base:Flavoring:Decorative and Textural Elements:Preparation Essentials:Making Easter Fudge (Easy with Mini Eggs)

Step 1: Prepare Chocolate Base
Grab a microwave-safe bowl and combine chopped chocolate, sweetened condensed milk, and butter. Zap the mixture in 30-second bursts, stirring between each interval, until everything melts into a silky smooth consistency.
Splash in vanilla extract for a flavor boost.
Step 2: Crush and Incorporate Mini Eggs
Roughly crush about half of the mini eggs.
Gently fold these colorful chocolate pieces into the melted chocolate mixture, saving some whole eggs for a beautiful topping.
Step 3: Create Fudge Masterpiece
Line an 8×8-inch pan with parchment paper.
Pour the luscious chocolate mixture into the pan, spreading it evenly with a spatula. Artfully press the remaining whole mini eggs on top, creating a festive and eye-catching design.
Step 4: Chill and Slice
Pop the pan into the refrigerator and let the fudge set for at least 2 hours. Once firm, lift the parchment paper out of the pan.
Using a sharp knife, slice the fudge into bite-sized squares that showcase the colorful mini eggs throughout.
Tips for Easter Fudge (Easy with Mini Eggs)

Flavor Variations for Easter Fudge (Easy with Mini Eggs)
Best Pairings for Easter Fudge (Easy with Mini Eggs)
Storage Guidelines for Easter Fudge (Easy with Mini Eggs)
FAQs
Yes, you can use milk, dark, or white chocolate depending on your preference. Just ensure the chocolate is of good quality for the best flavor.
Place the mini eggs in a sealed plastic bag and gently tap with a rolling pin or the back of a spoon to break them into smaller pieces.
Butter helps create a smoother, creamier texture, but you can omit it if needed. The condensed milk will still help bind the fudge together.
Absolutely! You can prepare the fudge up to 5 days ahead and store it in the refrigerator, making it perfect for holiday planning.
Print
Easter Fudge (Easy Recipe With Mini Eggs)
- Total Time: 2 hours 15 minutes
- Yield: 16 1x
Description
Colorful Easter Fudge brings festive sweetness to springtime celebrations, melding creamy chocolate with crisp mini egg crunch. Sweet memories bloom with each delightful bite you’ll savor during holiday gatherings.
Ingredients
Main Ingredients:
- 12 ounces (340 grams) white chocolate (or milk chocolate), chopped
- 14 ounces (1 can) sweetened condensed milk
- 1/2 cup mini chocolate eggs (Cadbury Mini Eggs or M&Ms)
Flavor Enhancers:
- 1 tablespoon butter
- 1 teaspoon vanilla extract
Instructions
- Prepare a microwave-safe bowl and combine chocolate, sweetened condensed milk, and butter. Microwave in 30-second intervals, stirring between each, until chocolate melts completely and mixture becomes silky smooth. Incorporate vanilla extract to enhance the flavor profile.
- Gently crush half of the mini eggs, reserving some whole pieces for garnishing. Fold the crushed and whole mini eggs into the molten chocolate mixture, ensuring even distribution.
- Line an 8-inch square pan with parchment paper, allowing slight overhang for easy removal. Transfer the fudge mixture into the prepared pan, using a spatula to create an even surface.
- Artfully arrange the remaining whole mini eggs on top of the fudge, pressing them lightly to secure their position. Ensure decorative placement for visual appeal.
- Refrigerate the pan for approximately 2 hours or until the fudge achieves a firm, solid consistency. The cooling process will help the fudge set perfectly.
- Once fully chilled, lift the parchment paper to remove the fudge from the pan. Using a sharp knife, slice the fudge into bite-sized, uniform squares for serving.
Notes
- Choose high-quality chocolate for a richer, smoother fudge texture that melts perfectly.
- Crush mini eggs partially to distribute flavor and create interesting visual texture throughout the fudge.
- Use room temperature ingredients to ensure even melting and smooth chocolate consistency.
- Refrigerate fudge in an airtight container for up to one week, allowing flavors to develop and maintain freshness.
- Prep Time: 15 minutes
- Cook Time: 2 hours
- Category: Desserts, Snacks
- Method: Melting
- Cuisine: American
Nutrition
- Serving Size: 16
- Calories: 234
- Sugar: 30 g
- Sodium: 45 mg
- Fat: 11 g
- Saturated Fat: 7 g
- Unsaturated Fat: 3 g
- Trans Fat: 0.1 g
- Carbohydrates: 33 g
- Fiber: 0.5 g
- Protein: 2 g
- Cholesterol: 10 mg
Maya Thompson
Culinary Content Creator & Nutrition Enthusiast
Expertise
Healthy single-serving recipes, Meal prepping for individuals, Integrating nutrition into everyday cooking, Vegetarian and plant-based cuisine
Education
The Chef’s Academy at Harrison College
Associate of Applied Science in Culinary Arts
Focus: Nutrition, meal planning, and culinary techniques for healthy living.
Maya found her passion in the kitchen by mixing good food with good energy. After earning her culinary degree at The Chef’s Academy at Harrison College, she made it her mission to keep cooking simple, wholesome, and packed with flavor.
At Steelhead Diner, Maya shares easy, healthy recipes built for real life. For Maya, great food seems like a celebration of everyday moments, made better one fresh bite at a time.