
Spooky Sweet Success: Easy Halloween Fudge Recipe
Whipping up this easy Halloween fudge recipe brings spooky sweet magic to your kitchen in minutes.
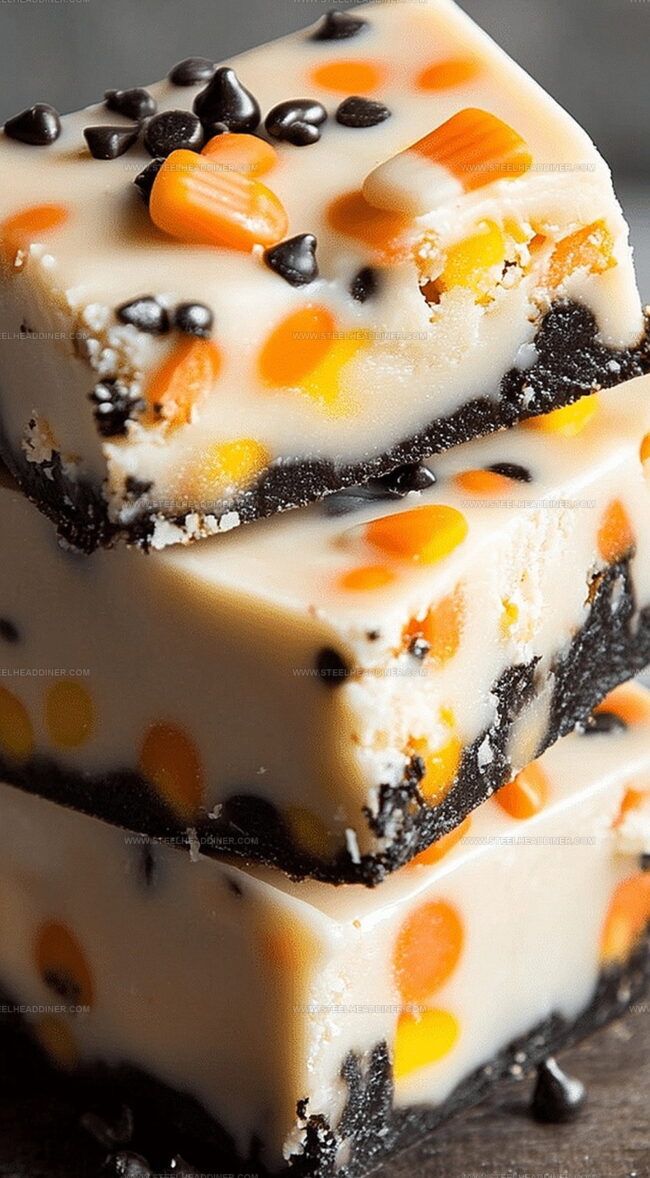
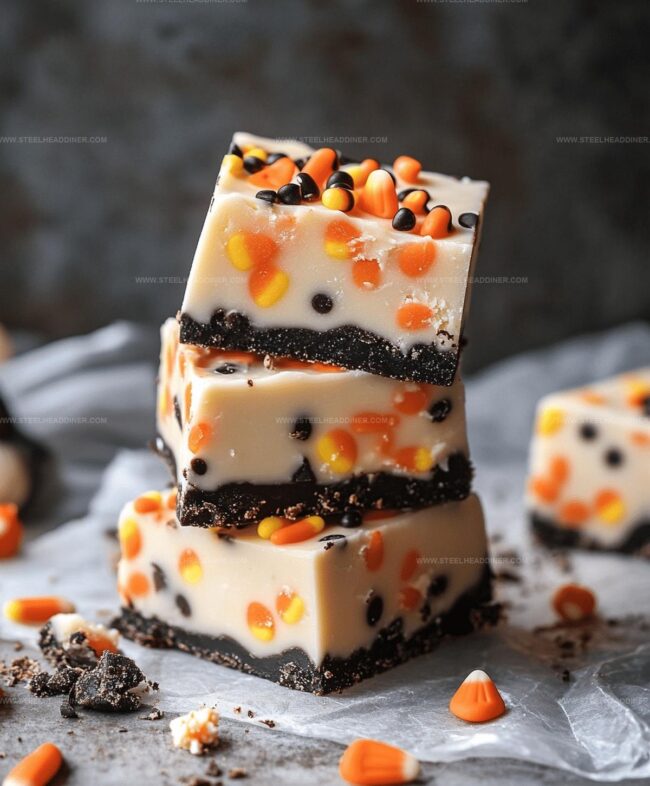
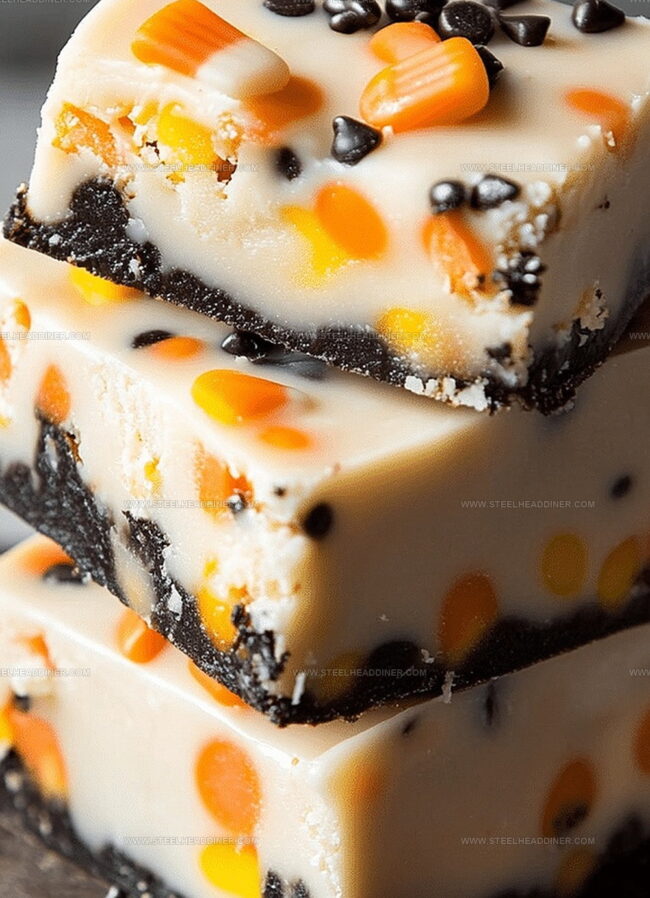
Colorful candy and chocolate combine for a festive treat that delights both kids and adults.
Creepy sprinkles and playful orange swirls make this dessert a perfect seasonal celebration.
Minimal ingredients and simple steps mean you can craft these delectable squares quickly.
Halloween parties and gatherings deserve something special that looks impressive but takes little effort.
Rich chocolate base provides a decadent backdrop for festive decorations.
One bite promises to transport you into a world of delightful seasonal excitement.
Jump in and create some Halloween magic that will have everyone asking for your secret!
What’s Fun About Easy Halloween Fudge
Gather Ingredients for Easy Halloween Fudge
For the Base Ingredients:For the Flavor Enhancer:For the Decorative Ingredients:How to Make Easy Halloween Fudge
Step 1: Prepare Baking Pan
Line an 8×8 inch baking pan with parchment paper, ensuring the paper covers the bottom and sides completely for easy removal later.
Step 2: Melt Chocolate Base
In a medium saucepan, combine:Heat over medium flame, stirring continuously until the mixture becomes completely smooth and glossy.
Keep the heat gentle to prevent burning.
Step 3: Add Flavor Enhancer
Remove the chocolate mixture from heat and gently stir in vanilla extract.
Mix thoroughly to distribute the flavor evenly throughout the fudge.
Step 4: Create Smooth Fudge Surface
Pour the warm chocolate mixture into the prepared pan.
Use a flexible spatula to spread the mixture evenly and create a flat, smooth surface.
Step 5: Decorate With Spooky Touches
While the fudge is still warm and soft, sprinkle Halloween-themed decorations across the surface:Gently press toppings into the fudge to ensure they stick.
Step 6: Chill And Set
Place the pan in the refrigerator for 2-3 hours. The fudge needs to become completely firm and set before cutting.
Step 7: Slice And Serve
Remove the fudge from the refrigerator. Using the parchment paper, lift the entire block out of the pan.
Cut into square pieces using a sharp knife. Serve and enjoy your spooky Halloween treat!
Suggestions for Easy Halloween Fudge Perfection
New Flavors for Easy Halloween Fudge
Serving Up Easy Halloween Fudge at Parties
Keep Easy Halloween Fudge Fresh Longer
FAQs
Line the pan with parchment paper or aluminum foil, leaving some overhang on the sides for easy removal. This creates a non-stick surface and helps you lift the fudge out cleanly.
Absolutely! You can use milk chocolate, dark chocolate, or white chocolate chips depending on your preference. Just ensure they’re good quality for the best flavor and smooth texture.
You can use Halloween-themed candy pieces, colored sugar, or even chopped candy bars to decorate the fudge. Get creative with your toppings to match the holiday spirit.
Print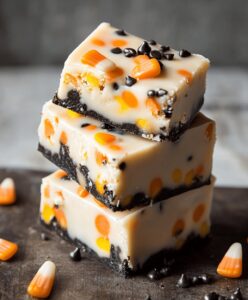
Easy Halloween Fudge Recipe
- Total Time: 3 hours 15 minutes
- Yield: 24 1x
Description
Spooky halloween fudge delivers festive cheer with minimal effort. Simple ingredients and quick preparation make this treat perfect for seasonal celebrations you’ll enjoy sharing with friends and family.
Ingredients
- 3 cups (720 ml) semi-sweet chocolate chips
- 1 (14 oz / 397 g) can sweetened condensed milk
- 1 tsp (5 ml) vanilla extract
- Halloween-themed sprinkles or candy eyes for decoration
Instructions
- Prepare an 8×8 inch baking pan by lining it completely with parchment paper, ensuring full coverage of the bottom and sides.
- Create a double boiler or use a heavy-bottomed saucepan to gently melt chocolate chips with sweetened condensed milk over medium-low heat, stirring continuously to prevent scorching.
- Maintain smooth, glossy consistency while melting, watching carefully to avoid burning the chocolate mixture.
- Once fully incorporated and silky, remove from heat and swiftly introduce vanilla extract, stirring until evenly distributed.
- Carefully transfer the molten chocolate mixture into the prepared pan, using a flexible spatula to spread evenly and create a uniform surface.
- While the fudge remains warm and malleable, immediately sprinkle Halloween-themed decorative elements like festive sprinkles or spooky candy eyes across the surface.
- Transfer the pan to the refrigerator and allow to set completely, approximately 2-3 hours, until the fudge achieves a firm, slice-able consistency.
- After chilling, lift the fudge from the pan using parchment paper edges and slice into neat, bite-sized squares using a sharp knife.
Notes
- Optimize parchment paper placement by allowing extra overhang on sides for easy fudge removal.
- Use high-quality chocolate chips for richer, more intense flavor profile and smoother texture.
- Try different Halloween candy decorations like crushed candy corn or mini chocolate pumpkins for festive variations.
- Control fudge firmness by adjusting refrigeration time – shorter for softer texture, longer for harder consistency.
- Prep Time: 15 minutes
- Cook Time: 3 hours
- Category: Desserts, Snacks
- Method: Simmering
- Cuisine: American
Nutrition
- Serving Size: 24
- Calories: 162
- Sugar: 17 g
- Sodium: 26 mg
- Fat: 8 g
- Saturated Fat: 5 g
- Unsaturated Fat: 3 g
- Trans Fat: 0 g
- Carbohydrates: 21 g
- Fiber: 1 g
- Protein: 2 g
- Cholesterol: 10 mg
Jack Monroe
Founder & Recipe Innovator
Expertise
Pacific Northwest cuisine, Single-serving recipe development, Sustainable sourcing and cooking, Modern comfort food
Education
Brightwater
Associate of Applied Science in Culinary Arts
Focus: Sustainable cooking, seasonal ingredients, and food systems education
Jack grew up with a fishing rod in one hand and a cast-iron skillet in the other. After graduating from Brightwater: A Center for the Study of Food, he set out to prove that cooking for one could still taste like a feast.
Jack believes that food should feel real: fresh, fearless, and a little wild, just like the rivers he grew up around. For Jack, every single dish is a small adventure, and the best ones are the ones you can cook with heart, not hassle.