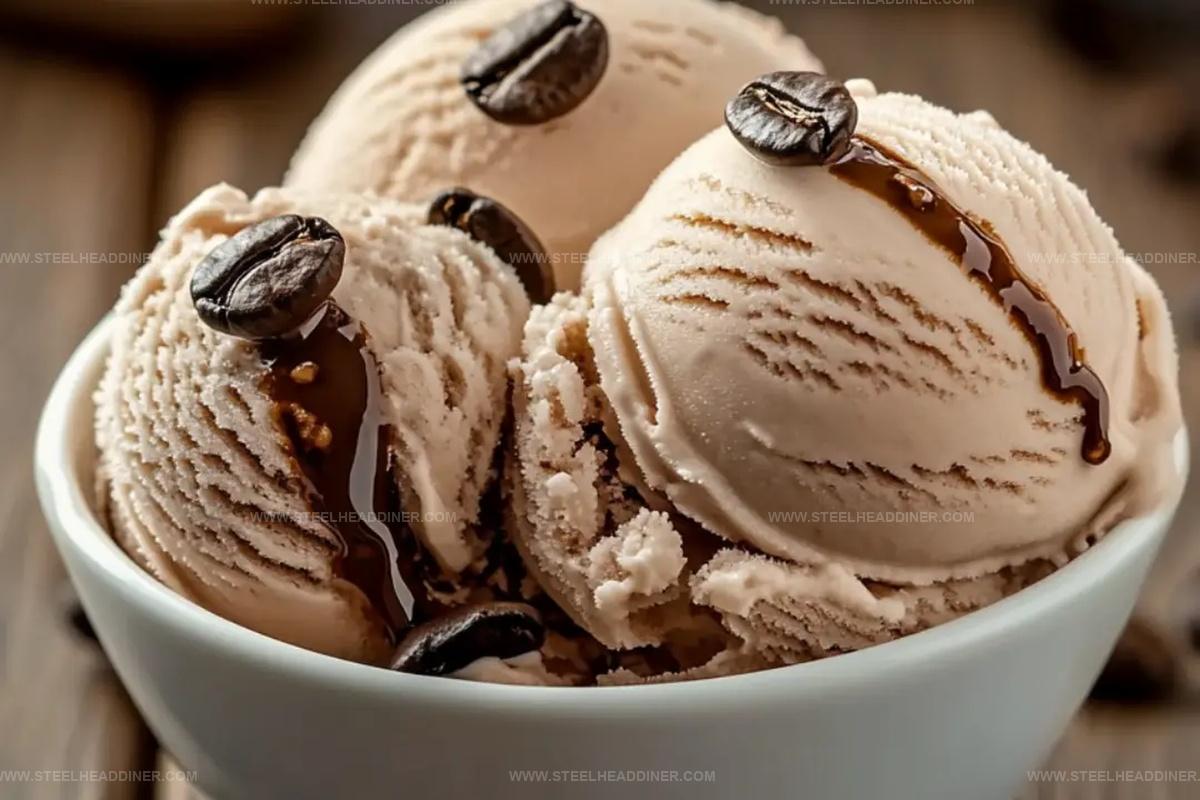
Sweet & Simple Homemade Coffee Ice Cream With Only 3 Ingredients Recipe
Creamy, dreamy homemade coffee ice cream with only 3 ingredients beckons dessert enthusiasts to indulge in a simple yet decadent treat.
Rich espresso flavors dance through this velvety frozen delight, promising a delightful escape from ordinary desserts.
Cold brewing techniques infuse each smooth spoonful with deep, robust coffee notes that tantalize the taste buds.
Every ingredient plays a crucial role in crafting this elegant dessert without complicated steps.
The magic happens with just a handful of pantry staples and minimal effort.
No fancy equipment or complex techniques stand between you and this luxurious homemade ice cream.
Whip up this irresistible dessert and transform an ordinary moment into a delectable coffee-lover’s paradise.
What Makes Homemade Coffee Ice Cream Unique
Ingredients For Homemade Coffee Ice Cream
Coffee Base:Creamy Components:Optional Toppings:Easy Guide To Homemade Coffee Ice Cream
Step 1: Brew Strong Coffee Essence
Dissolve instant coffee granules in hot water, allowing the mixture to cool completely. This concentrated coffee base will infuse deep, rich flavor into your ice cream.
Step 2: Whip Creamy Clouds
Using an electric mixer, whip cold heavy cream until it forms tall, fluffy peaks that stand up firmly when the beater is lifted. The cream should look glossy and hold its shape perfectly.
Step 3: Create Silky Smooth Base
Gently fold sweetened condensed milk into the whipped cream using a spatula with soft, circular motions:Blend ingredients until they create a uniform, creamy mixture without deflating the whipped cream’s volume.
Step 4: Chill and Set
Transfer the velvety mixture into a freezer-safe container with a tight-fitting lid.
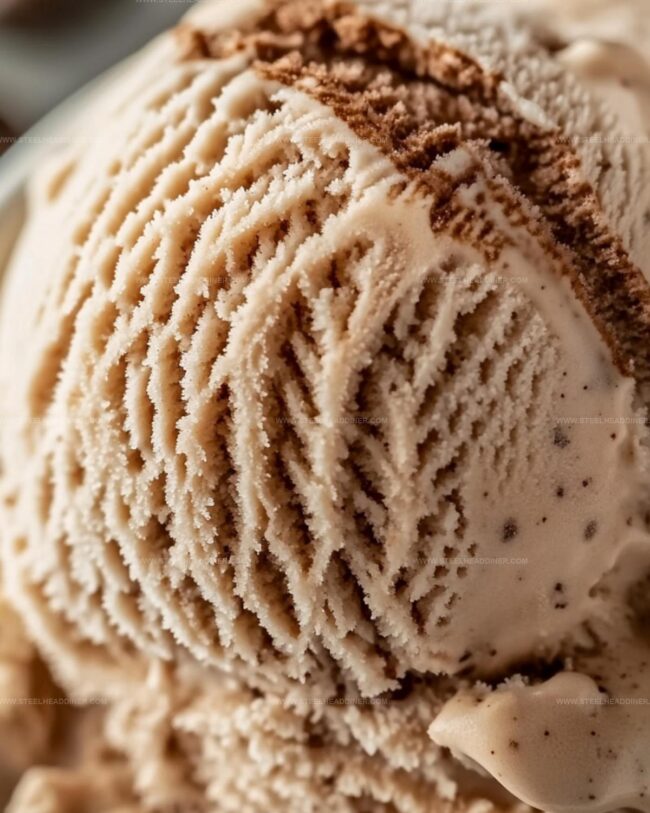
Smooth the top with a spatula to ensure even freezing. Place in the freezer for 4-6 hours or overnight until the ice cream reaches a firm, scoopable consistency.
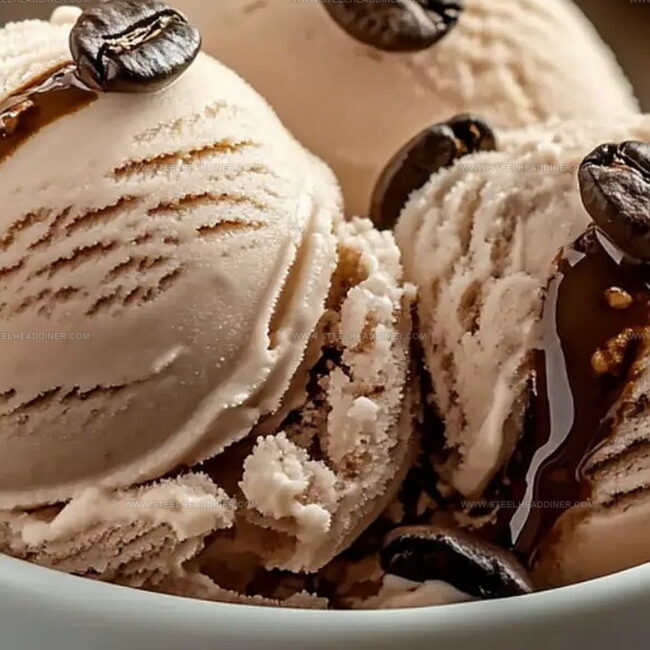
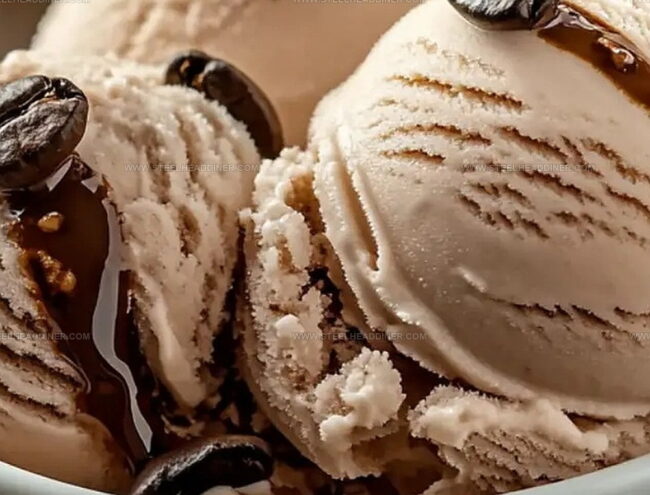
Step 5: Garnish and Serve
Remove the ice cream from the freezer and let it sit for 2-3 minutes to soften slightly. Optional garnishes include:Scoop into chilled bowls and enjoy your homemade coffee ice cream immediately.
Helpful Tips For Homemade Coffee Ice Cream
Different Takes On Coffee Ice Cream
Best Matches For Coffee Ice Cream
Storing Homemade Coffee Ice Cream Properly
FAQs
Yes, you can experiment with various instant coffee brands or even use espresso powder for a stronger coffee flavor.
Heavy cream is crucial for achieving the creamy texture. Alternatives like half-and-half or milk won’t provide the same rich consistency.
The ice cream can be stored in the freezer for up to 2 weeks in an airtight container. For best taste and texture, consume within the first week.
While an electric mixer is recommended for best results, you can use a whisk and some arm strength, though it will require more effort to achieve stiff peaks.
Print
Homemade Coffee Ice Cream With Only 3 Ingredients Recipe
- Total Time: 15 minutes
- Yield: 4 1x
Description
Rich, creamy Homemade Coffee Ice Cream brings Italian espresso magic into a simple three-ingredient dessert. Smooth, intense coffee flavors swirl through each luxurious spoonful, offering pure indulgence without complex preparation.
Ingredients
Main Ingredients:
- 400 milliliters (13.5 fluid ounces) heavy whipping cream
- 200 milliliters (6.75 fluid ounces) sweetened condensed milk
Flavor Enhancer:
- 2 tablespoons instant coffee (adjust to taste)
Instructions
- Brew instant coffee with hot water, allowing it to reach room temperature, releasing its robust aroma and ensuring a smooth integration into the cream mixture.
- Chill a mixing bowl and whisk to maintain cold temperature while whipping heavy cream until it develops sturdy, glossy peaks that hold their shape effortlessly.
- Incorporate sweetened condensed milk and cooled coffee into the whipped cream, using delicate folding motions to preserve the cream’s airy texture and prevent deflation.
- Transfer the silky coffee-infused mixture into a freezer-safe container, ensuring an even spread for consistent freezing and optimal texture development.
- Refrigerate for 4-6 hours at 0°F, allowing the dessert to solidify into a creamy, scoopable consistency with rich coffee undertones.
- Optional: Elevate the dessert by garnishing with dark chocolate shavings or a luxurious caramel drizzle just before serving, adding depth and visual appeal to the homemade treat.
Notes
- Instant coffee works best, providing a robust flavor without adding extra liquid that could impact texture.
- Chill all ingredients beforehand to ensure a smoother, more consistent ice cream base.
- For a lighter version, substitute sweetened condensed milk with a low-fat alternative or Greek yogurt.
- Try different coffee strengths to customize the intensity of the coffee flavor, using espresso powder for a more pronounced taste.
- Prep Time: 15 minutes
- Cook Time: 0 minutes
- Category: Desserts
- Method: Freezing
- Cuisine: American
Nutrition
- Serving Size: 4
- Calories: 364 kcal
- Sugar: 42 g
- Sodium: 50 mg
- Fat: 24 g
- Saturated Fat: 15 g
- Unsaturated Fat: 8 g
- Trans Fat: 0.5 g
- Carbohydrates: 33 g
- Fiber: 0.5 g
- Protein: 3 g
- Cholesterol: 80 mg
Maya Thompson
Culinary Content Creator & Nutrition Enthusiast
Expertise
Healthy single-serving recipes, Meal prepping for individuals, Integrating nutrition into everyday cooking, Vegetarian and plant-based cuisine
Education
The Chef’s Academy at Harrison College
Associate of Applied Science in Culinary Arts
Focus: Nutrition, meal planning, and culinary techniques for healthy living.
Maya found her passion in the kitchen by mixing good food with good energy. After earning her culinary degree at The Chef’s Academy at Harrison College, she made it her mission to keep cooking simple, wholesome, and packed with flavor.
At Steelhead Diner, Maya shares easy, healthy recipes built for real life. For Maya, great food seems like a celebration of everyday moments, made better one fresh bite at a time.