The Perfect Cheesecake Water Bath Recipe for Silky-Smooth Results
Mastering a creamy cheesecake water bath requires understanding a few simple techniques that guarantee a silky smooth dessert.
Baking professionals swear by this method to prevent cracks and ensure even cooking.
Moisture plays a crucial role in creating that dreamy texture everyone loves.
Gentle heat surrounds the delicate custard, protecting it from harsh temperature fluctuations.
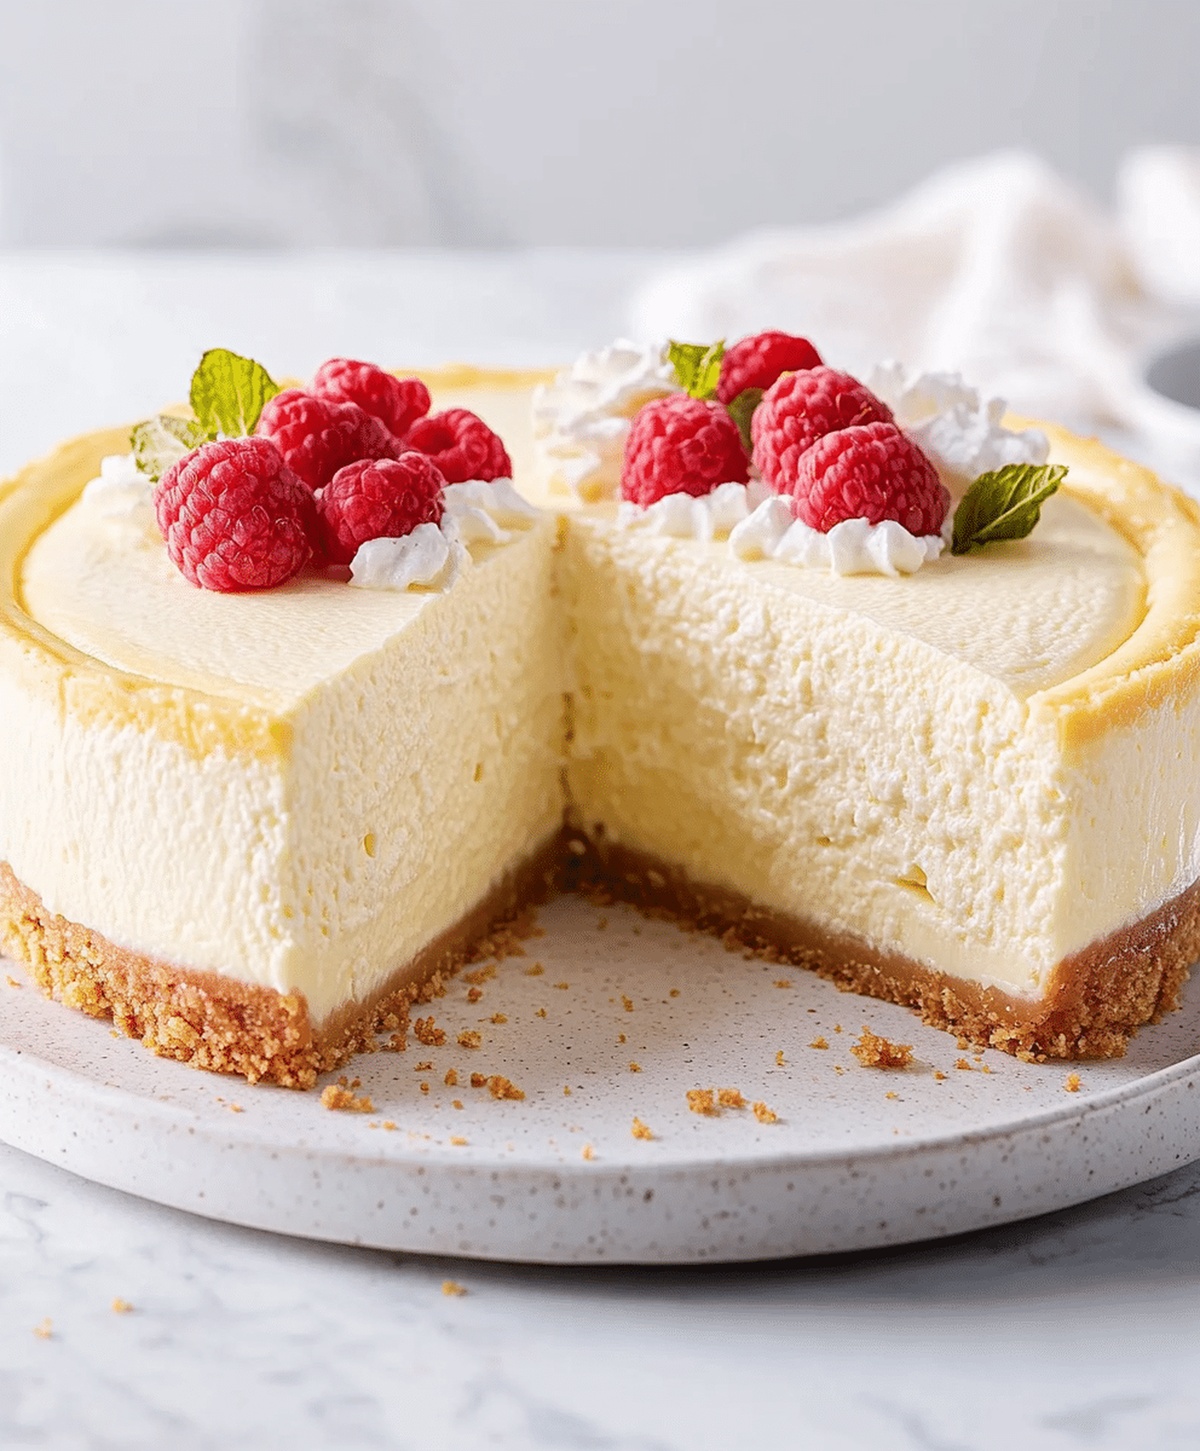
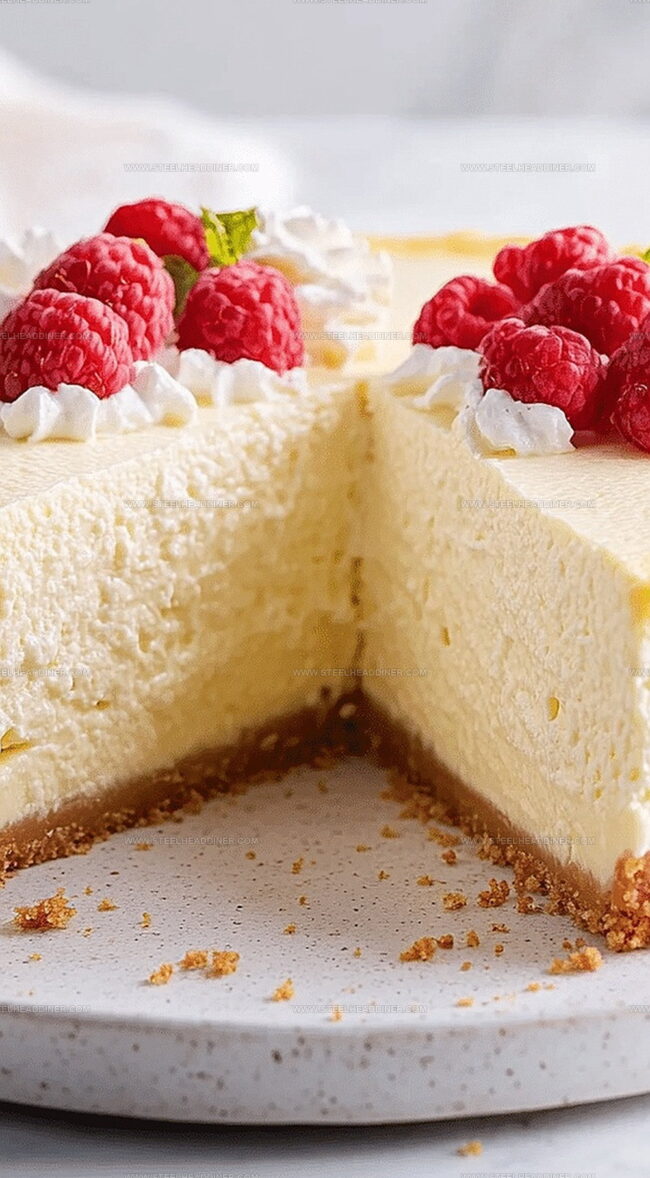
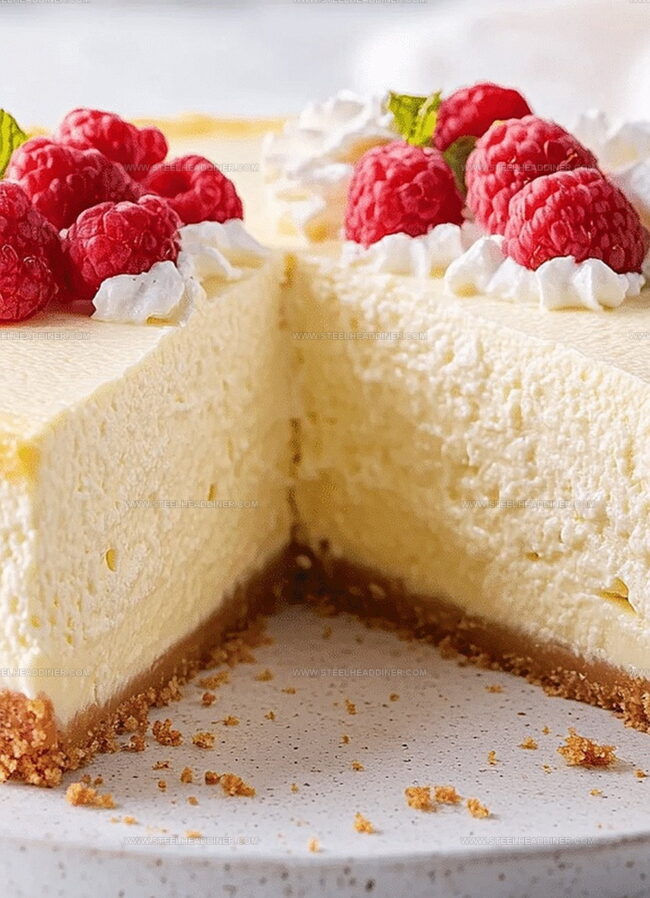
Professional bakers know water baths create luxurious, crack-free surfaces that look professionally made.
Soft, velvety results await when you follow these straightforward steps carefully.
You’ll absolutely fall in love with how perfectly this technique works for achieving cheesecake perfection.
Cheesecake Water Bath Secrets to Know
Ingredients for Cheesecake Water Bath
Base Ingredients:Cheesecake Filling:Baking Accessories:How to Use a Water Bath for Cheesecake
Step 1: Prepare Baking Setup
Preheat the oven to 325°F. Securely wrap the exterior of a springform pan with aluminum foil, creating a waterproof barrier to prevent moisture from sneaking inside during baking.
Step 2: Create Crunchy Crust
Combine graham cracker crumbs with melted butter. Press the mixture firmly into the bottom of the pan, creating a solid foundation for the cheesecake.
Step 3: Whip Cream Cheese Base
In a large mixing bowl, beat cream cheese until silky smooth. Gradually incorporate sugar and vanilla, blending until the mixture becomes light and fluffy.
Step 4: Integrate Eggs and Creamy Elements
Gently add eggs one at a time, fully mixing after each addition. Fold in sour cream and flour, stirring until the filling reaches a perfectly smooth consistency.
Step 5: Assemble Cheesecake for Baking
Transfer the creamy filling into the prepared crust-lined pan. Carefully place the springform pan inside a larger roasting pan.
Step 6: Create Water Bath
Carefully pour boiling water into the roasting pan, ensuring the water reaches approximately halfway up the sides of the springform pan.
Step 7: Bake and Cool Slowly
Bake for 55-70 minutes until the center sets but maintains a slight wobble.
Turn off the oven and allow the cheesecake to cool gradually inside for one hour.
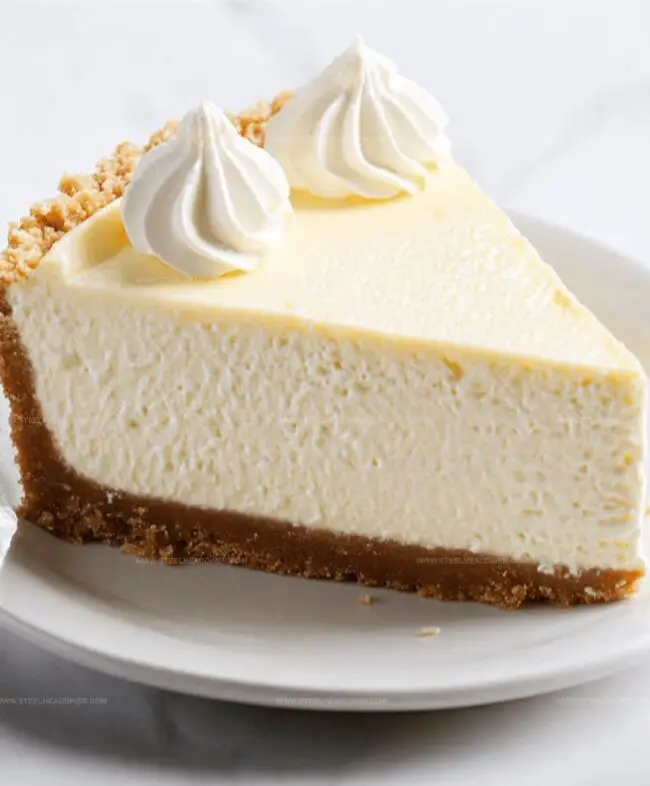
Step 8: Final Chilling
Remove the cheesecake from the water bath.
Let it cool completely at room temperature. Refrigerate for a minimum of 4 hours or overnight before serving to achieve the perfect texture and flavor.
Tips for Perfect Cheesecake Water Bath
Variations to Try With Cheesecake Water Bath
Serving Suggestions for Cheesecake Water Bath
How to Store Cheesecake Water Bath
FAQs
A water bath helps create a moist, even baking environment, preventing cracks and ensuring a smooth, creamy texture by providing gentle, indirect heat.
No, the water bath is crucial for achieving a perfect cheesecake. Skipping it can lead to uneven baking, dry edges, and potential cracks in the surface.
Wrap the outside of the pan tightly with multiple layers of aluminum foil, ensuring a secure seal to keep water from seeping into the crust.
Flour helps stabilize the cheesecake, preventing it from cracking and creating a smoother, more consistent texture during baking.
Print
Perfect Cheesecake Water Bath Recipe
- Total Time: 2 hours 25 minutes
- Yield: 8 1x
Description
Creamy New York-style cheesecake emerges perfectly from this classic water bath method. Precise temperature control and gentle baking ensure a silky, crack-free dessert you’ll savor with each luxurious bite.
Ingredients
Main Ingredients:
- 4 (8 ounces) packages cream cheese, softened
- 4 large eggs
- 1 cup granulated sugar
Crust:
- 2 cups graham cracker crumbs
- 1/2 cup (115 grams) melted butter
Additional Ingredients:
- 1/2 cup sour cream
- 1/4 cup all-purpose flour
- 1 teaspoon vanilla extract
Instructions
- Prepare the oven environment by heating to 325F (163C) and meticulously shield the springform pan with aluminum foil to block water infiltration.
- Craft the foundational crust by blending graham cracker crumbs with melted butter, firmly pressing the mixture into the pan’s base.
- Create a velvety cream cheese base by whipping softened cream cheese until silky smooth, then incorporate sugar and vanilla, ensuring thorough integration.
- Gradually introduce eggs, mixing comprehensively after each addition to maintain a uniform texture, then fold in sour cream and flour until perfectly combined.
- Transfer the luxurious cheesecake mixture into the prepared crust, positioning the springform pan inside a larger roasting vessel.
- Carefully cascade boiling water into the roasting pan, ensuring it ascends precisely halfway up the springform pan’s exterior.
- Bake for 55-70 minutes, watching for a center that sets with a subtle tremor, then deactivate the oven and allow the cheesecake to rest internally for one hour.
- Extract the cheesecake from its water bath, permit complete cooling to ambient temperature, then refrigerate for a minimum of 4 hours or ideally overnight before serving.
Notes
- Ensure cream cheese is at room temperature to avoid lumps and create a smooth, creamy texture.
- Wrap the springform pan with multiple layers of heavy-duty aluminum foil to guarantee no water leaks into the delicate crust.
- Use a water bath to create gentle, even heating that prevents cracking and produces a silky, perfectly baked cheesecake.
- Avoid overmixing the batter after adding eggs to prevent incorporating too much air, which can cause surface cracks during baking.
- Prep Time: 30 minutes
- Cook Time: 1 hour 55 minutes
- Category: Desserts
- Method: Baking
- Cuisine: American
Nutrition
- Serving Size: 8
- Calories: 535
- Sugar: 24 g
- Sodium: 320 mg
- Fat: 38 g
- Saturated Fat: 23 g
- Unsaturated Fat: 13 g
- Trans Fat: 0.5 g
- Carbohydrates: 38 g
- Fiber: 1.5 g
- Protein: 9 g
- Cholesterol: 130 mg
Jack Monroe
Founder & Recipe Innovator
Expertise
Pacific Northwest cuisine, Single-serving recipe development, Sustainable sourcing and cooking, Modern comfort food
Education
Brightwater
Associate of Applied Science in Culinary Arts
Focus: Sustainable cooking, seasonal ingredients, and food systems education
Jack grew up with a fishing rod in one hand and a cast-iron skillet in the other. After graduating from Brightwater: A Center for the Study of Food, he set out to prove that cooking for one could still taste like a feast.
Jack believes that food should feel real: fresh, fearless, and a little wild, just like the rivers he grew up around. For Jack, every single dish is a small adventure, and the best ones are the ones you can cook with heart, not hassle.