Bright Lemon Thumbprint Cookies Recipe: Zesty Joy in Every Bite
Delightful lemon thumbprint cookies burst with zesty sunshine and sweet memories.
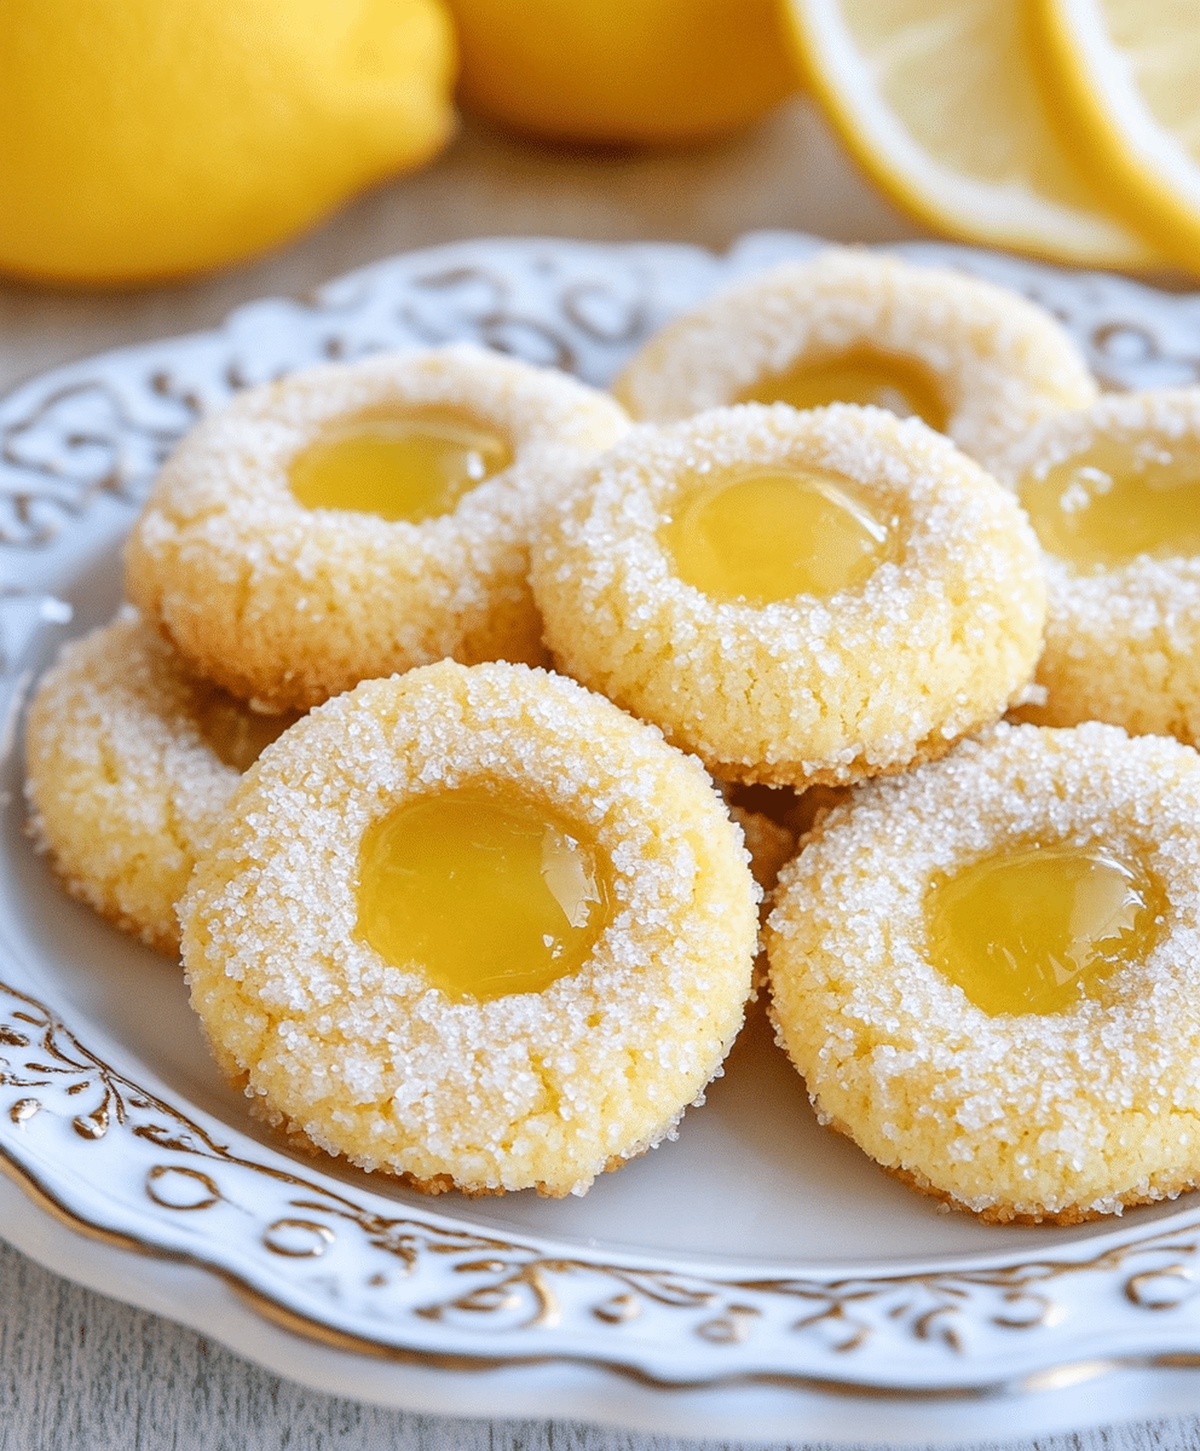
Soft, buttery dough cradles a vibrant citrus center that sparks joy.
Childhood afternoons spent in grandma’s kitchen inspire this simple yet magical treat.
Baking these cookies connects us to cherished moments of warmth and laughter.
Each golden-edged morsel promises a perfect balance between tangy filling and tender crumb.
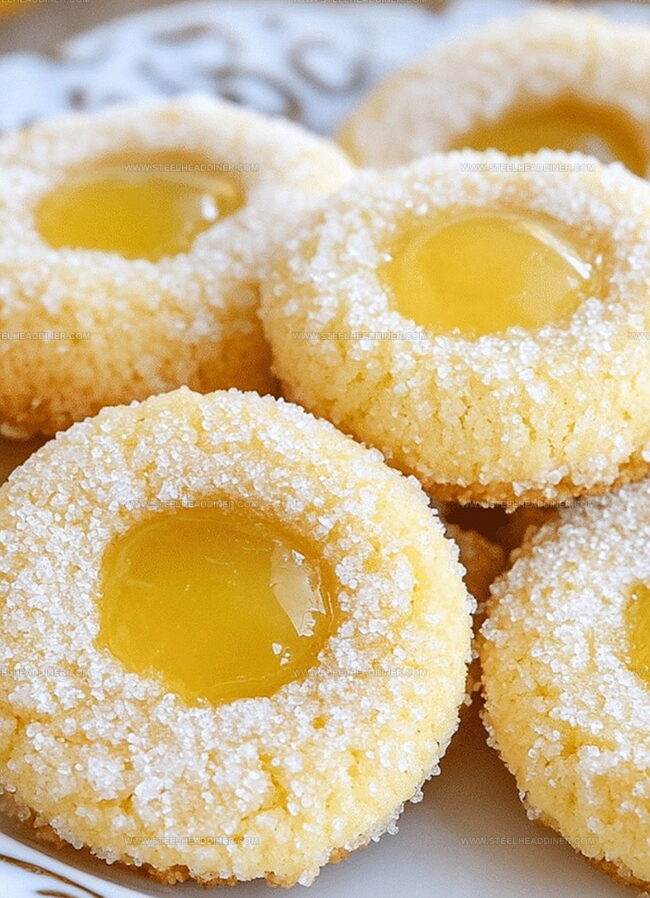
Crumbly, melt-in-your-mouth texture meets bright lemon curd in a dance of delectable flavors.
You’ll want to share these irresistible cookies with everyone who appreciates pure, homemade happiness.
Lemon Thumbprint Cookies That Impress

Ingredients for Lemon Thumbprint Cookies
Base Ingredients:Flavor Enhancers:Finishing Touches:How to Bake Lemon Thumbprint Cookies

Step 1: Warm Up the Oven
Crank the oven to 350F and grab a baking sheet. Line it with parchment paper to prevent any sticky situations.
Step 2: Create a Creamy Base
Grab a big mixing bowl and blend butter and sugar until they transform into a fluffy, cloud-like mixture. Beat them together until they look light and airy.
Step 3: Add Richness and Flavor
Drop in the egg yolk and vanilla extract. Mix thoroughly until everything combines into a smooth, delectable blend.
Step 4: Form the Cookie Dough
Gently fold in:Stir until the ingredients merge into a soft, pliable dough that’s ready for shaping.
Step 5: Shape the Cookies
Roll the dough into small, adorable one-inch balls.
Place each ball carefully on the prepared baking sheet.
Step 6: Create the Signature Thumbprint
Use your thumb to press a gentle indentation into the center of each cookie ball.
This creates a perfect little pocket for the lemon goodness.
Step 7: Fill with Lemon Sunshine
Spoon a dollop of lemon curd into each thumbprint.
The bright, tangy filling will bring these cookies to life.
Step 8: Bake to Golden Perfection
Slide the baking sheet into the oven.
Bake for 12-14 minutes until the edges turn a beautiful golden brown.
Step 9: Cool and Dust
Transfer the cookies to a wire rack.
Once they’ve cooled, sprinkle a light dusting of powdered sugar on top for a magical finishing touch.
Tips for Perfect Lemon Thumbprint Cookies
Variations to Try on Lemon Thumbprint Cookies
Serving Suggestions for Lemon Thumbprint Cookies
How to Store Lemon Thumbprint Cookies
FAQs
These cookies are beginner-friendly and require basic baking skills. The recipe involves simple steps like creaming butter, mixing dough, and creating thumb indentations.
Yes, homemade lemon curd is easy to prepare with eggs, sugar, lemon juice, and butter. If you prefer, store-bought lemon curd works perfectly as well.
Chill the dough for 30 minutes before shaping and baking. This helps the cookies maintain their shape and prevents excessive spreading.
All-purpose flour is ideal for lemon thumbprint cookies. It provides the right texture and helps create a soft, tender cookie base.
Print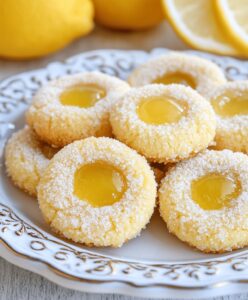
Best Lemon Thumbprint Cookies Recipe
- Total Time: 34 minutes
- Yield: 24 1x
Description
Zesty lemon thumbprint cookies blend buttery richness with tangy citrus notes. Homemade desserts like these invite you to savor sweet-tart perfection in each delightful bite.
Ingredients
Main Ingredients:
- 1 3/4 cups all-purpose flour
- 1 cup unsalted butter, softened
- 1/2 cup sugar
Filling and Flavoring:
- 1/2 cup lemon curd (homemade or store-bought)
- 1 teaspoon vanilla extract
- 1 egg yolk
Finishing:
- 1/4 teaspoon salt
- Powdered sugar for dusting (optional)
Instructions
- Prepare the oven at 350°F (175°C) and arrange parchment paper on a baking sheet for optimal cookie performance.
- Blend softened butter and sugar in a mixing bowl until the mixture becomes airy and pale, creating a smooth base for the cookies.
- Incorporate egg yolk and vanilla extract, mixing thoroughly to develop a rich, fragrant foundation.
- Gently fold flour and salt into the creamy mixture, working until a cohesive, tender dough forms without overmixing.
- Shape the dough into uniform 1-inch spheres, placing them evenly across the prepared baking sheet.
- Create a delicate well in the center of each cookie using your thumb, ensuring a consistent indentation for the lemon filling.
- Carefully fill each dimple with vibrant lemon curd, distributing the tangy spread evenly across the cookie surface.
- Slide the baking sheet into the preheated oven and bake for 12-14 minutes, watching for edges to transform into a golden-brown hue.
- Transfer cookies to a wire cooling rack, allowing them to reach room temperature before finishing with a delicate dusting of powdered sugar.
Notes
- Gently warm butter to room temperature for easier creaming and smoother cookie texture.
- Use fresh, high-quality lemon curd for the most vibrant citrus flavor and bright tang.
- Chill dough for 15-20 minutes before shaping to prevent spreading and maintain clean cookie edges.
- Make gluten-free by substituting all-purpose flour with almond or gluten-free flour blend for sensitive diets.
- Prep Time: 20 minutes
- Cook Time: 14 minutes
- Category: Desserts, Snacks
- Method: Baking
- Cuisine: American
Nutrition
- Serving Size: 24
- Calories: 135
- Sugar: 6 g
- Sodium: 40 mg
- Fat: 7 g
- Saturated Fat: 4 g
- Unsaturated Fat: 3 g
- Trans Fat: 0 g
- Carbohydrates: 17 g
- Fiber: 0 g
- Protein: 1 g
- Cholesterol: 20 mg
Jack Monroe
Founder & Recipe Innovator
Expertise
Pacific Northwest cuisine, Single-serving recipe development, Sustainable sourcing and cooking, Modern comfort food
Education
Brightwater
Associate of Applied Science in Culinary Arts
Focus: Sustainable cooking, seasonal ingredients, and food systems education
Jack grew up with a fishing rod in one hand and a cast-iron skillet in the other. After graduating from Brightwater: A Center for the Study of Food, he set out to prove that cooking for one could still taste like a feast.
Jack believes that food should feel real: fresh, fearless, and a little wild, just like the rivers he grew up around. For Jack, every single dish is a small adventure, and the best ones are the ones you can cook with heart, not hassle.