
Enjoy Buttery, Better Than Jim N Nicks Cheesy Biscuits Recipe
Southern bakeries might serve tasty biscuits, but this better than Jim ‘n’ Nicks cheesy biscuits recipe delivers pure comfort straight from your kitchen.
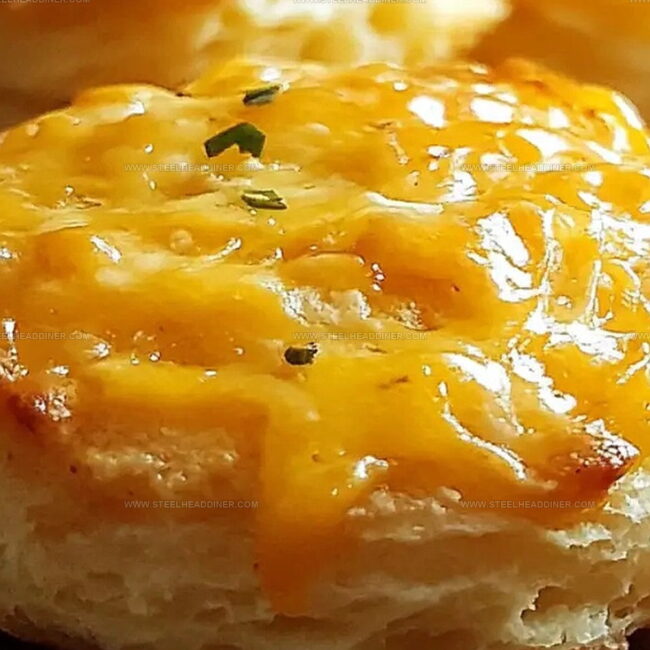
Warm, buttery layers melt in your mouth with each golden bite.
Cheese lovers will swoon over the rich, sharp cheddar folded into soft, flaky dough.
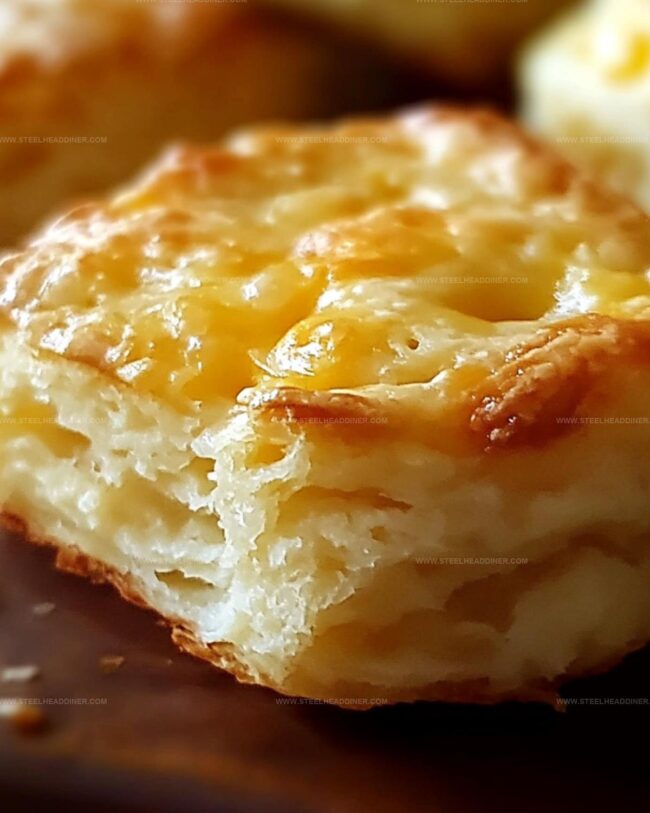
These biscuits emerge from the oven with a crisp exterior and tender center that rivals any restaurant version.
Sharp cheese and a hint of butter create an irresistible aroma that fills your home.
Home baking doesn’t get easier or more delicious than these crowd-pleasing biscuits.
Prepare to become the neighborhood’s baking hero with this simple yet spectacular recipe.
What Makes Jim N Nicks Cheesy Biscuits Better
Ingredients For Jim N Nicks Cheesy Biscuits
Main Ingredients:Wet Ingredients:Seasoning and Leavening:Step-By-Step Jim N Nicks Cheesy Biscuits
Step 1: Warm Up the Oven
Fire up your oven to a toasty 425°F (220°C). This high heat is the secret to getting those perfectly golden, crispy edges that make these biscuits absolutely legendary.
Step 2: Create the Magic Mixture
Grab a large mixing bowl and combine your ingredients:Stir everything together with a gentle hand, just until the ingredients are barely mixed. Don’t overmix – you want these biscuits light and fluffy, not tough and dense.
Step 3: Shape the Biscuit Beauties
Grab a spoon or cookie scoop and dollop the batter into a well-greased mini muffin pan. Each little pocket should be filled about three-quarters full, giving the biscuits room to rise and become gloriously puffy.
Step 4: Bake to Golden Perfection
Slide the pan into the preheated oven and bake for 12-15 minutes. Watch for that gorgeous golden-brown color on top – it’s your signal that these cheesy delights are ready to devour.
Step 5: Indulge and Enjoy
Let the biscuits cool just enough so you don’t burn your tongue. Serve them warm with a dollop of honey butter for an extra touch of decadence.
Get ready for biscuit bliss!
Helpful Tips For Jim N Nicks Biscuits

Creative Twists For Jim N Nicks Cheesy Biscuits
Best Pairings For Jim N Nicks Biscuits
Tips To Keep Jim N Nicks Biscuits Fresh
FAQs
These biscuits capture the same cheesy, savory flavor profile with a similar texture and golden-brown appearance that mimics the restaurant’s famous cheese biscuits.
Sharp cheddar works best, but you can substitute with mild cheddar or a blend of cheeses for slightly different flavor variations.
A mini muffin pan is recommended, but you can also use a regular muffin tin or drop the batter onto a baking sheet for a more rustic look.
Don’t overmix the batter – stir just until ingredients are combined to keep the texture light and tender.
Print
Better Than Jim N Nicks Cheesy Biscuits Recipe
- Total Time: 25 minutes
- Yield: 12 1x
Description
Savor Southern comfort with Better Than Jim N Nick’s Cheesy Biscuits, a golden treasure of buttery, cheesy goodness that melts hearts faster than butter on warm bread. Crisp edges, fluffy centers, and sharp cheddar create a irresistible sidekick you’ll crave at every meal.
Ingredients
Main Ingredients:
- 1 cup cheddar cheese, shredded
- 1 1/2 cups Bisquick
- 3/4 cup buttermilk
Flavor Enhancers:
- 3 tablespoons sugar
- 1/4 teaspoon vanilla extract
Instructions
- Prepare oven by heating to 425°F (220°C), ensuring rack is positioned in the center for even baking.
- Combine all ingredients in a mixing bowl, gently stirring until just incorporated, avoiding overmixing to maintain tender texture.
- Grease mini muffin pan thoroughly to prevent sticking and ensure easy removal of biscuits.
- Portion batter evenly into prepared muffin pan using a spoon or cookie scoop, filling each cavity approximately 3/4 full.
- Place pan in preheated oven and bake for 12-15 minutes, watching for golden-brown tops and slightly crisp edges as indicators of doneness.
- Remove biscuits from oven and allow to cool in pan for 2-3 minutes, which helps them set and prevents breaking.
- Transfer biscuits to a serving plate, accompanying with honey butter for an enhanced flavor experience and optional drizzle.
Notes
- Customize the texture by adjusting the mixing technique, stirring minimally to keep biscuits tender and fluffy.
- Enhance flavor complexity by incorporating finely grated sharp cheddar or adding fresh herbs like chives or rosemary.
- Accommodate gluten-free diets by substituting all-purpose flour with a gluten-free blend, ensuring the same delightful texture and taste.
- Prevent over-browning by using a light-colored muffin pan and monitoring baking time closely, as darker pans can cause faster browning.
- Prep Time: 10 minutes
- Cook Time: 15 minutes
- Category: Breakfast, Snacks, Appetizer
- Method: Baking
- Cuisine: American
Nutrition
- Serving Size: 12
- Calories: 140 kcal
- Sugar: 3 g
- Sodium: 350 mg
- Fat: 6 g
- Saturated Fat: 3.5 g
- Unsaturated Fat: 2 g
- Trans Fat: 0.1 g
- Carbohydrates: 16 g
- Fiber: 0.5 g
- Protein: 5 g
- Cholesterol: 20 mg
Maya Thompson
Culinary Content Creator & Nutrition Enthusiast
Expertise
Healthy single-serving recipes, Meal prepping for individuals, Integrating nutrition into everyday cooking, Vegetarian and plant-based cuisine
Education
The Chef’s Academy at Harrison College
Associate of Applied Science in Culinary Arts
Focus: Nutrition, meal planning, and culinary techniques for healthy living.
Maya found her passion in the kitchen by mixing good food with good energy. After earning her culinary degree at The Chef’s Academy at Harrison College, she made it her mission to keep cooking simple, wholesome, and packed with flavor.
At Steelhead Diner, Maya shares easy, healthy recipes built for real life. For Maya, great food seems like a celebration of everyday moments, made better one fresh bite at a time.