Sizzling Homemade Cheeseburger Pockets Recipe for Burger Lovers
Crispy, golden pockets bursting with classic cheeseburger flavors will make your taste buds dance with excitement.
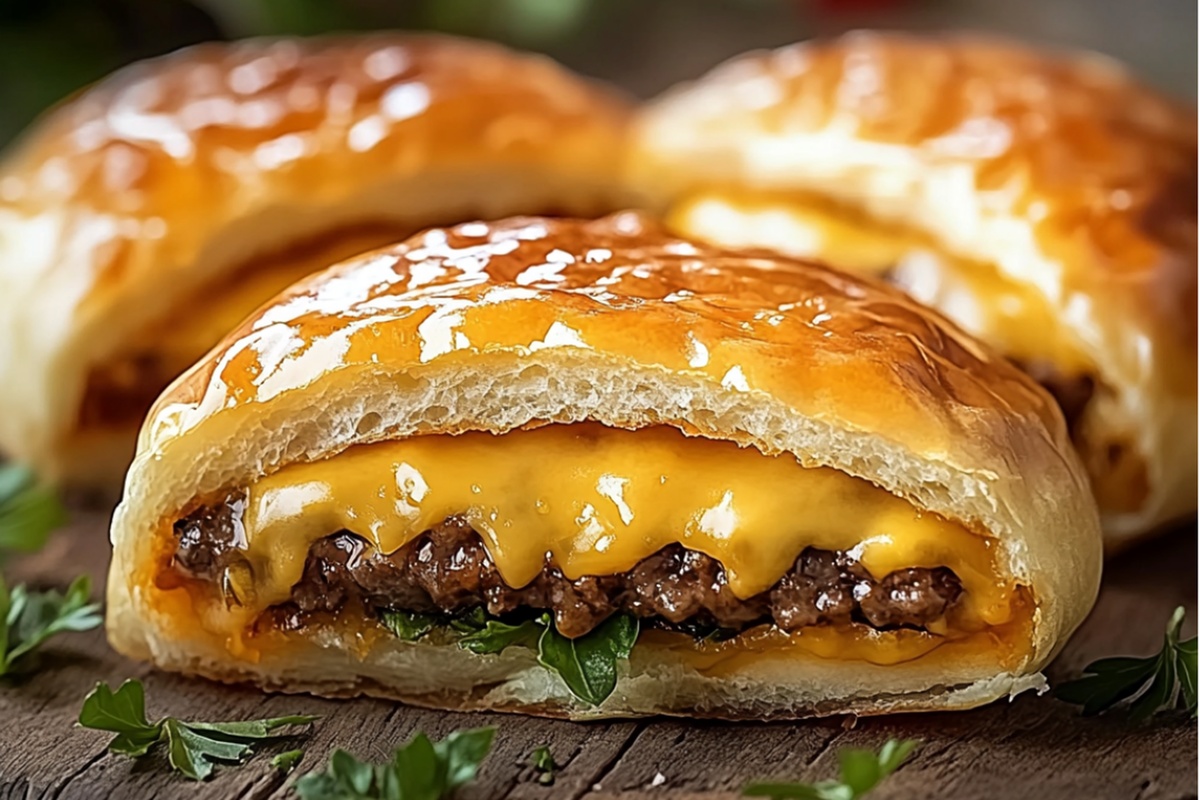
These handheld delights pack all the beloved ingredients of a traditional cheeseburger into a convenient, portable package.
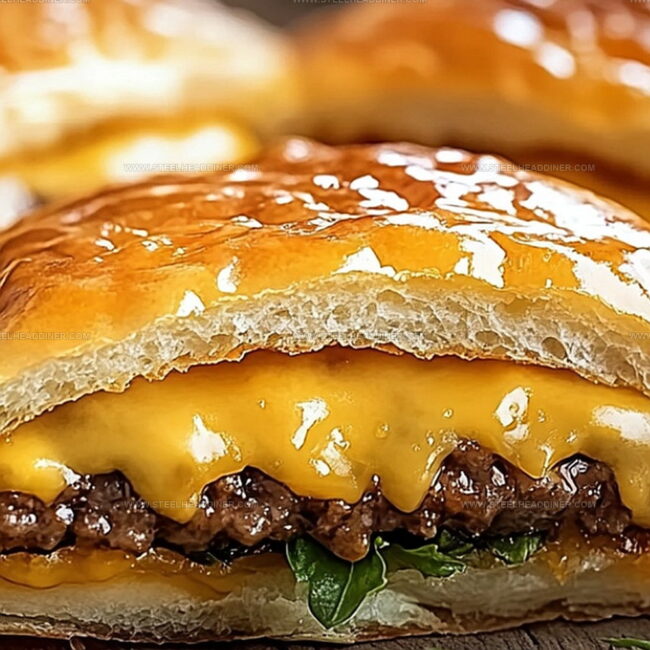
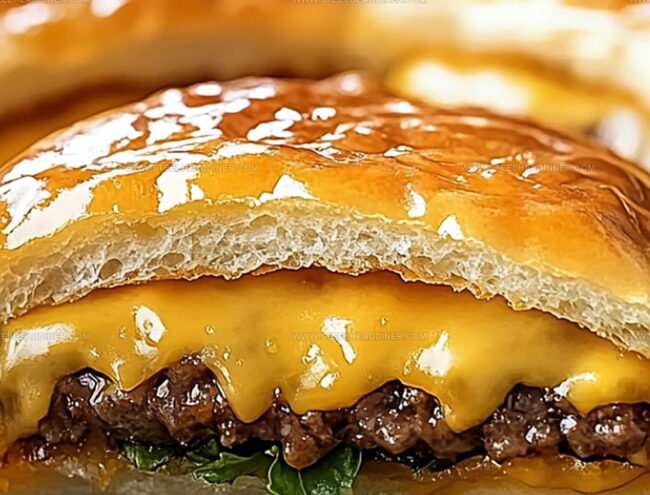
Melted cheese, seasoned ground beef, and soft dough create a perfect harmony of textures and tastes.
You’ll love how simple these pockets are to prepare, with minimal kitchen effort required.
The recipe combines comfort food nostalgia with a modern twist that appeals to both kids and adults.
Packed with protein and irresistible flavor, these cheeseburger pockets are sure to become a new family favorite that disappears from the plate in minutes.
Cheeseburger Pockets That Bring Fun to the Table
Ingredients for Cheeseburger Pockets
Main Protein:Dough and Base:Flavor Enhancers:Cooking Accessories:How to Make Cheeseburger Pockets

Step 1: Brown the Meat and Onions
Heat a large skillet over medium-high heat. Sauté chopped onions until soft and translucent.
Add ground beef and cook thoroughly, breaking the meat into small crumbles. Drain any excess grease from the pan.
Step 2: Infuse Flavor into the Beef
Stir in seasonings to create a mouthwatering burger filling:Simmer the mixture for 2-3 minutes, allowing the flavors to meld together perfectly.
Step 3: Prepare the Dough Pockets
Carefully unroll crescent roll dough and separate into individual triangles.
Spoon the savory beef mixture onto the wide end of each triangle. Sprinkle generously with shredded cheddar cheese.
Step 4: Seal and Shape the Pockets
Fold the dough over the filling, creating a triangular pocket. Pinch the edges firmly to seal in all the delicious ingredients.
Ensure no filling escapes during baking.
Step 5: Bake to Golden Perfection
Place the pockets on a baking sheet.
Slide into a preheated oven at 375F (190C). Bake for 12-15 minutes until the dough turns a beautiful golden brown and becomes crispy.
Step 6: Serve and Enjoy
Remove from the oven and let the pockets cool for a few minutes. Plate and serve with your favorite dipping sauces like ranch, ketchup, or barbecue sauce.
Watch as everyone devours these irresistible cheeseburger pockets!
Tips for Perfect Cheeseburger Pockets
Variations on Cheeseburger Pockets
Pairing Ideas for Cheeseburger Pockets
Storing Cheeseburger Pockets Properly
FAQs
Yes, ground turkey is a great lean alternative that works perfectly in this recipe. Just make sure to cook it thoroughly and drain any excess liquid.
Absolutely! Kids love these cheeseburger pockets because they’re fun to eat, portable, and taste just like a classic cheeseburger. They’re great for lunch boxes or quick meals.
You can prepare the pockets and refrigerate them uncooked for up to 24 hours. When ready to eat, simply bake them as directed. They also freeze well for up to 2 months.
Print
Cheeseburger Pockets Recipe
- Total Time: 30 minutes
- Yield: 8 1x
Description
Juicy cheeseburger pockets bring classic American comfort to handheld perfection. Crispy golden pastry embraces seasoned beef and melted cheese, delivering irresistible flavor in one satisfying bite that promises to delight you.
Ingredients
Protein:
- 1 pound (1 lb) ground beef
Cheese and Dairy:
- 1 cup shredded cheddar cheese
Dough and Vegetables:
- 1 (8 ounce) can crescent roll dough
- 1 small onion, chopped
Condiments and Seasonings:
- 2 tablespoons ketchup
- 1 tablespoon mustard
- 1 tablespoon Worcestershire sauce
- 1 tablespoon olive oil
- Salt to taste
- Pepper to taste
Instructions
- Warm the oven to 375°F (190°C), preparing a baking sheet for the pockets.
- Heat olive oil in a skillet and sauté chopped onions until translucent and softened.
- Add ground beef to the skillet, cooking thoroughly until no pink remains, then carefully drain excess fat.
- Incorporate ketchup, mustard, Worcestershire sauce, salt, and pepper into the meat mixture, simmering for 2-3 minutes to meld flavors.
- Carefully separate crescent dough triangles on a clean work surface.
- Distribute the seasoned beef mixture onto the wide end of each triangle, ensuring even coverage.
- Sprinkle shredded cheddar cheese over the beef, covering the entire surface.
- Fold the dough triangles, pressing edges firmly to create sealed pockets that prevent filling from leaking.
- Arrange the assembled pockets on the prepared baking sheet, leaving space between each pocket.
- Bake for 12-15 minutes until the dough turns golden brown and crispy.
- Remove from oven and let cool for 3-5 minutes to allow filling to set.
- Serve warm with optional dipping sauces like ranch or additional ketchup.
Notes
- Elevate the flavor by using high-quality ground beef with a slightly higher fat content for juicier pockets.
- Customize the filling by adding diced bell peppers or jalapeños for extra crunch and heat.
- Make these pockets gluten-free by substituting crescent dough with gluten-free puff pastry or pizza dough alternatives.
- Prep ahead by cooking the beef mixture in advance and storing it in the refrigerator for quick assembly during busy weeknights.
- Prep Time: 15 minutes
- Cook Time: 15 minutes
- Category: Lunch, Dinner, Snacks
- Method: Baking
- Cuisine: American
Nutrition
- Serving Size: 8
- Calories: 330 kcal
- Sugar: 3 g
- Sodium: 520 mg
- Fat: 22 g
- Saturated Fat: 9 g
- Unsaturated Fat: 11 g
- Trans Fat: 0.5 g
- Carbohydrates: 14 g
- Fiber: 1 g
- Protein: 18 g
- Cholesterol: 55 mg
Maya Thompson
Culinary Content Creator & Nutrition Enthusiast
Expertise
Healthy single-serving recipes, Meal prepping for individuals, Integrating nutrition into everyday cooking, Vegetarian and plant-based cuisine
Education
The Chef’s Academy at Harrison College
Associate of Applied Science in Culinary Arts
Focus: Nutrition, meal planning, and culinary techniques for healthy living.
Maya found her passion in the kitchen by mixing good food with good energy. After earning her culinary degree at The Chef’s Academy at Harrison College, she made it her mission to keep cooking simple, wholesome, and packed with flavor.
At Steelhead Diner, Maya shares easy, healthy recipes built for real life. For Maya, great food seems like a celebration of everyday moments, made better one fresh bite at a time.