The Ultimate Cheesy Ground Beef Sliders Recipe For Family Dinners
Crafting delectable ground beef sliders with a cheesy twist promises a mouthwatering adventure for hungry souls.
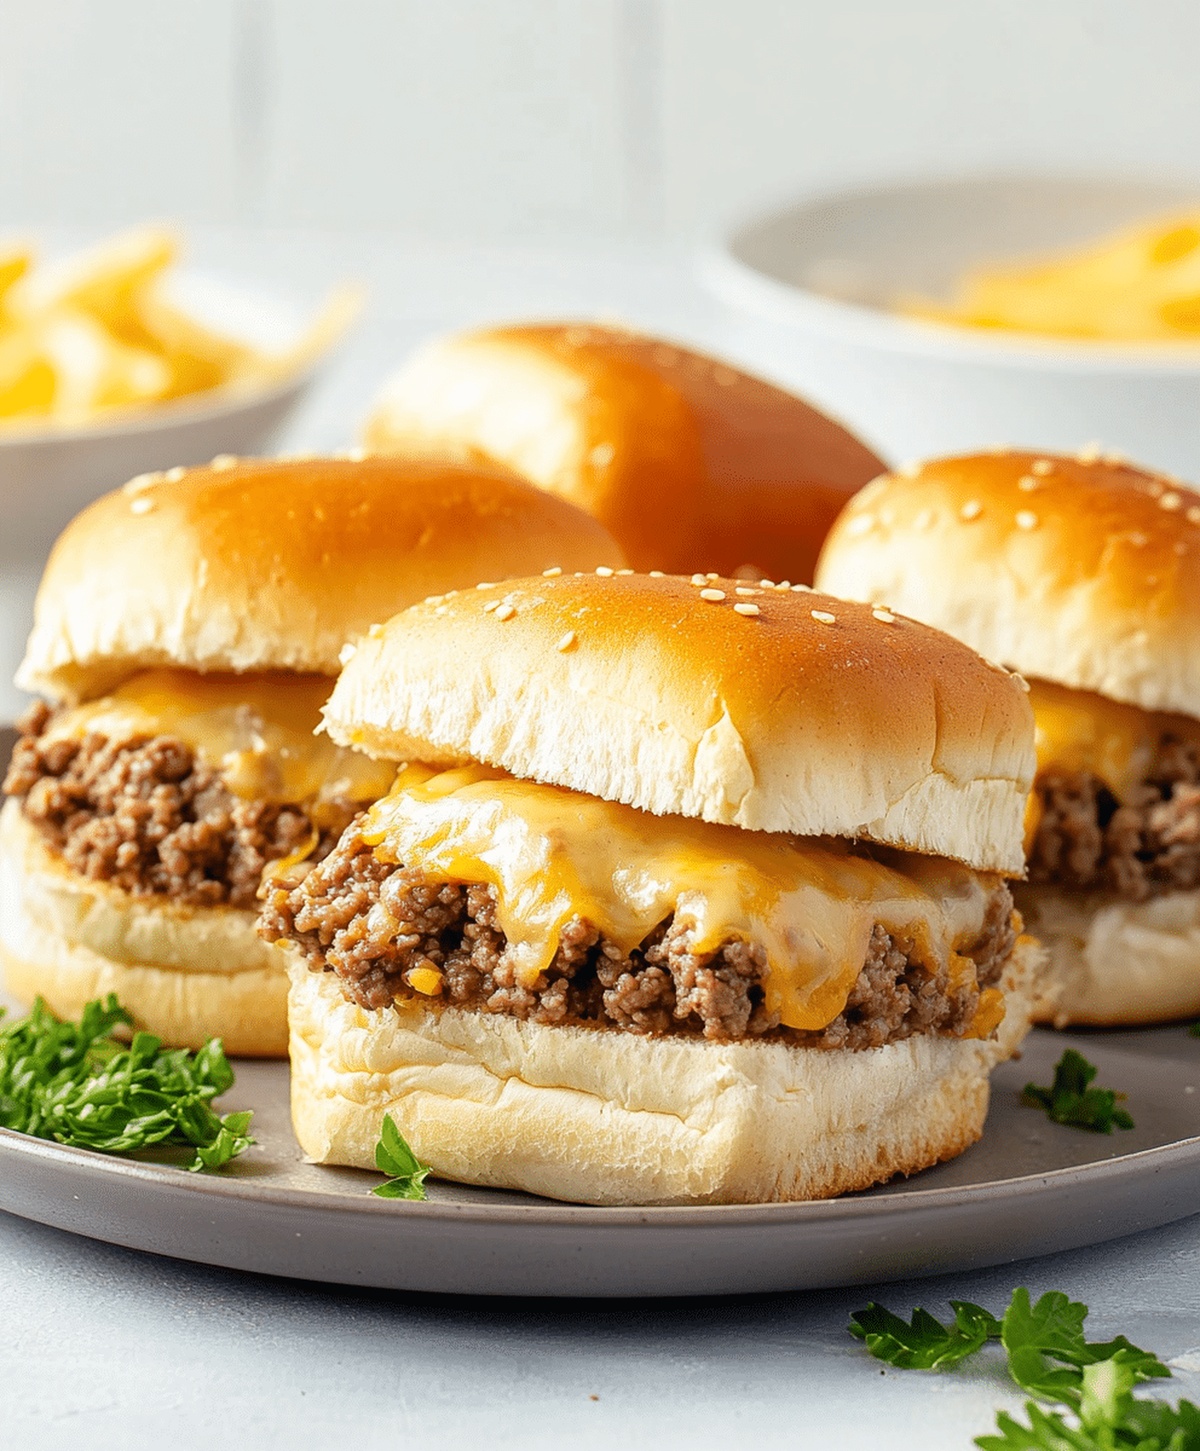
Crisp mini buns cradle juicy meat packed with irresistible flavor combinations.
Casual gatherings and game nights call for these bite-sized delights that everyone adores.
Small yet mighty, these sliders bring excitement to any table.
Quick preparation means minimal effort with maximum taste satisfaction.
Simple ingredients combine to create something truly spectacular.
You’ll find yourself reaching for seconds before finishing the first round.
These irresistible little sandwiches will have everyone asking for your secret recipe.
What Makes Cheesy Ground Beef Sliders Shine
What You Need For Cheesy Ground Beef Sliders
For the Meat:For the Bread:For the Flavor Enhancers:For the Dairy and Topping:How To Cook Cheesy Ground Beef Sliders

Step 1: Brown the Meat
Cook ground beef in a skillet over medium heat until it’s completely browned. Carefully drain away any extra fat from the pan.
Step 2: Enhance the Flavor Base
Add these ingredients to the skillet:Sauté the mixture until the onions become soft and translucent.
Step 3: Season the Beef Mixture
Mix in the following seasonings:Stir thoroughly to distribute the flavors evenly throughout the meat.
Step 4: Prepare the Sandwich Foundation
Arrange slider buns in a baking dish, placing the bottom halves first as the base layer.
Step 5: Layer the Delicious Filling
Spread the seasoned beef mixture uniformly across the bottom bun halves.
Top the beef with cheese slices to create a melty layer.
Step 6: Complete the Mini Sandwiches
Cover the cheese and beef with the top halves of the slider buns.
Step 7: Add Golden Finishing Touch
Brush melted butter over the bun tops. Optional: Sprinkle sesame seeds for extra texture and flavor.
Step 8: Bake to Perfection
Place the baking dish in a preheated oven at 350°F (175°C). Bake for 10-12 minutes until the cheese melts completely and buns turn golden brown.
Step 9: Serve and Enjoy
Remove from oven and serve these delectable mini sandwiches while they’re warm and irresistibly gooey.
Handy Insights For Cheesy Ground Beef Sliders
Taste Tweaks For Cheesy Ground Beef Sliders
Best Pairings With Cheesy Ground Beef Sliders
Keeping Cheesy Ground Beef Sliders Fresh Longer
FAQs
Choose ground beef with 80/20 lean-to-fat ratio for the most flavorful and juicy sliders. The fat content helps keep the meat moist and adds rich taste.
Yes, you can assemble the sliders up to 24 hours in advance and refrigerate them. Just cover the baking dish with foil and bake when ready to serve, adding a few extra minutes to cooking time.
Lightly toast the bun bottoms before adding the beef mixture, and drain excess grease from the meat thoroughly. This helps maintain the buns’ crisp texture.
Print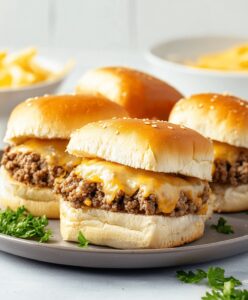
Cheesy Ground Beef Sliders Recipe
- Total Time: 27 minutes
- Yield: 12 1x
Description
Homemade cheesy ground beef sliders emerge as delightful mini sandwiches perfect for gatherings. Mini patties nestled in soft rolls combine savory beef with melted cheese, delivering irresistible flavor you will crave again and again.
Ingredients
- 1 lb (450 g) ground beef
- 8 slices cheddar or American cheese
- 12 slider buns
- 1 small onion, diced
- 2 garlic cloves, minced
- 2 tablespoons melted butter
- 1 tablespoon Worcestershire sauce
- 1 teaspoon salt
- 1/2 teaspoon black pepper
- 1 tablespoon sesame seeds (optional)
Instructions
- Warm the oven to 350F (175C) to prepare for baking the sliders.
- Cook ground beef in a skillet over medium heat until completely browned, carefully draining any excess fat.
- Incorporate diced onions and minced garlic into the meat, sautéing until vegetables become translucent and fragrant.
- Season the beef mixture with Worcestershire sauce, adding salt and pepper for enhanced flavor profile.
- Arrange slider bun bottoms in a uniform layer within a baking dish.
- Distribute the seasoned beef mixture evenly across the bun bases, ensuring consistent coverage.
- Layer cheese slices directly over the meat to create a melty, gooey topping.
- Gently position the top bun halves over the cheese, creating complete slider sandwiches.
- Generously brush melted butter across the bun surfaces, optionally sprinkling sesame seeds for additional texture and visual appeal.
- Transfer the prepared sliders to the preheated oven, baking for 10-12 minutes until cheese melts completely and buns turn golden brown.
- Remove from oven and allow to rest briefly before serving warm for optimal taste and texture.
Notes
- Customize meat selection by using lean ground turkey or plant-based crumbles for healthier alternatives that maintain delicious flavor profile.
- Prep buns ahead of time and assemble sliders quickly for busy weeknight dinners or game day gatherings.
- Control cheese meltiness by choosing high-quality sliced cheese that provides smooth, consistent coverage across slider surfaces.
- Enhance flavor complexity by adding minced jalapeños or optional herbs like fresh thyme during beef seasoning stage for gourmet twist.
- Prep Time: 15 minutes
- Cook Time: 12 minutes
- Category: Lunch, Dinner, Appetizer, Snacks
- Method: Baking
- Cuisine: American
Nutrition
- Serving Size: 12
- Calories: 270 kcal
- Sugar: 1 g
- Sodium: 510 mg
- Fat: 18 g
- Saturated Fat: 8 g
- Unsaturated Fat: 8 g
- Trans Fat: 0.5 g
- Carbohydrates: 17 g
- Fiber: 1 g
- Protein: 14 g
- Cholesterol: 55 mg
Maya Thompson
Culinary Content Creator & Nutrition Enthusiast
Expertise
Healthy single-serving recipes, Meal prepping for individuals, Integrating nutrition into everyday cooking, Vegetarian and plant-based cuisine
Education
The Chef’s Academy at Harrison College
Associate of Applied Science in Culinary Arts
Focus: Nutrition, meal planning, and culinary techniques for healthy living.
Maya found her passion in the kitchen by mixing good food with good energy. After earning her culinary degree at The Chef’s Academy at Harrison College, she made it her mission to keep cooking simple, wholesome, and packed with flavor.
At Steelhead Diner, Maya shares easy, healthy recipes built for real life. For Maya, great food seems like a celebration of everyday moments, made better one fresh bite at a time.