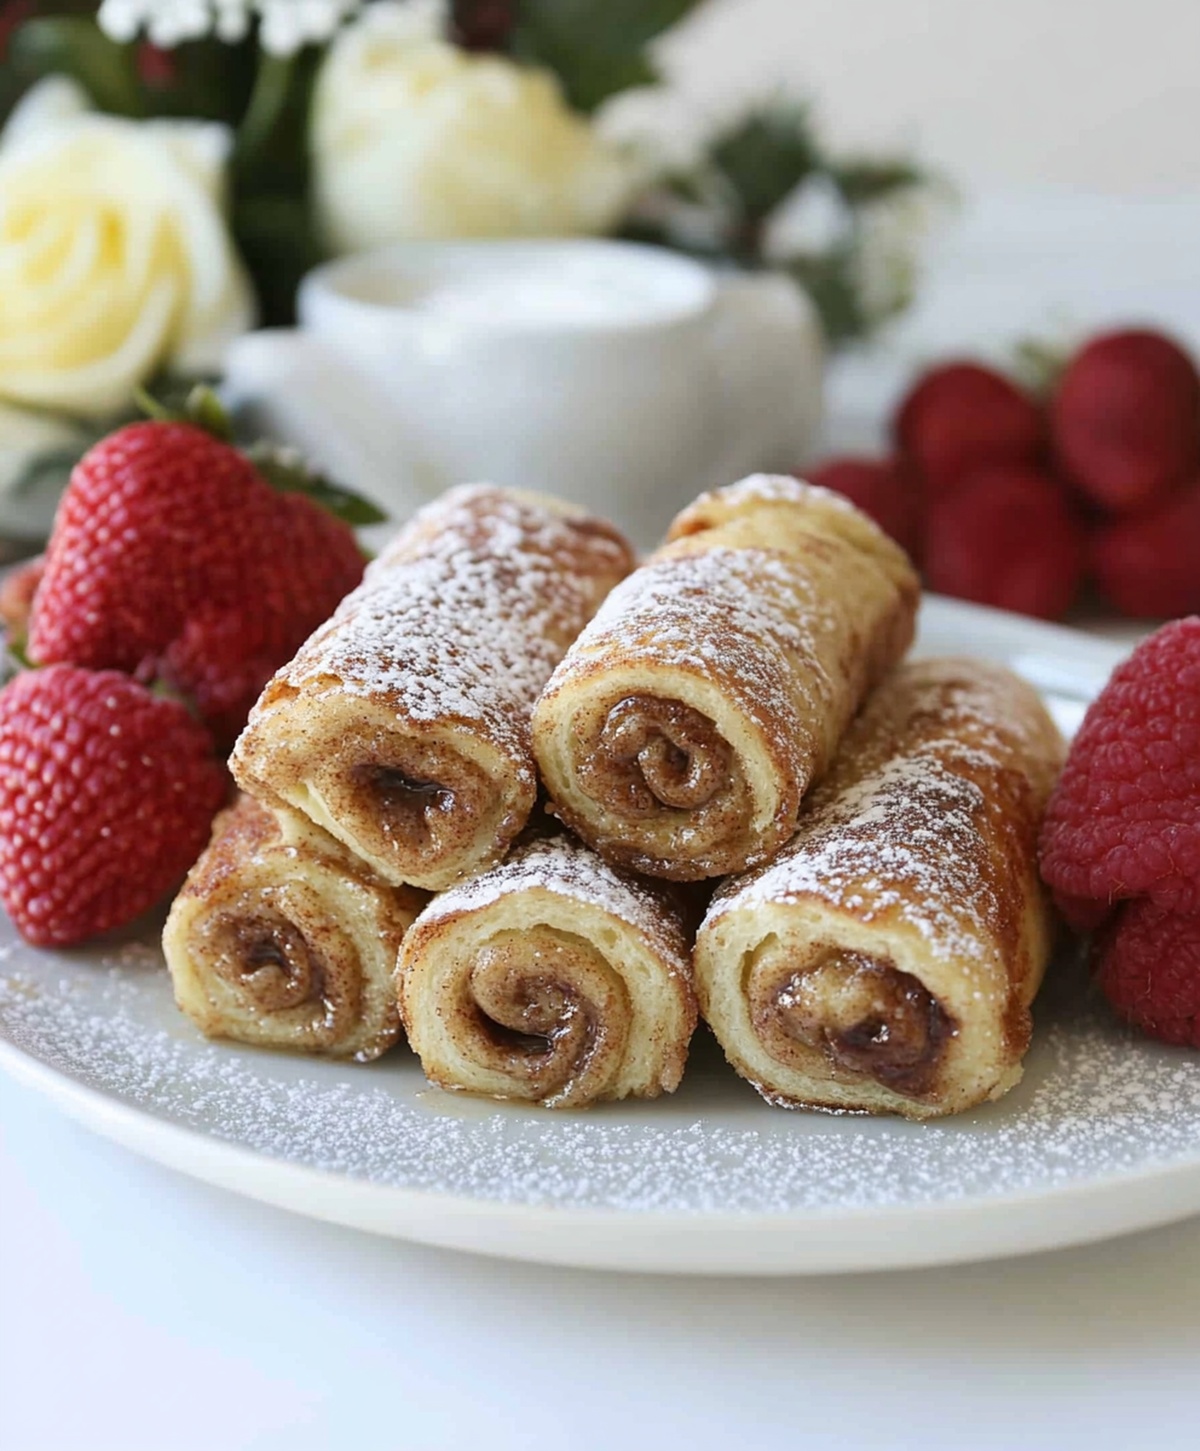
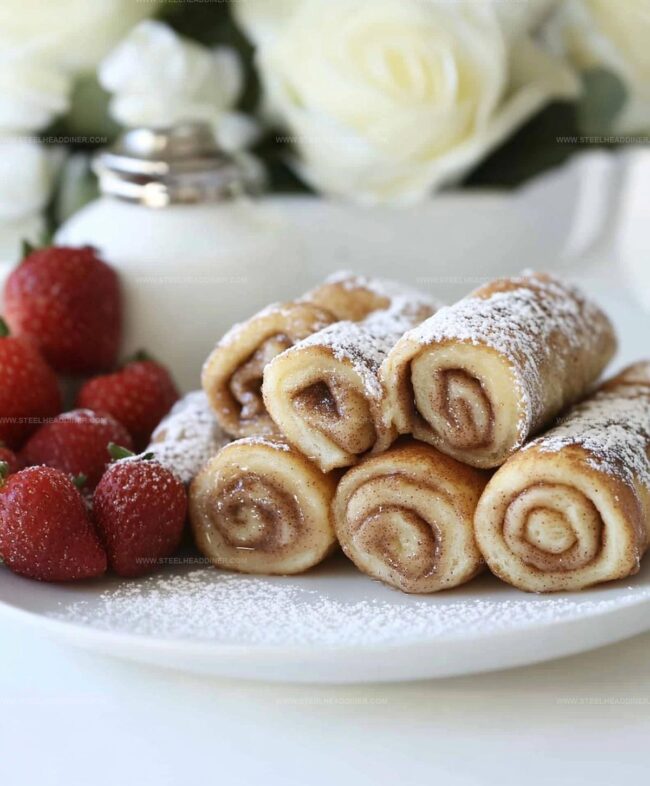
Irresistible Cinnamon Roll French Toast Roll-up Recipe
Baking a delightful cinnamon roll French toast roll-up sparks joy in every kitchen adventurer.
Sweet aromas will soon dance through your home, promising pure breakfast bliss.
Soft tortillas become magical carriers of creamy, spiced goodness waiting to unfold.
Breakfast lovers appreciate quick recipes that deliver maximum flavor with minimal effort.
Cream cheese and cinnamon create a dreamy combination that melts perfectly inside each rolled treat.
Butter and maple syrup stand ready to complement these delectable morning delights.
Dive into this simple yet spectacular breakfast that guarantees smiles around the table.
Flavor Combos for Cinnamon Toast Roll-Ups
Great Way to Present Toast Roll-Ups
How to Store Toast Roll-Ups Properly
FAQs
Use white sandwich bread that’s slightly soft and fresh. Gently roll with a rolling pin, applying even pressure to flatten without ripping.
Yes, you can assemble the rolls ahead of time and store them in the refrigerator for up to 2 hours before cooking. Keep them covered to prevent drying out.
Soft white sandwich bread is ideal. Avoid crusty or artisan breads, as they’re too stiff and won’t roll easily without breaking.
Use medium heat and watch carefully. Turn the roll-ups frequently to ensure even browning and prevent burning.
Why Cinnamon Roll French Toast Is Fun
What Goes in This Cinnamon Roll
For the Bread:For the Filling:For the Coating:For the Finishing Touches:How to Make Cinnamon Roll Toast-Ups
Step 1: Flatten Bread Slices
Press each slice of bread flat using a rolling pin, creating a thin, uniform surface for easy rolling.
Step 2: Spread Buttery Goodness
Gently coat each flattened bread slice with a delicate layer of softened butter, ensuring complete coverage.
Step 3: Sprinkle Cinnamon Sugar Magic
Combine ground cinnamon and granulated sugar in a small bowl, then generously dust the buttered bread with the sweet and aromatic mixture.
Step 4: Create Tight Roll-Ups
Carefully roll each seasoned bread slice into a compact, tight cylinder, pressing the edges to seal.
Step 5: Prepare Egg Dipping Mixture
Whisk together:in a shallow dish until well combined and smooth.
Step 6: Warm the Cooking Surface
Melt butter in a skillet over medium heat, creating a golden cooking surface.
Step 7: Coat Roll-Ups
Completely immerse each bread roll in the egg mixture, ensuring all sides are evenly coated.
Step 8: Cook to Golden Perfection
Place roll-ups in the heated skillet, rotating every minute to achieve an even, crispy golden-brown exterior.
Step 9: Finish and Serve
Transfer cooked roll-ups to a serving plate and dust with powdered sugar or drizzle with sweet icing for a delectable finishing touch.
Helpful Notes for French Toast Roll-Ups
Print
Cinnamon Roll French Toast Roll-up Recipe
- Total Time: 18 minutes
- Yield: 8 1x
Description
Magical cinnamon roll french toast roll-ups blend classic breakfast favorites into one irresistible morning treat. Delicate pastry layers combine sweet cinnamon spice with creamy texture, offering a delightful twist you’ll crave again and again.
Ingredients
- 2 eggs
- 1/4 cup milk
- 1/2 tsp vanilla extract
- 8 slices white bread, crusts removed
- 4 tbsp butter, softened
- 1 tbsp butter
- 1/4 cup granulated sugar
- 1 tsp ground cinnamon
Instructions
- Gently compress each bread slice using a rolling pin to create a uniform, thin surface.
- Apply a delicate layer of softened butter across the entire bread slice.
- Combine ground cinnamon and granulated sugar in a small mixing container, then generously dust the buttered bread surface.
- Carefully roll each slice into a compact cylinder, ensuring a tight and secure configuration.
- Prepare an egg mixture by vigorously whisking eggs, milk, and aromatic vanilla extract in a wide, shallow container.
- Warm a skillet over medium heat and melt butter to create a smooth cooking surface.
- Thoroughly immerse each rolled bread cylinder into the egg mixture, ensuring complete and even coating on all exterior surfaces.
- Transfer the egg-coated rolls to the heated skillet, rotating periodically to achieve a uniform golden-brown exterior, approximately 2-3 minutes total cooking time.
- Present the crispy rolls immediately while warm, elegantly dusted with powdered sugar or drizzled with sweet glaze for enhanced flavor and visual appeal.
Notes
- Use day-old bread for better rolling and less moisture, preventing soggy texture.
- Softly press bread when rolling to avoid tearing and ensure tight, compact rolls.
- Try whole wheat or gluten-free bread for dietary alternatives and diverse nutrition.
- Reduce sugar content by using alternatives like stevia or monk fruit sweetener for a lower-calorie version.
- Prep Time: 15 minutes
- Cook Time: 3 minutes
- Category: Breakfast, Snacks, Desserts
- Method: Frying
- Cuisine: American
Nutrition
- Serving Size: 8
- Calories: 269 kcal
- Sugar: 11 g
- Sodium: 216 mg
- Fat: 16 g
- Saturated Fat: 9 g
- Unsaturated Fat: 6 g
- Trans Fat: 0.5 g
- Carbohydrates: 26 g
- Fiber: 1 g
- Protein: 6 g
- Cholesterol: 97 mg


Maya Thompson
Culinary Content Creator & Nutrition Enthusiast
Expertise
Healthy single-serving recipes, Meal prepping for individuals, Integrating nutrition into everyday cooking, Vegetarian and plant-based cuisine
Education
The Chef’s Academy at Harrison College
Associate of Applied Science in Culinary Arts
Focus: Nutrition, meal planning, and culinary techniques for healthy living.
Maya found her passion in the kitchen by mixing good food with good energy. After earning her culinary degree at The Chef’s Academy at Harrison College, she made it her mission to keep cooking simple, wholesome, and packed with flavor.
At Steelhead Diner, Maya shares easy, healthy recipes built for real life. For Maya, great food seems like a celebration of everyday moments, made better one fresh bite at a time.