Cupid’s Dreamy Ice Cream Treats Recipe for Sweet Romance
Sweet and dreamy Cupid’s ice cream treats have stolen hearts in kitchens everywhere.
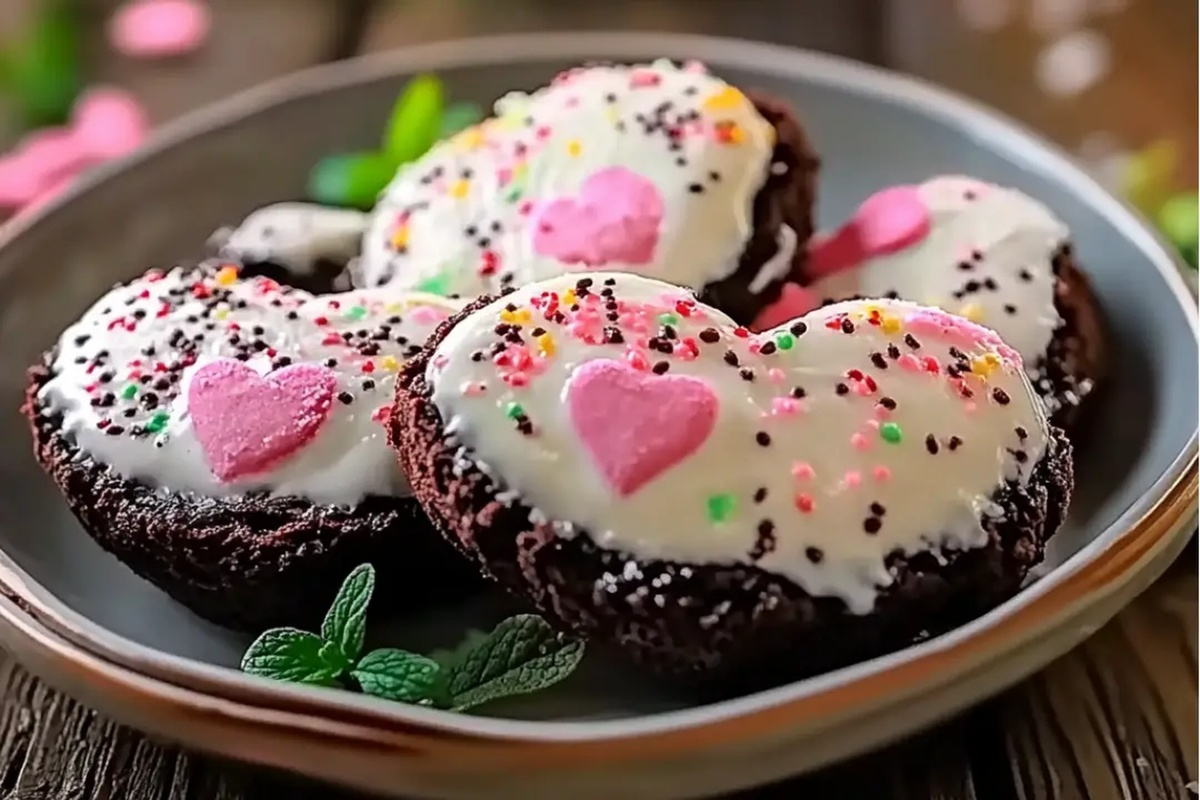
Creamy, luscious, and packed with romantic charm, these delightful desserts promise pure indulgence.
Cold and smooth textures blend perfectly with rich flavors that dance on your palate.
Chocolate and vanilla swirl together in a heavenly combination that speaks directly to dessert lovers.
Each spoonful delivers a magical experience of pure bliss.
Smooth and elegant, these treats bring a touch of whimsy to any gathering.
You’ll want to savor every delectable bite of this irresistible frozen delight.
Cupids Ice Cream Treats That Sweeten Your Day

Ingredients for Cupids Ice Cream Treats
Cookie Base Ingredients:Dry Ingredients:Ice Cream Filling:Preparation Ingredient:How to Make Cupids Ice Cream Treats

Step 1: Warm Up the Oven
Fire up your oven to a toasty 350F (175C). Grab your baking sheets and line them with parchment paper or a silicone mat.
Step 2: Create Cookie Magic
In a spacious mixing bowl, whip the softened butter and sugar until they transform into a fluffy cloud. Crack in the eggs one by one, giving each a good mix.
Splash in the vanilla extract for extra flavor. In another bowl, blend:Slowly fold the dry ingredients into the wet mixture until a smooth dough emerges.
Step 3: Shape Lovely Cookies
Dust your work surface with a light flour shower. Roll out the dough to a slim 1/4-inch thickness.
Grab a heart-shaped cookie cutter and start cutting out adorable shapes. Transfer the cookie hearts to your prepared baking sheets.
Pro tip: Gently poke the tops with a fork for a cute textured look.
Step 4: Bake to Perfection
Slide the baking sheets into the oven.
Bake for 8-10 minutes until the cookie edges look set. Let the cookies chill on the baking sheets for 5 minutes, then move them to a wire rack to cool completely.
Step 5: Prepare Frosty Filling
While cookies cool, spread softened ice cream on a parchment-lined baking sheet, creating a 1-inch thick layer. Pop it in the freezer for 1-2 hours until firm.
Use the same heart-shaped cutter to slice out ice cream hearts.
Step 6: Craft Sandwich Delights
Grab a cookie base, top it with a heart-shaped ice cream slice.
Gently press another cookie on top to create a dreamy sandwich. Repeat with remaining cookies and ice cream.
Step 7: Freeze and Serve
Tuck the ice cream sandwiches back into the freezer for 30 minutes to set. When ready, pull them out and enjoy these love-filled treats straight from the freezer!
Tips for Cupids Ice Cream Treats

Variations on Cupids Ice Cream Treats
Pairing Suggestions for Cupids Ice Cream Treats
Storage Tips for Cupids Ice Cream Treats
FAQs
Yes, you can prepare the chocolate cookies in advance. Bake and cool them completely, then store in an airtight container at room temperature for up to 3 days before assembling the ice cream sandwiches.
You’ll need a heart-shaped cookie cutter, baking sheets, parchment paper, and a wire cooling rack. These are common kitchen tools most home bakers already have.
Absolutely! Feel free to experiment with various ice cream flavors like chocolate, strawberry, or mint to create your own unique ice cream sandwich combinations.
Print
Cupids Ice Cream Treats Recipe
- Total Time: 55 minutes
- Yield: 24 1x
Description
Cupids ice cream treats bring romantic sweetness to dessert lovers seeking Valentine’s Day magic. Creamy strawberry-swirled ice cream nestled between heart-shaped cookies promises delightful moments you’ll cherish with someone special.
Ingredients
Main Ingredients:
- 1 cup unsalted butter, softened
- 1 cup granulated sugar
- 2 large eggs
Dry Ingredients:
- 1 3/4 cups all-purpose flour
- 1/2 cup cocoa powder
Flavor Enhancers:
- 1 teaspoon vanilla extract
Instructions
- Warm the oven to 350F (175C) and prepare baking sheets with parchment paper or silicone mat.
- Blend softened butter and sugar until creamy and aerated in a large mixing bowl.
- Incorporate eggs individually, ensuring thorough mixing after each addition.
- Fold in vanilla extract for aromatic depth.
- Combine flour and cocoa powder in a separate bowl, whisking to eliminate lumps.
- Gradually integrate dry ingredients into wet mixture, creating a uniform chocolate dough.
- Dust work surface with flour and roll dough to 1/4-inch thickness.
- Utilize heart-shaped cookie cutter to create precise cookie shapes.
- Arrange cut cookies on prepared baking sheets with gentle spacing.
- Optional: Delicately pierce cookie surfaces with fork tines for textural interest.
- Bake for 8-10 minutes until cookie edges appear set and firm.
- Allow cookies to rest on baking sheet for 5 minutes, then transfer to cooling rack.
- Spread softened ice cream evenly on parchment-lined sheet, approximately 1-inch thick.
- Freeze ice cream for 1-2 hours until solidified.
- Cut heart-shaped ice cream portions matching cookie dimensions.
- Construct sandwiches by placing ice cream between two chocolate cookies.
- Apply gentle pressure to ensure secure assembly.
- Return completed treats to freezer for 30 minutes to stabilize.
- Serve directly from freezer for optimal texture and temperature.
Notes
- Swap cocoa powder with carob for a healthier chocolate alternative that’s naturally lower in fat.
- Try dairy-free ice cream options like coconut or almond milk varieties to create vegan-friendly treats.
- Use silicone molds for uniform heart shapes if cookie cutters aren’t available, ensuring consistent sandwich sizes.
- Prevent ice cream from melting quickly by working in small batches and keeping unused portions frozen during assembly.
- Prep Time: 45 minutes
- Cook Time: 10 minutes
- Category: Desserts, Snacks
- Method: Baking
- Cuisine: American
Nutrition
- Serving Size: 24
- Calories: 202
- Sugar: 12 g
- Sodium: 30 mg
- Fat: 13 g
- Saturated Fat: 8 g
- Unsaturated Fat: 4 g
- Trans Fat: 0.3 g
- Carbohydrates: 21 g
- Fiber: 1.5 g
- Protein: 2 g
- Cholesterol: 31 mg
Maya Thompson
Culinary Content Creator & Nutrition Enthusiast
Expertise
Healthy single-serving recipes, Meal prepping for individuals, Integrating nutrition into everyday cooking, Vegetarian and plant-based cuisine
Education
The Chef’s Academy at Harrison College
Associate of Applied Science in Culinary Arts
Focus: Nutrition, meal planning, and culinary techniques for healthy living.
Maya found her passion in the kitchen by mixing good food with good energy. After earning her culinary degree at The Chef’s Academy at Harrison College, she made it her mission to keep cooking simple, wholesome, and packed with flavor.
At Steelhead Diner, Maya shares easy, healthy recipes built for real life. For Maya, great food seems like a celebration of everyday moments, made better one fresh bite at a time.