Spooky & Sweet Halloween Monster Cookies Recipe
Quirky and playful Halloween monster cookies bring unexpected delight to any spooky celebration.
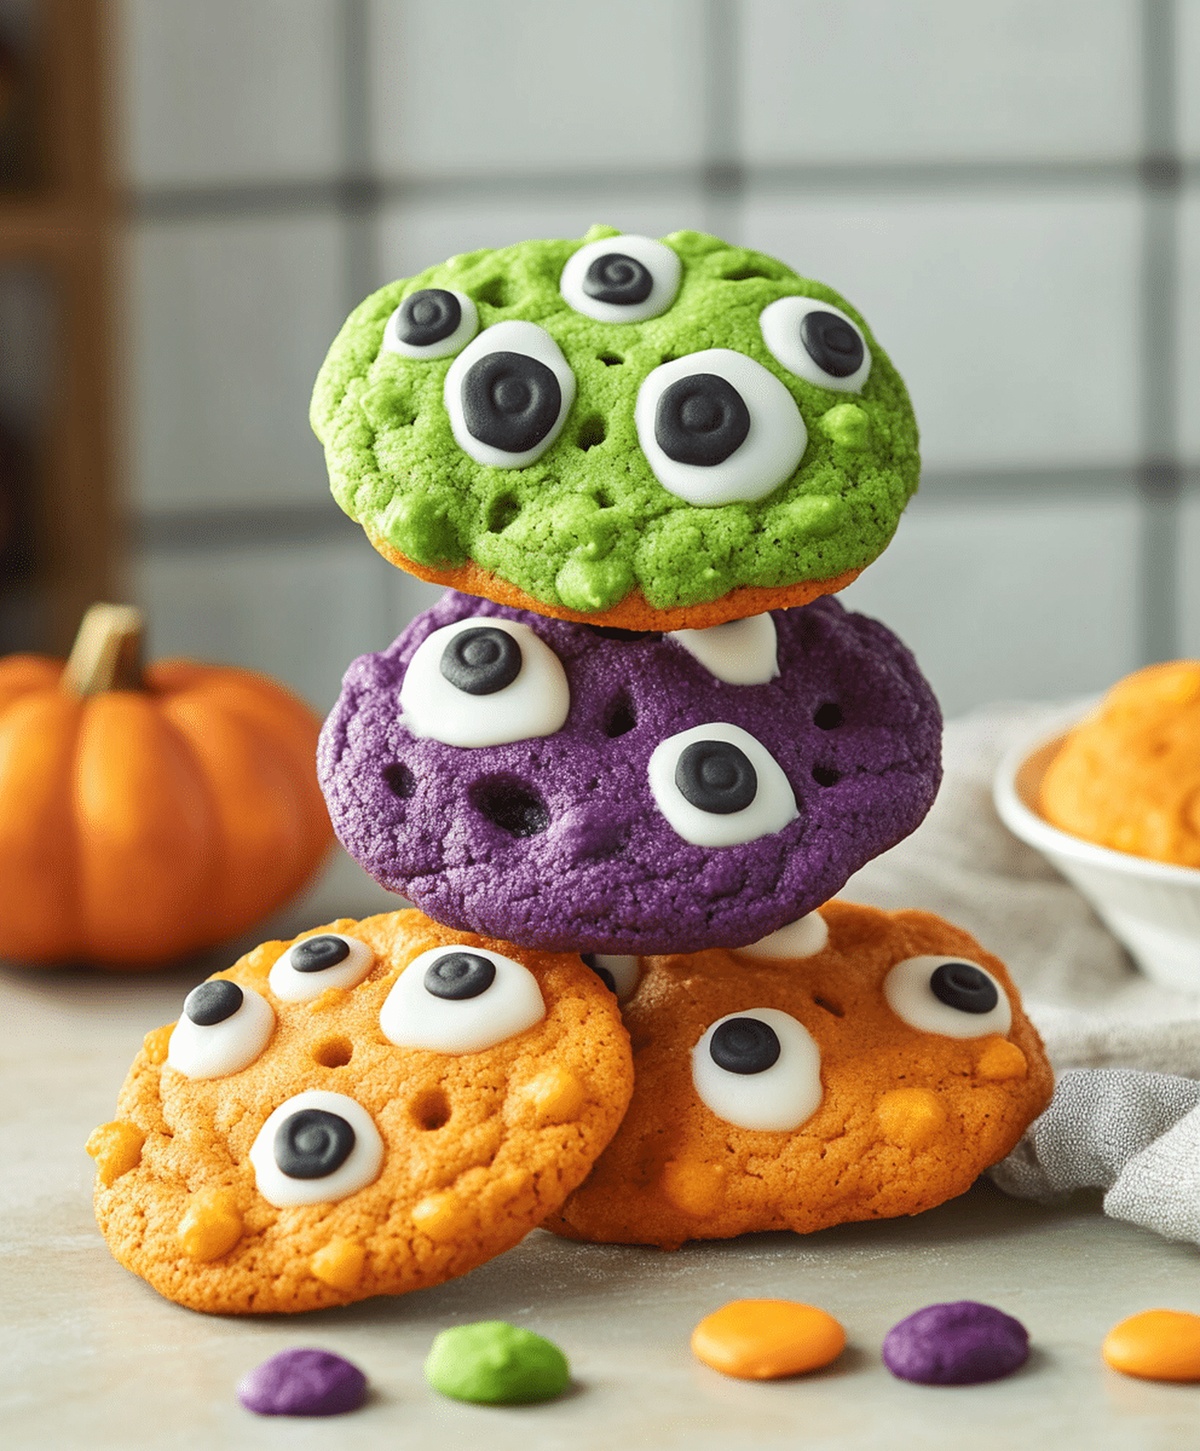
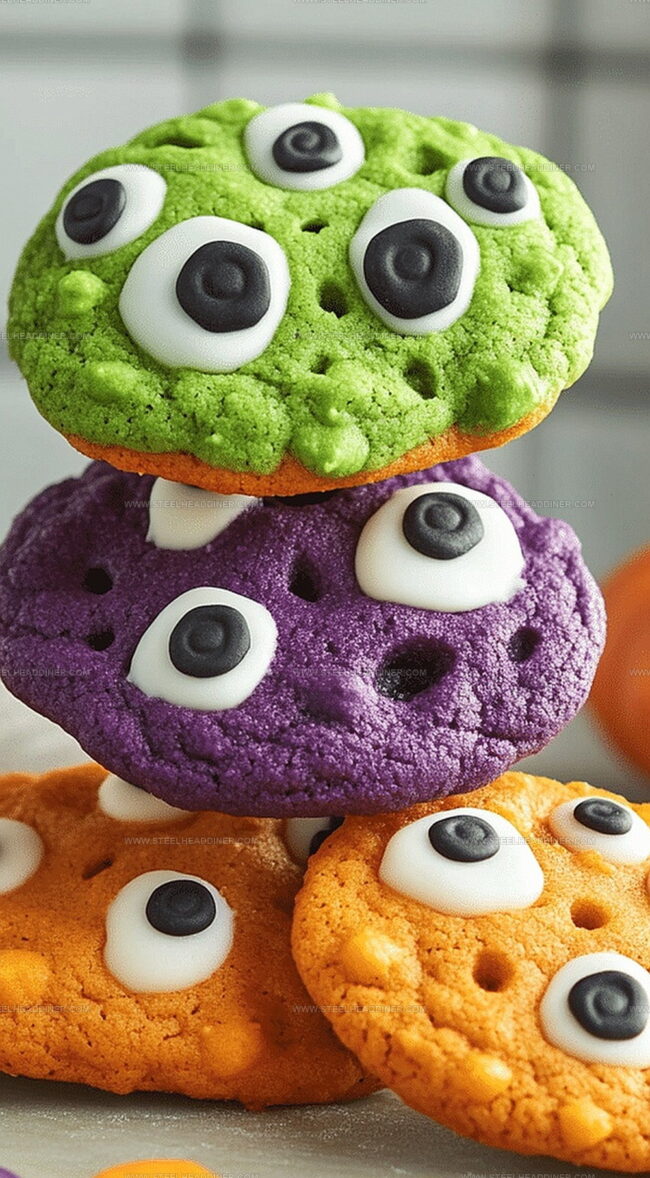
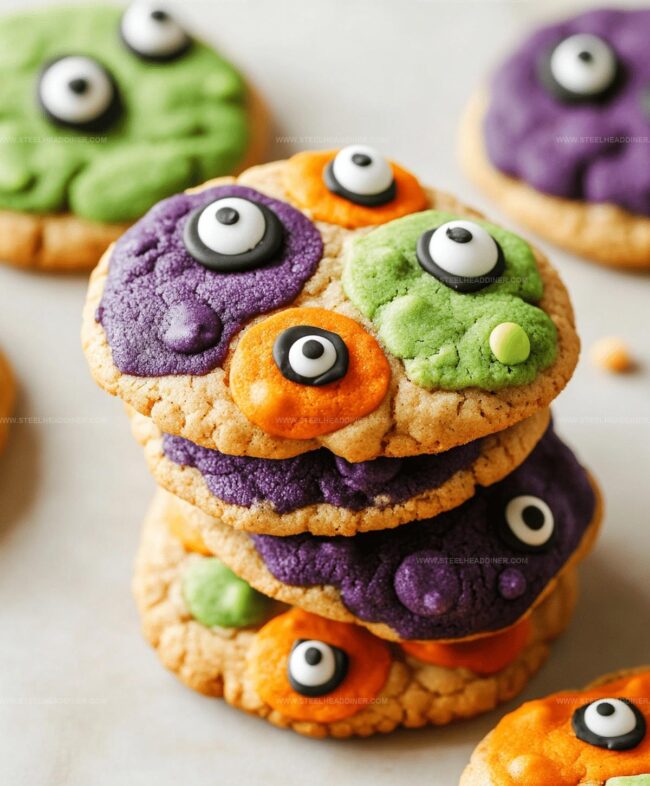
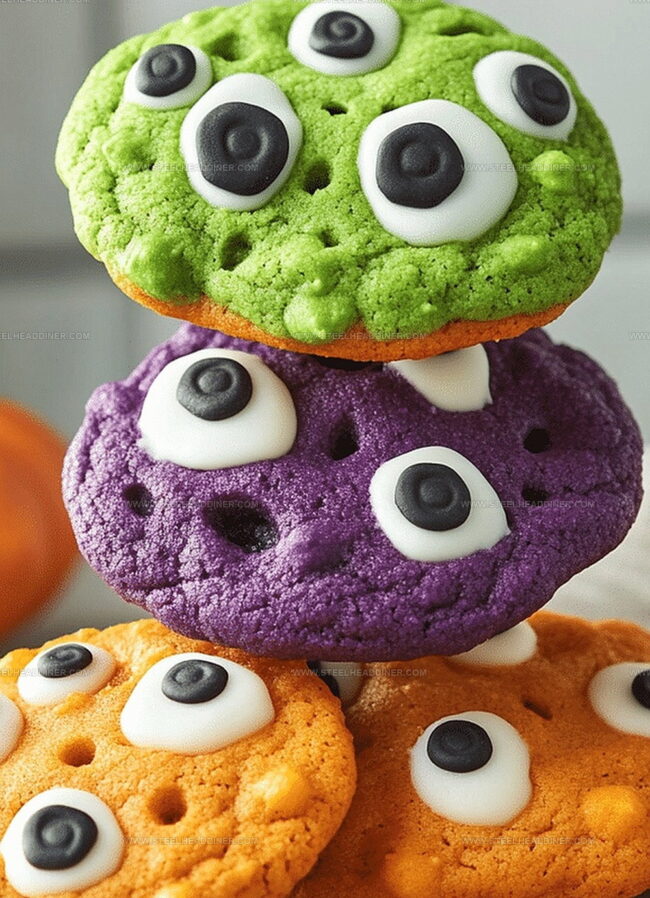
Colorful sprinkles and googly candy eyes transform ordinary treats into whimsical creatures that spark joy.
Kids absolutely adore decorating these playful sweets with wild creativity.
Mysterious chocolate chips peek through vibrant frosting like little monster eyes watching you.
Baking becomes an adventure when you craft these adorable edible characters.
Soft, chewy textures and sweet surprises await in every delightful bite.
Unleash your inner monster baker and create magic in the kitchen!
Halloween Monster Cookies – Frightfully Fun Baking
Monster Cookie Ingredient Checklist
For the Base:For the Dry Ingredients:For the Mix-Ins and Decorations:Steps to Make Halloween Monster Cookies
Step 1: Prepare Baking Station
Preheat the oven to 350°F (175°C). Line baking sheets with parchment paper, creating the perfect canvas for your monster cookie adventure.
Step 2: Create Creamy Base
In a large mixing bowl, blend together:Whip these ingredients until they transform into a smooth, dreamy mixture that will make your cookies irresistibly soft.
Step 3: Incorporate Eggs
Add eggs one at a time, mixing thoroughly after each addition.
This technique ensures a perfectly integrated batter with a silky texture.
Step 4: Mix Dry Ingredients
In a separate bowl, combine:Whisk these dry ingredients until they’re well blended and ready to join the party.
Step 5: Combine Wet and Dry Mixtures
Gradually fold the dry ingredient mixture into the wet ingredients. Stir gently until everything is just combined, being careful not to overmix.
Step 6: Add Monstrous Mix-Ins
Fold in your spooky additions:These colorful morsels will give your cookies that wild, monster-like appearance.
Step 7: Shape and Decorate Cookies
Scoop cookie dough onto prepared baking sheets.
Flatten each cookie slightly and press candy eyes into the surface, creating adorable monster faces that will delight kids and adults alike.
Step 8: Bake to Perfection
Slide the baking sheets into the preheated oven.
Bake for 10-12 minutes until the edges turn a beautiful golden brown. The cookies will look slightly underbaked but will firm up as they cool.
Step 9: Cool and Serve
Transfer cookies to wire racks and let them cool completely. Watch as the monsters come to life, ready to be devoured at your Halloween celebration.
Tips for Perfect Halloween Monster Cookies
Mix Up Your Monster Cookies
Sharing Halloween Monster Cookies with Friends
Halloween Monster Cookies – How to Store Best
FAQs
Yes, candy eyes are completely edible and made from sugar, cornstarch, and food coloring. They’re specifically designed for decorating baked goods and are safe for consumption.
While peanut butter is a key ingredient, you can substitute it with almond butter or sunflower seed butter for a similar texture and taste. Just ensure the alternative butter is creamy and has similar fat content.
Chill the dough for 30 minutes before baking. This helps the butter firm up and prevents excessive spreading, resulting in thicker, more structured cookies.
Print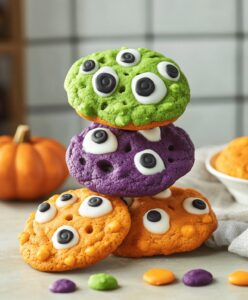
Halloween Monster Cookies Recipe
- Total Time: 32 minutes
- Yield: 24 1x
Description
Monster cookies pack delightful Halloween spirit with colorful chocolate candies and festive decorations. Spooky cookie treats delight children and adults alike with playful designs and sweet chocolate chip goodness.
Ingredients
- 2 eggs
- 1 cup peanut butter
- 1/2 cup unsalted butter, softened
- 1 cup brown sugar
- 1/2 cup granulated sugar
- 1 1/2 cups all-purpose flour
- 2 cups rolled oats
- 1 tsp baking soda
- 1/2 tsp salt
- 1 cup chocolate chips
- 1 cup candy-coated chocolates
- 1/2 cup candy eyes
Instructions
- Prepare workspace by heating oven to 350F and lining baking sheets with parchment paper.
- Create smooth base mixture by thoroughly blending peanut butter, butter, and both sugar varieties until creamy and uniform.
- Incorporate eggs individually, ensuring complete integration after each addition to maintain mixture consistency.
- Separately combine dry ingredients – flour, oats, baking soda, and salt – using a whisk to distribute evenly.
- Merge dry ingredients into wet mixture, stirring carefully until fully incorporated without overmixing.
- Gently fold chocolate chips and candy-coated chocolates throughout the dough, distributing evenly.
- Drop spoonfuls of dough onto prepared baking sheets, creating rounded mounds and gently flattening with light pressure.
- Decorate each cookie by strategically placing candy eyes on surface before baking.
- Bake for 10-12 minutes, watching for golden edges as indicator of doneness.
- Transfer cookies to wire cooling racks, allowing them to set and reach room temperature for optimal texture.
Notes
- Toast oats briefly before adding to enhance their nutty flavor and provide a deeper, more complex taste profile.
- Use room temperature ingredients to ensure smoother mixing and better cookie texture.
- Chill dough for 30 minutes before baking to prevent excessive spreading and create thicker, chewier cookies.
- Try different mix-ins like crushed pretzels or colored sprinkles to customize Halloween monster theme.
- Prep Time: 20 minutes
- Cook Time: 12 minutes
- Category: Snacks, Desserts
- Method: Baking
- Cuisine: American
Nutrition
- Serving Size: 24
- Calories: 189
- Sugar: 11 g
- Sodium: 94 mg
- Fat: 10 g
- Saturated Fat: 3 g
- Unsaturated Fat: 6 g
- Trans Fat: 0.1 g
- Carbohydrates: 22 g
- Fiber: 2 g
- Protein: 4 g
- Cholesterol: 18 mg
Jack Monroe
Founder & Recipe Innovator
Expertise
Pacific Northwest cuisine, Single-serving recipe development, Sustainable sourcing and cooking, Modern comfort food
Education
Brightwater
Associate of Applied Science in Culinary Arts
Focus: Sustainable cooking, seasonal ingredients, and food systems education
Jack grew up with a fishing rod in one hand and a cast-iron skillet in the other. After graduating from Brightwater: A Center for the Study of Food, he set out to prove that cooking for one could still taste like a feast.
Jack believes that food should feel real: fresh, fearless, and a little wild, just like the rivers he grew up around. For Jack, every single dish is a small adventure, and the best ones are the ones you can cook with heart, not hassle.