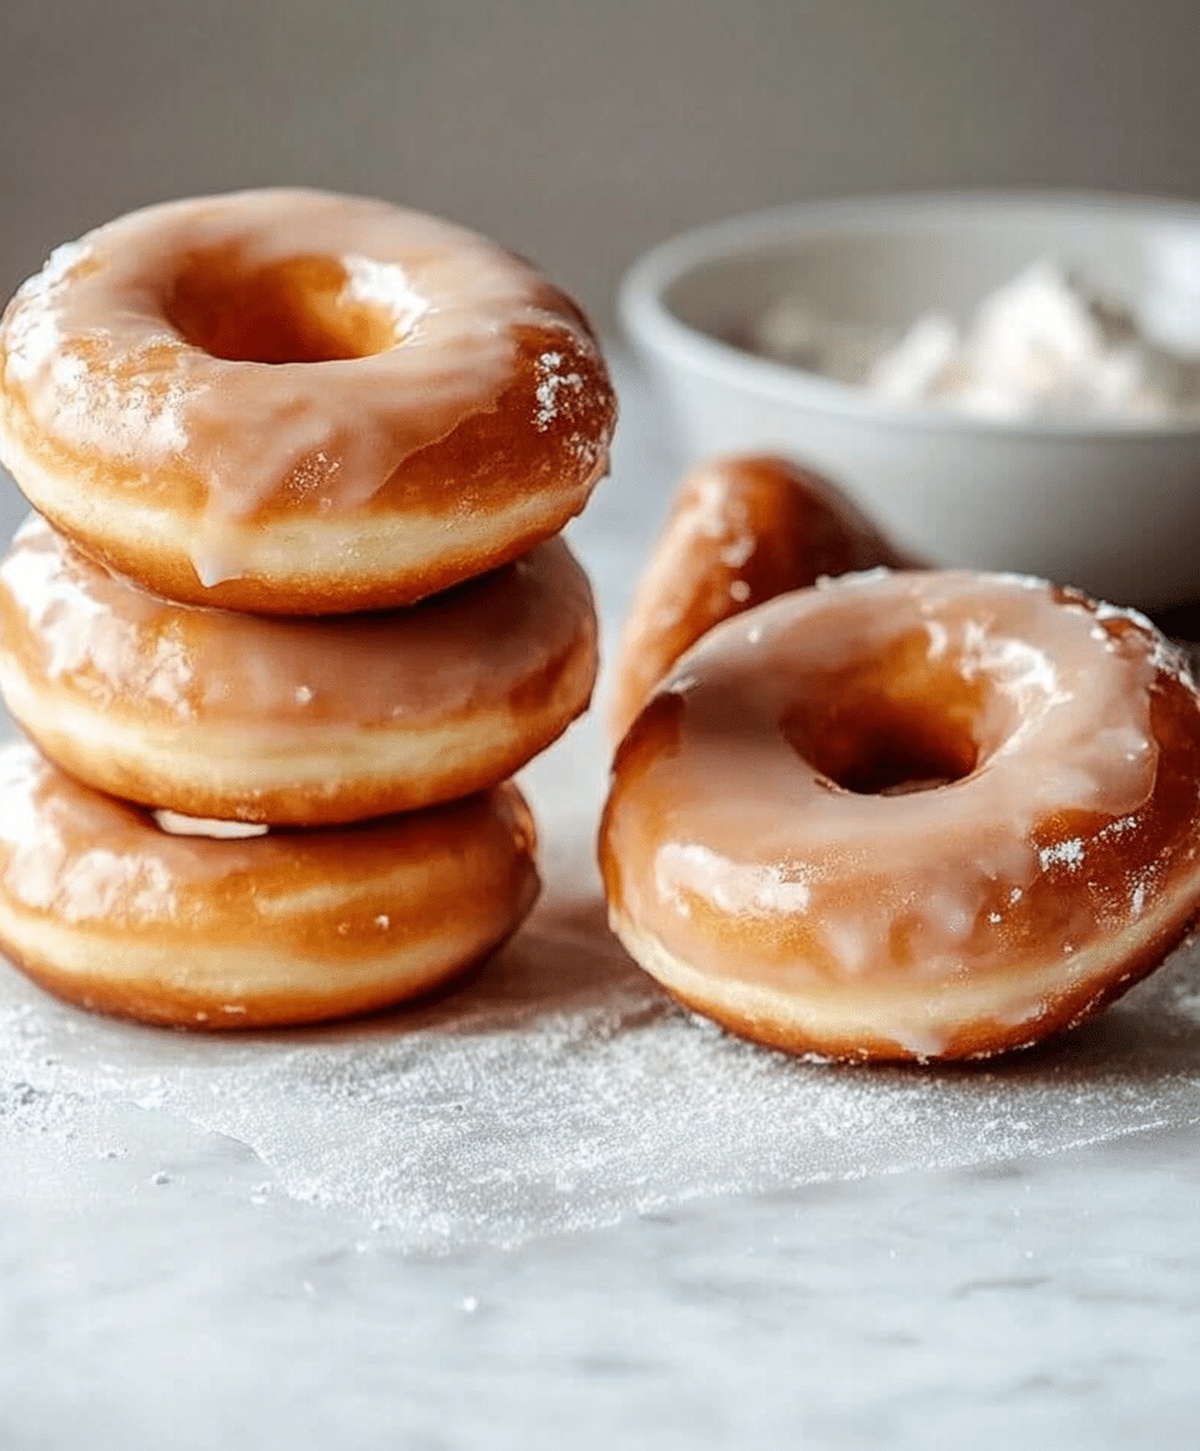
The Best Homemade Krispy Kremes Recipe for Sweet Breakfast Joy
Crafting delectable homemade Krispy Kremes has been my secret passion for years.
Sweet aromas fill my kitchen whenever I knead this magical dough.
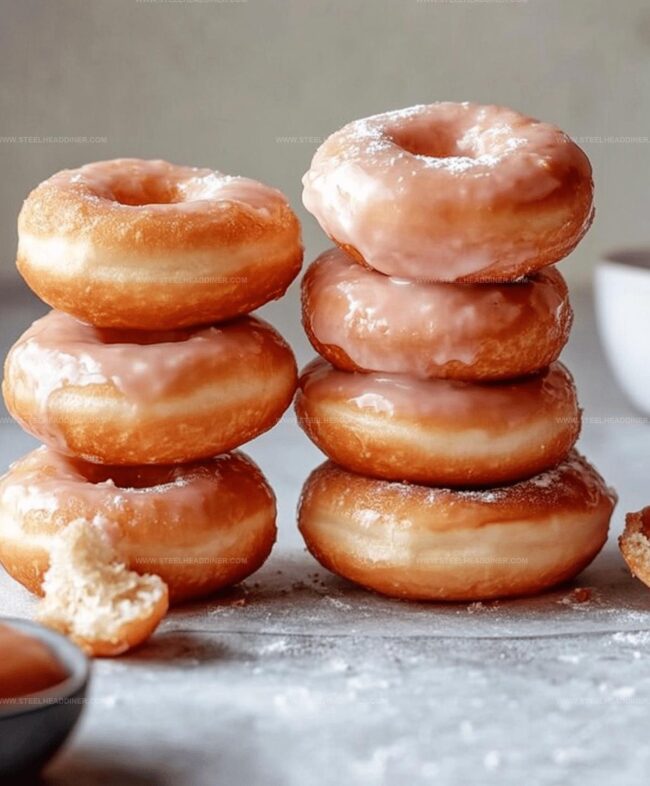
Soft, pillowy textures promise pure indulgence with every single bite.
My grandmother’s cherished recipe sparked my love for these classic donuts.
Precision matters when creating these golden-brown circles of happiness.
Decadent glazes transform simple ingredients into culinary magic.
Come explore this delightful journey that connects generations through one irresistible treat.
Homemade Krispy Kremes: What Makes Them Special
Ingredients Needed For Homemade Krispy Kremes
For the Donut Base:For the Liquid Ingredients:For the Seasoning and Finishing:How To Prepare Homemade Krispy Kremes
Step 1: Activate the Yeast
Sprinkle the yeast into warm water and watch it transform. Let it sit quietly for about 5 minutes until it becomes wonderfully foamy and bubbly, signaling it’s ready to work its magic.
Step 2: Create the Donut Base
Combine these delightful ingredients:Whisk everything together until you have a smooth, well-blended mixture that promises deliciousness.
Step 3: Develop the Dough
Gradually fold in flour and knead the dough with loving care until it becomes silky and elastic.
Cover the dough and let it rest, allowing it to rise and develop rich flavors for about an hour in a warm, cozy spot.
Step 4: Shape the Donuts
Roll out the puffy dough on a lightly floured surface.
Cut out classic donut shapes with precision and care. Let the shaped donuts rise again for another 30 minutes, becoming light and airy.
Step 5: Fry to Golden Perfection
Heat oil to a precise 350°F (175°C). Carefully lower the donuts into the hot oil, frying them until they turn a gorgeous golden brown on both sides.
The kitchen will fill with an incredible aroma.
Step 6: Glaze with Love
Drain the freshly fried donuts on paper towels to remove excess oil.
While still warm, dip each donut into a sweet, glossy glaze that will make them shine.
Step 7: Final Touch and Enjoyment
Place the glazed donuts on a wire rack to set.
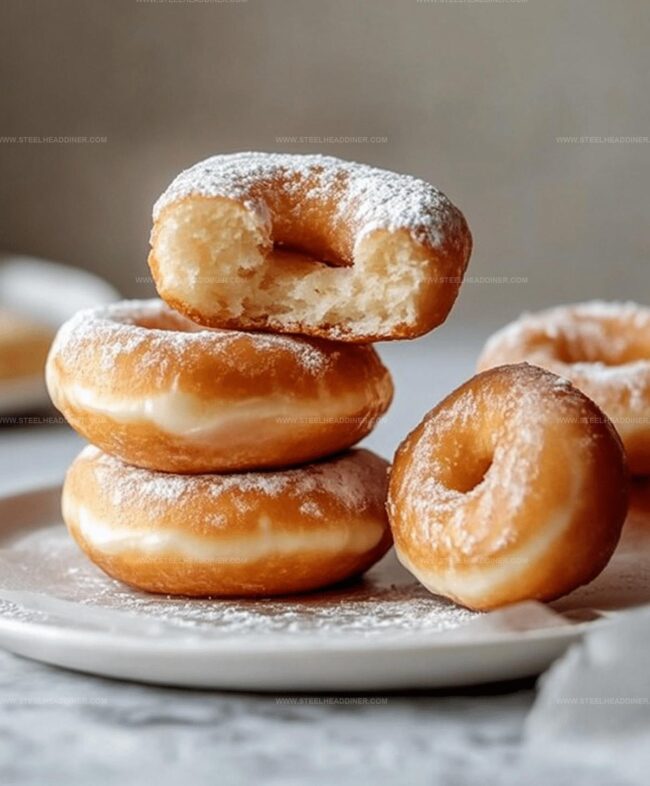
Let the glaze cool and harden slightly. Now, grab a donut and bite into pure homemade happiness!
Insider Advice For Homemade Krispy Kremes
Creative Variations For Homemade Krispy Kremes
Suggested Serving Ideas For Homemade Krispy Kremes
Storage Guidelines For Homemade Krispy Kremes
FAQs
The yeast needs time to activate and become foamy, which helps the dough rise properly and creates a light, fluffy texture in the donuts.
The dough should double in size and look puffy. When you gently press it with a finger, the indentation should slowly spring back but still leave a slight mark.
Use a round cookie cutter for the main circle and a smaller cutter for the center hole. If you don’t have cutters, you can use two different-sized glasses or cups to create the shape.
Print
Homemade Krispy Kremes Recipe
- Total Time: 30 minutes
- Yield: 12 1x
Description
Delightful homemade Krispy Kreme donuts bring Southern comfort to your kitchen. Pillowy dough and sweet glaze create an irresistible treat you can enjoy anytime.
Ingredients
- 2 1/4 tsps active dry yeast
- 1/2 cup warm water
- 1/4 cup granulated sugar
- 1/4 cup whole milk, warmed
- 1/4 cup unsalted butter, melted
- 1 egg
- 1/2 tsp salt
- 2 1/2 cups all-purpose flour
- Oil for frying (as needed)
Instructions
- Activate the yeast in tepid water, allowing it to bloom and become frothy for approximately 5 minutes.
- Incorporate sugar, milk, melted butter, egg, and salt into the yeast mixture, stirring until thoroughly combined.
- Introduce flour gradually, kneading the dough until it achieves a silky, elastic consistency.
- Transfer the dough to a lightly greased bowl, cover with a damp cloth, and permit it to rise in a warm environment for 60-90 minutes until doubled in volume.
- Punch down the expanded dough and roll it out on a floured surface to approximately 1/2-inch thickness.
- Utilize a donut cutter or two circular cutters to shape the dough into classic ring formations.
- Place cut donuts on a parchment-lined tray, cover loosely, and allow a secondary rise for 30-45 minutes.
- Heat vegetable oil in a deep, heavy-bottomed pot to precisely 350°F (175°C), monitoring temperature with a culinary thermometer.
- Carefully lower donuts into the hot oil, frying each side until they transform into a rich, golden-amber color, approximately 1-2 minutes per side.
- Extract donuts using a slotted spoon, transferring them to a wire rack lined with absorbent paper to drain excess oil.
- While still warm, immerse each donut in prepared glaze, ensuring complete and even coverage.
- Position glazed donuts on a cooling rack, allowing excess glaze to drip and exterior to set before serving.
Notes
- Select fresh, active dry yeast for the best rise and texture in your homemade donuts.
- Maintain precise oil temperature around 350F to prevent greasy or undercooked donuts, using a kitchen thermometer for accuracy.
- Try alternative flour types like whole wheat or gluten-free blends for dietary adaptations, but expect slight texture variations.
- Allow donuts to cool briefly before glazing to help the coating set smoothly and prevent sliding off the surface.
- Prep Time: 20 minutes
- Cook Time: 10 minutes
- Category: Desserts, Snacks
- Method: Frying
- Cuisine: American
Nutrition
- Serving Size: 12
- Calories: 230
- Sugar: 8 g
- Sodium: 90 mg
- Fat: 9 g
- Saturated Fat: 5 g
- Unsaturated Fat: 3 g
- Trans Fat: 0.2 g
- Carbohydrates: 32 g
- Fiber: 1 g
- Protein: 4 g
- Cholesterol: 40 mg
Maya Thompson
Culinary Content Creator & Nutrition Enthusiast
Expertise
Healthy single-serving recipes, Meal prepping for individuals, Integrating nutrition into everyday cooking, Vegetarian and plant-based cuisine
Education
The Chef’s Academy at Harrison College
Associate of Applied Science in Culinary Arts
Focus: Nutrition, meal planning, and culinary techniques for healthy living.
Maya found her passion in the kitchen by mixing good food with good energy. After earning her culinary degree at The Chef’s Academy at Harrison College, she made it her mission to keep cooking simple, wholesome, and packed with flavor.
At Steelhead Diner, Maya shares easy, healthy recipes built for real life. For Maya, great food seems like a celebration of everyday moments, made better one fresh bite at a time.