Spooky Mummy Oreo Balls Recipe: A Hauntingly Sweet Treat
Crafting delightful mummy Oreo balls brings pure joy to sweet-loving adventurers seeking playful dessert magic.
Creamy chocolate and cookie crumbs dance together in a whimsical treat perfect for halloween celebrations.
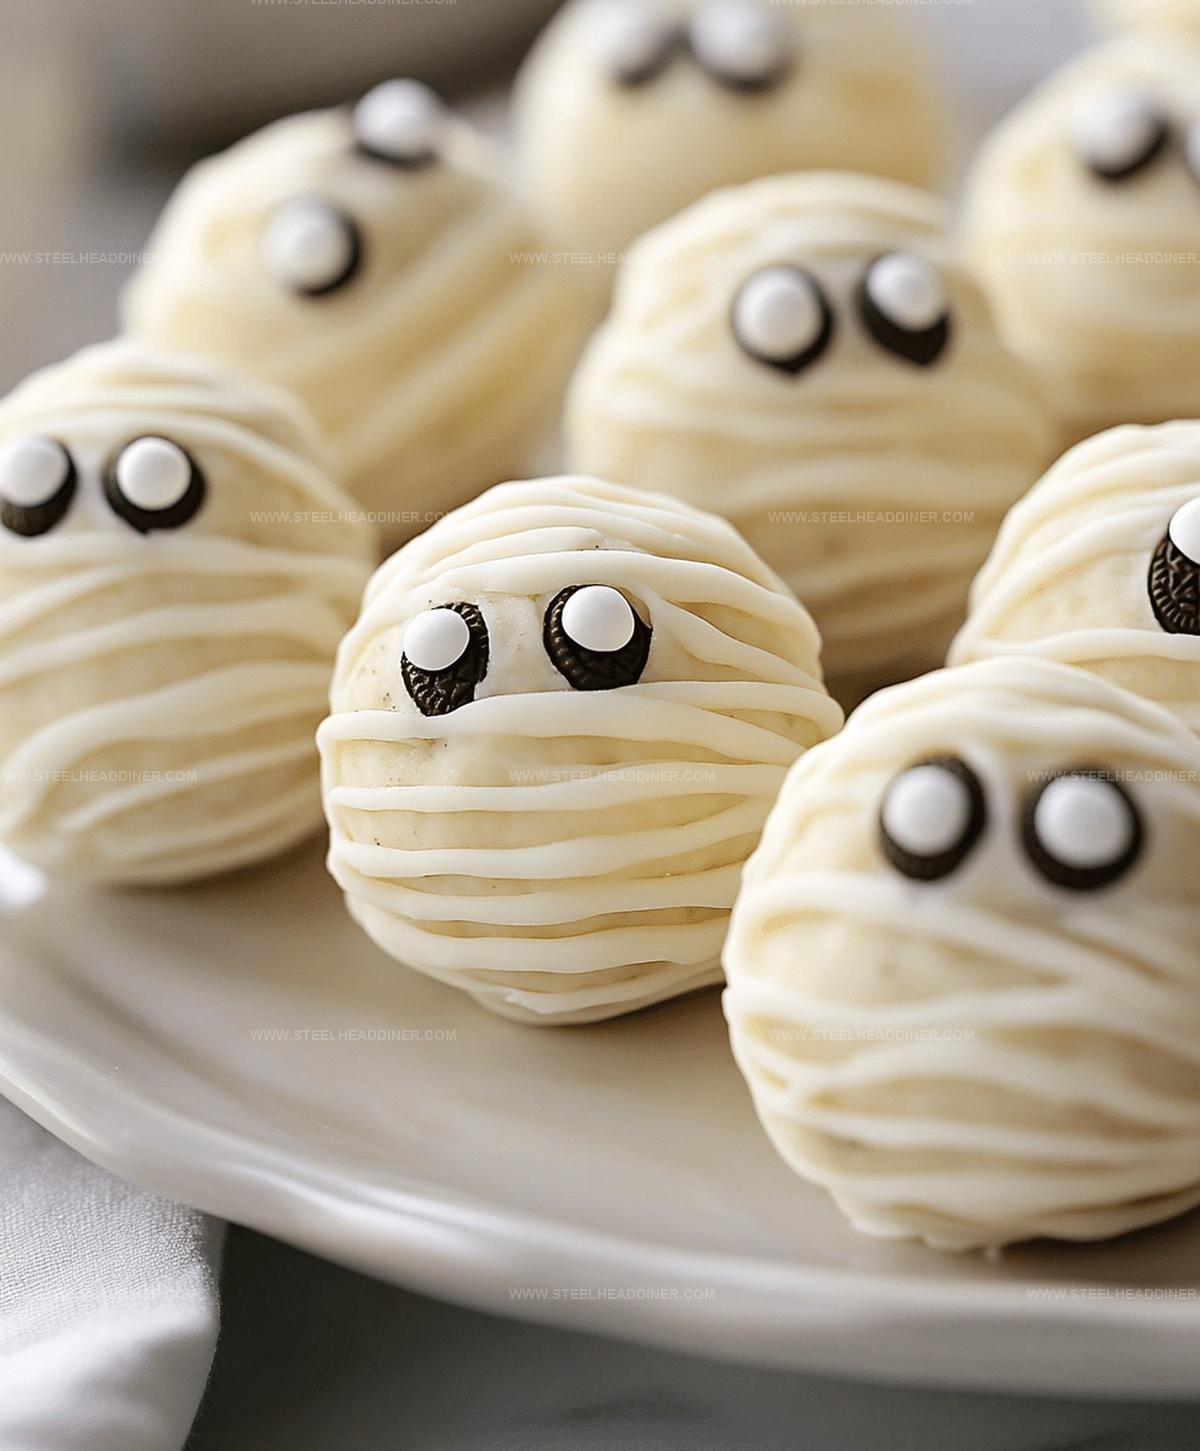
Soft Oreo centers wrapped in white chocolate create adorable mummy-like appearances that spark instant smiles.
Kids and adults alike will fall in love with these cute confections.
Decorating becomes a fun activity where chocolate drizzles and candy eyes transform simple ingredients into spooky characters.
Simple steps and minimal ingredients make this recipe accessible for baking novices and seasoned kitchen enthusiasts.
You won’t believe how quickly these adorable treats come together with just a few quick moves.
Gather your ingredients and let the monster-making deliciousness begin!
Mummy Oreo Balls – Halloween Party Treat
What You Need for Mummy Oreo Balls
For the Base:For the Coating:For the Decoration:Making Mummy Oreo Balls Stepwise

Step 1: Pulverize Oreo Cookies
Grab your food processor and transform the Oreo cookies into ultra-fine crumbs by pulsing them until they become a smooth, consistent texture.
Step 2: Blend Creamy Mixture
In a mixing bowl, combine the Oreo crumbs with softened cream cheese.
Mix thoroughly until you create a uniform, moldable mixture that holds together perfectly.
Step 3: Shape Delightful Balls
Roll the mixture into small, uniform balls using your hands.
Place each ball on a parchment-lined baking sheet and pop them into the freezer for 10 minutes to firm up.
Step 4: Prepare White Chocolate Coating
Melt white chocolate in a microwave-safe bowl, stirring every 30 seconds to ensure smooth, even melting.
Be careful not to overheat the chocolate.
Step 5: Dunk and Cover
Carefully dip each chilled Oreo ball into the melted white chocolate, ensuring complete and even coverage.
Use a fork to help lift and drain excess chocolate.
Step 6: Create Mummy Bandages
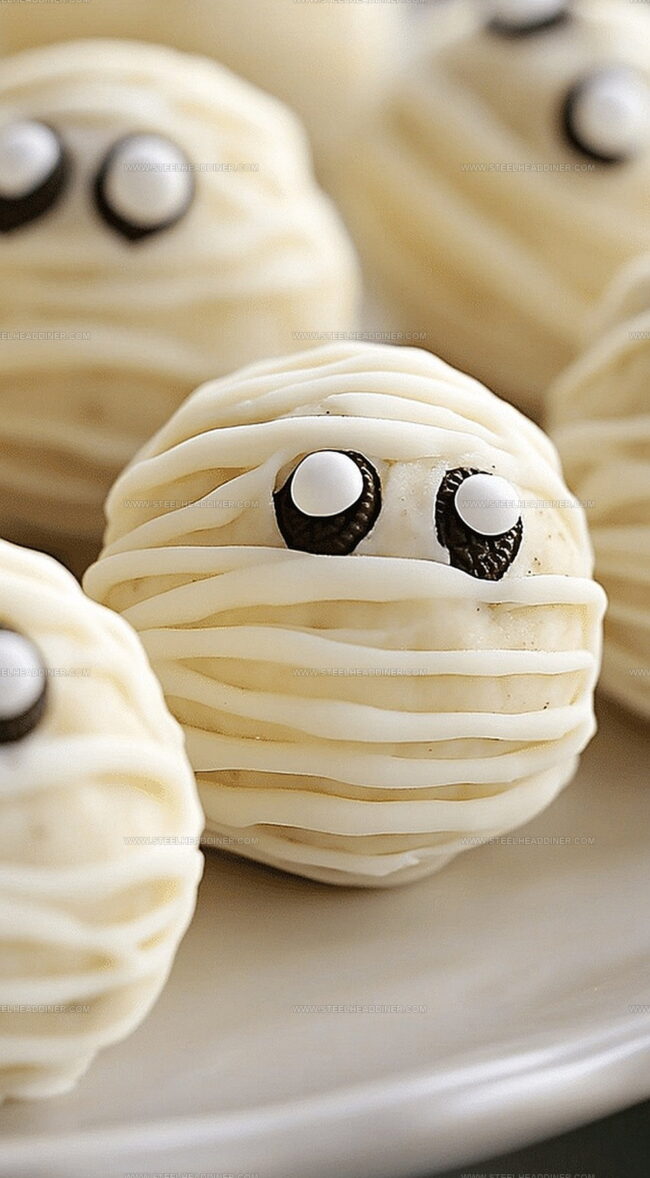
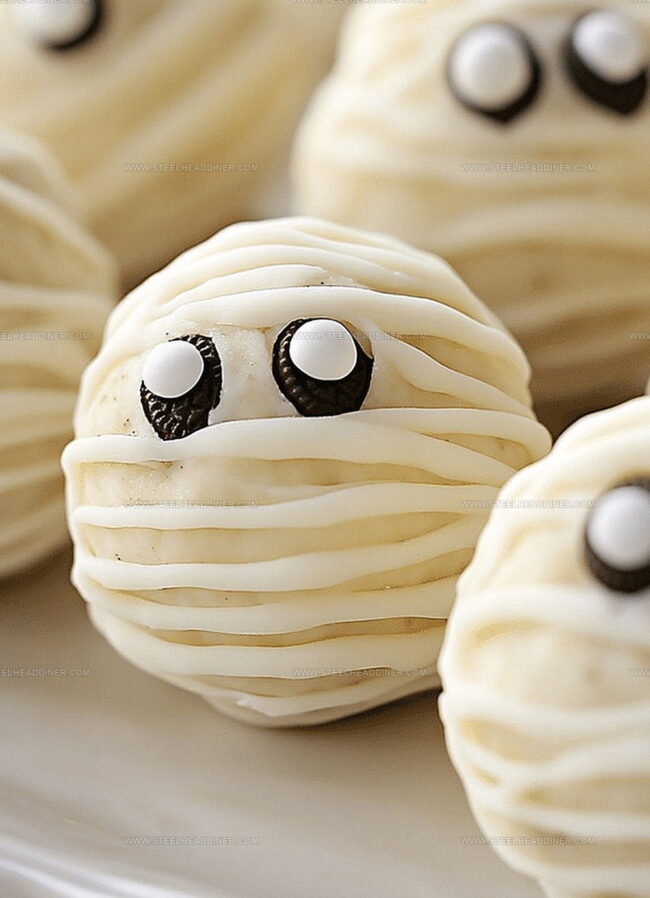
Drizzle additional white chocolate over the coated balls in thin, zigzag patterns to mimic mummy bandages.
This creates the classic spooky Halloween look.
Step 7: Add Spooky Eyes
Before the chocolate sets, gently place candy eyes on each ball.
Position them to give each mummy ball a playful, quirky expression.
Step 8: Chill and Set
Allow the mummy balls to cool completely at room temperature or in the refrigerator until the chocolate coating becomes firm and crisp.
Oreo Ball – Handy Halloween Tips
Try Different Mix-Ins for Mummy Oreo Balls
Presenting Mummy Oreo Balls for Halloween
Keeping Mummy Oreo Balls for Later
FAQs
Use a cookie scoop or tablespoon to measure equal amounts of mixture, then roll between your palms with light, gentle pressure to create perfectly round balls.
Yes, you can prepare them up to 3 days in advance. Store them in an airtight container in the refrigerator and add the candy eyes just before serving.
Use high-quality white chocolate melting wafers or white chocolate chips. They melt smoothly and provide a clean, even coating for the Oreo balls.
Print
Mummy Oreo Balls Recipe
- Total Time: 50 minutes
- Yield: 24 1x
Description
Mummy oreo balls blend creamy cheesecake goodness with playful Halloween spirit. White chocolate coating and candy eyes create adorable monster-like treats perfect for seasonal celebrations.
Ingredients
- 1 package Oreos
- 1 block (8 oz / 226 g) cream cheese
- 2 cups (473 ml) white chocolate
- Candy eyes
- Optional: Sprinkles
- Optional: Food coloring
Instructions
- Pulverize Oreo cookies into ultrafine powder using a food processor, ensuring no large chunks remain.
- Blend the cookie powder with softened cream cheese, mixing thoroughly until a uniform, cohesive mixture forms.
- Shape the mixture into uniform, bite-sized spheres, arranging them on a parchment-lined tray.
- Rapidly chill the spheres in the freezer for approximately 10 minutes to firm their structure.
- Gently melt white chocolate in a microwave-safe container, stirring at 30-second intervals to prevent scorching.
- Carefully immerse each chilled sphere into the melted white chocolate, ensuring complete and even coverage.
- Utilize a fork to artfully drape and zigzag additional white chocolate across the balls, mimicking mummy-like bandage patterns.
- While chocolate remains liquid, delicately position candy eyes onto each sphere to create whimsical facial expressions.
- Allow the chocolate coating to solidify completely at room temperature, approximately 15-20 minutes, until firm and glossy.
Notes
- Crumble Oreos thoroughly for a smoother, more consistent texture that helps bind ingredients perfectly.
- Chill mixture before rolling to prevent sticky hands and ensure uniform ball sizes.
- Use room temperature cream cheese for easier mixing and smoother consistency.
- Melt white chocolate in short intervals to prevent burning and maintain silky texture.
- Prep Time: 20 minutes
- Cook Time: 30 minutes
- Category: Snacks, Desserts
- Method: Blending
- Cuisine: American
Nutrition
- Serving Size: 24
- Calories: 143
- Sugar: 12 g
- Sodium: 70 mg
- Fat: 8 g
- Saturated Fat: 5 g
- Unsaturated Fat: 2 g
- Trans Fat: 0.1 g
- Carbohydrates: 17 g
- Fiber: 1 g
- Protein: 1.5 g
- Cholesterol: 15 mg
Jack Monroe
Founder & Recipe Innovator
Expertise
Pacific Northwest cuisine, Single-serving recipe development, Sustainable sourcing and cooking, Modern comfort food
Education
Brightwater
Associate of Applied Science in Culinary Arts
Focus: Sustainable cooking, seasonal ingredients, and food systems education
Jack grew up with a fishing rod in one hand and a cast-iron skillet in the other. After graduating from Brightwater: A Center for the Study of Food, he set out to prove that cooking for one could still taste like a feast.
Jack believes that food should feel real: fresh, fearless, and a little wild, just like the rivers he grew up around. For Jack, every single dish is a small adventure, and the best ones are the ones you can cook with heart, not hassle.