The Dreamy No Bake Oreo Cheesecake Recipe You’ll Adore
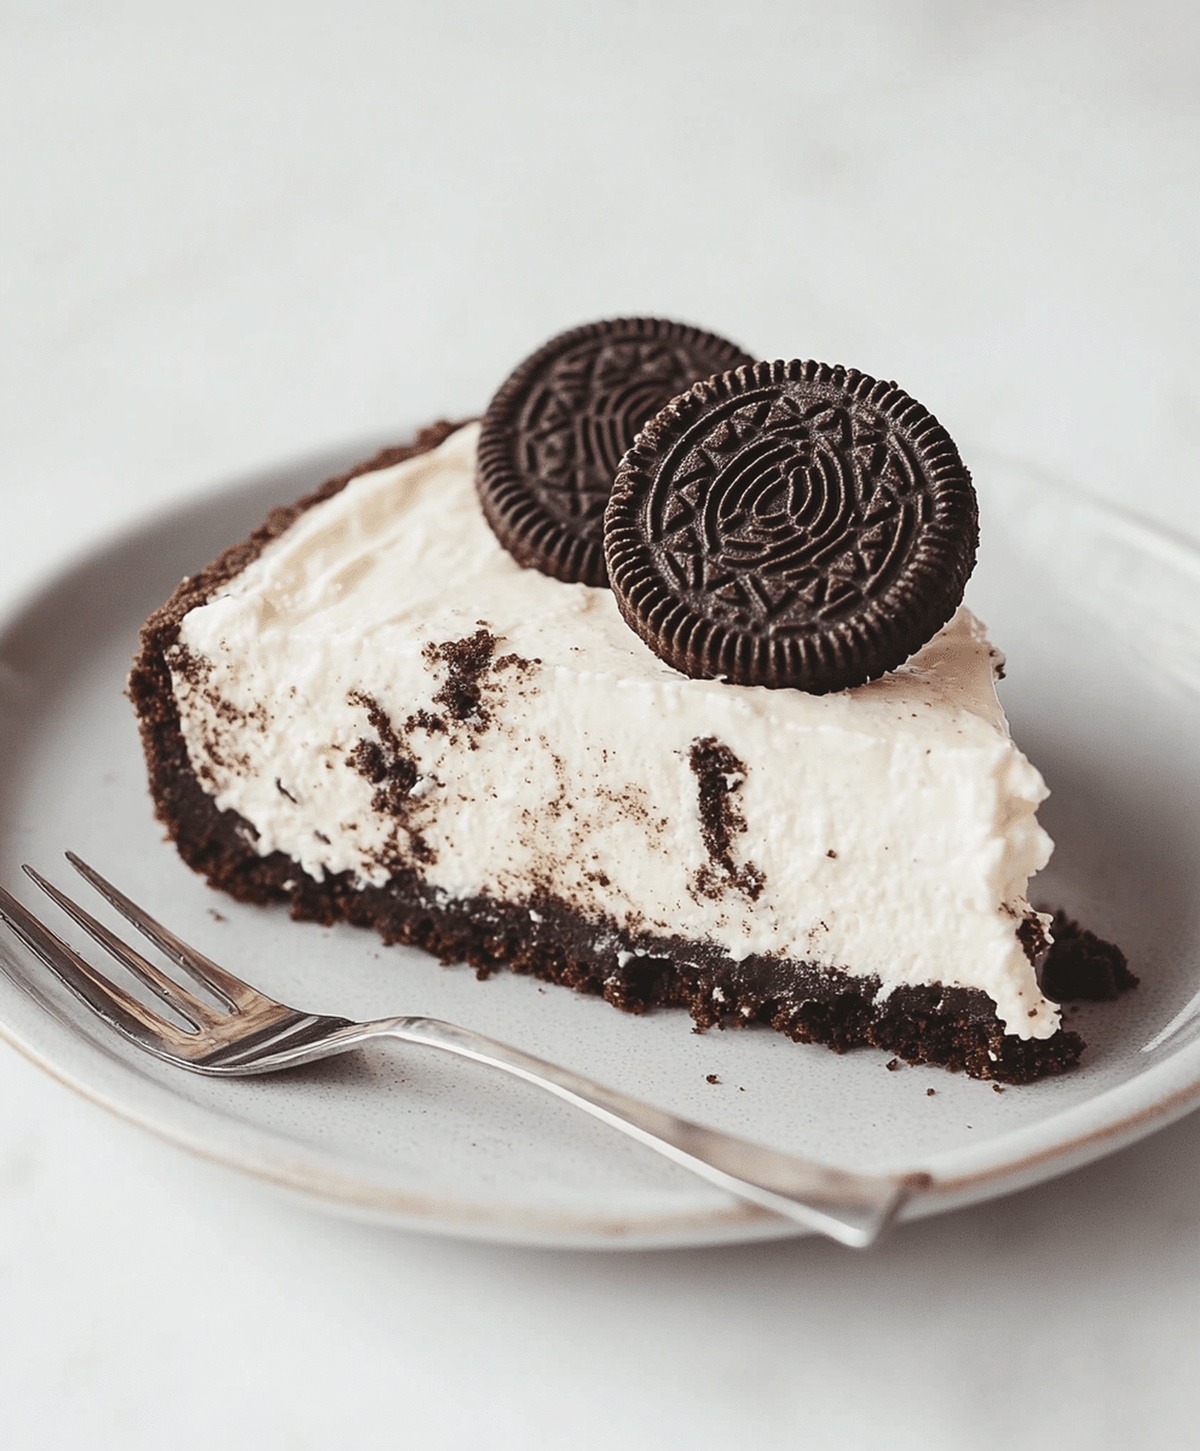
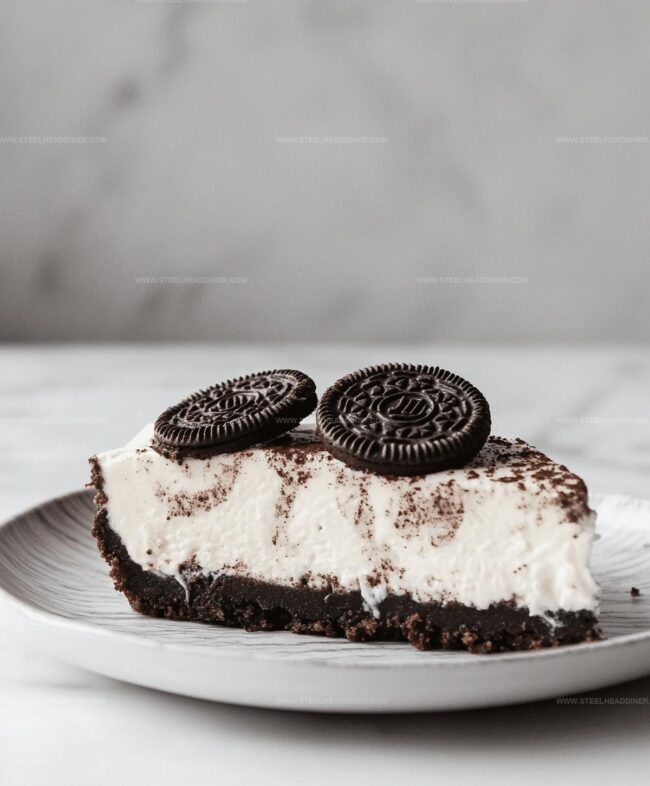
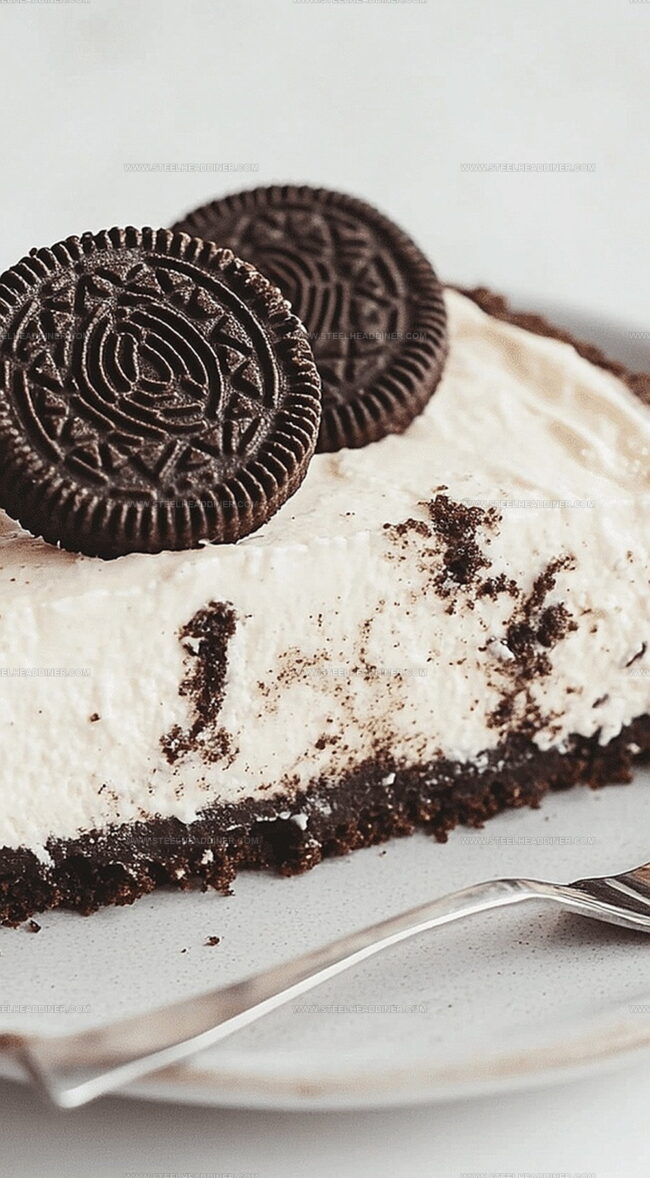
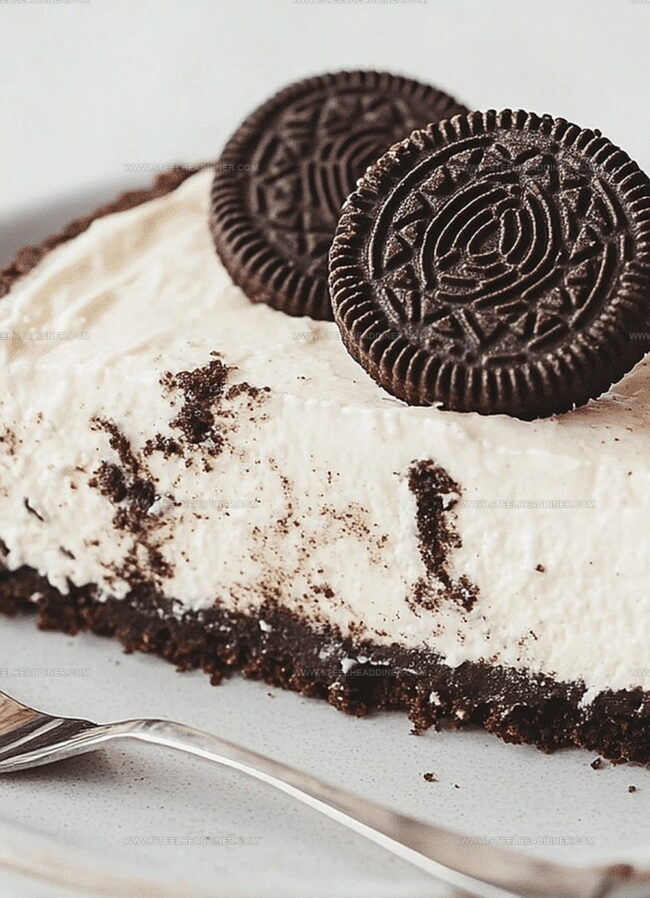
Creamy and decadent no bake Oreo cheesecake promises pure dessert bliss with minimal effort.
Crushing those classic chocolate cookies creates an irresistible base for this dreamy treat.
Smooth cream cheese blends seamlessly with whipped ingredients, delivering incredible texture and rich flavor.
Simple kitchen tools help you craft this indulgent dessert without turning on an oven.
Each spoonful melts deliciously, revealing layers of crunchy cookie and silky filling.
Cool and refreshing, this dessert works perfectly for summer gatherings or spontaneous sweet cravings.
Whip up this crowd-pleasing recipe and watch everyone ask for seconds.
Why No Bake Oreo Cheesecake Is Popular
Ingredients for No Bake Oreo Cheesecake
For the Crust:For the Filling:For the Mix-Ins and Topping:How to Make No Bake Oreo Cheesecake

Step 1: Crush Cookies
Grab a pack of Oreos and place them in a resealable plastic bag. Use a rolling pin to crush the cookies into fine crumbs.
Break them down until they transform into a sandy texture that will create a delicious base for your cheesecake.
Step 2: Create Crust Foundation
Mix the cookie crumbs with melted butter until they stick together perfectly.
Press the mixture firmly into the bottom of a springform pan, creating an even layer. Pop the pan into the refrigerator to help the crust set and become firm.
Step 3: Whip Cream Cheese Mixture
Grab your electric mixer and beat the cream cheese until it becomes super smooth and creamy. Gradually add sugar and vanilla, continuing to mix until the combination is light and fluffy.
Make sure there are no lumps in your mixture.
Step 4: Prepare Whipped Cream
In a separate bowl, whip the heavy cream until it forms beautiful, stiff peaks.
This will give your cheesecake an incredibly light and airy texture. Gently fold the whipped cream into the cream cheese mixture, creating a dreamy, smooth filling.
Step 5: Add Crunchy Oreo Bits
Roughly crush additional Oreo cookies and fold them into the cream cheese mixture. This will create delightful cookie chunks throughout your cheesecake.
Pour the entire mixture over the chilled crust, spreading it evenly with a spatula.
Step 6: Chill and Set
Place the cheesecake in the refrigerator for at least 4 hours, or ideally overnight.
This allows the cheesecake to set completely and develop its rich, creamy texture. When ready, remove from the springform pan, slice, and serve this decadent no-bake dessert.
Helpful Tips for No Bake Oreo Cheesecake
Alternative Versions of No Bake Oreo Cheesecake
Serving Suggestions for No Bake Oreo Cheesecake
Storage Advice for No Bake Oreo Cheesecake
FAQs
Yes, you can experiment with various Oreo flavors like mint, peanut butter, or birthday cake to create unique variations of the cheesecake.
A springform pan is recommended, but you can use a regular cake pan with parchment paper lining if needed. An electric mixer helps make the process easier.
The cheesecake can be stored in the refrigerator for up to 5 days when covered tightly with plastic wrap or in an airtight container.
Absolutely! This is a no-bake recipe, perfect for beginners or those who want a quick dessert without using an oven.
Print
No Bake Oreo Cheesecake Recipe
- Total Time: 20 minutes
- Yield: 8 1x
Description
Creamy no bake oreo cheesecake delivers a delightful dessert experience with minimal effort. Chocolate cookie crust and silky cream cheese filling promise pure indulgence for anyone craving a simple, irresistible treat.
Ingredients
- 16 oz cream cheese (softened)
- 1/2 cup sugar
- 1 1/4 cups heavy whipping cream
- 1 tsp vanilla extract
- 24 Oreo cookies (for crust, crushed)
- 1/4 cup butter (melted)
- 12 Oreo cookies (for filling, crushed)
Instructions
- Crush Oreo cookies into fine crumbs, mixing thoroughly with melted butter to create a cohesive base mixture.
- Press the cookie crumb mixture firmly into the bottom of a springform pan, ensuring an even, compact layer that reaches the edges.
- Chill the crust in the refrigerator for 15 minutes to help it set and become firm.
- Using an electric mixer, whip the cream cheese until smooth and creamy, incorporating sugar and vanilla extract gradually.
- In a separate bowl, whip heavy cream until it forms stiff, billowy peaks that hold their shape.
- Gently fold the whipped cream into the cream cheese mixture, creating a light and airy filling.
- Carefully fold crushed Oreo pieces into the cheesecake mixture, distributing them evenly throughout.
- Pour the filling over the chilled crust, smoothing the top with a spatula to create an even surface.
- Refrigerate the cheesecake for 4-6 hours, or preferably overnight, to allow it to set completely and develop rich flavors.
- Before serving, garnish with additional crushed Oreos or whole cookies for extra visual appeal and texture.
Notes
- Crush Oreos finely to ensure a smooth, compact crust that holds together perfectly when slicing.
- Use room temperature cream cheese to prevent lumps and create a silky-smooth filling with no unexpected texture bumps.
- Whip heavy cream until it forms stiff peaks to guarantee a light, airy cheesecake texture that melts in your mouth.
- Try different Oreo flavors like mint, peanut butter, or birthday cake to add a unique twist to the classic recipe.
- Prep Time: 20 minutes
- Cook Time: 0 minutes
- Category: Desserts
- Method: Chilling
- Cuisine: American
Nutrition
- Serving Size: 8
- Calories: 431
- Sugar: 31 g
- Sodium: 240 mg
- Fat: 30 g
- Saturated Fat: 18 g
- Unsaturated Fat: 11 g
- Trans Fat: 0.5 g
- Carbohydrates: 35 g
- Fiber: 1 g
- Protein: 6 g
- Cholesterol: 75 mg
Maya Thompson
Culinary Content Creator & Nutrition Enthusiast
Expertise
Healthy single-serving recipes, Meal prepping for individuals, Integrating nutrition into everyday cooking, Vegetarian and plant-based cuisine
Education
The Chef’s Academy at Harrison College
Associate of Applied Science in Culinary Arts
Focus: Nutrition, meal planning, and culinary techniques for healthy living.
Maya found her passion in the kitchen by mixing good food with good energy. After earning her culinary degree at The Chef’s Academy at Harrison College, she made it her mission to keep cooking simple, wholesome, and packed with flavor.
At Steelhead Diner, Maya shares easy, healthy recipes built for real life. For Maya, great food seems like a celebration of everyday moments, made better one fresh bite at a time.