Dreamy No-Bake Cheesecake Jars Recipe: Sweet Bliss in a Glass
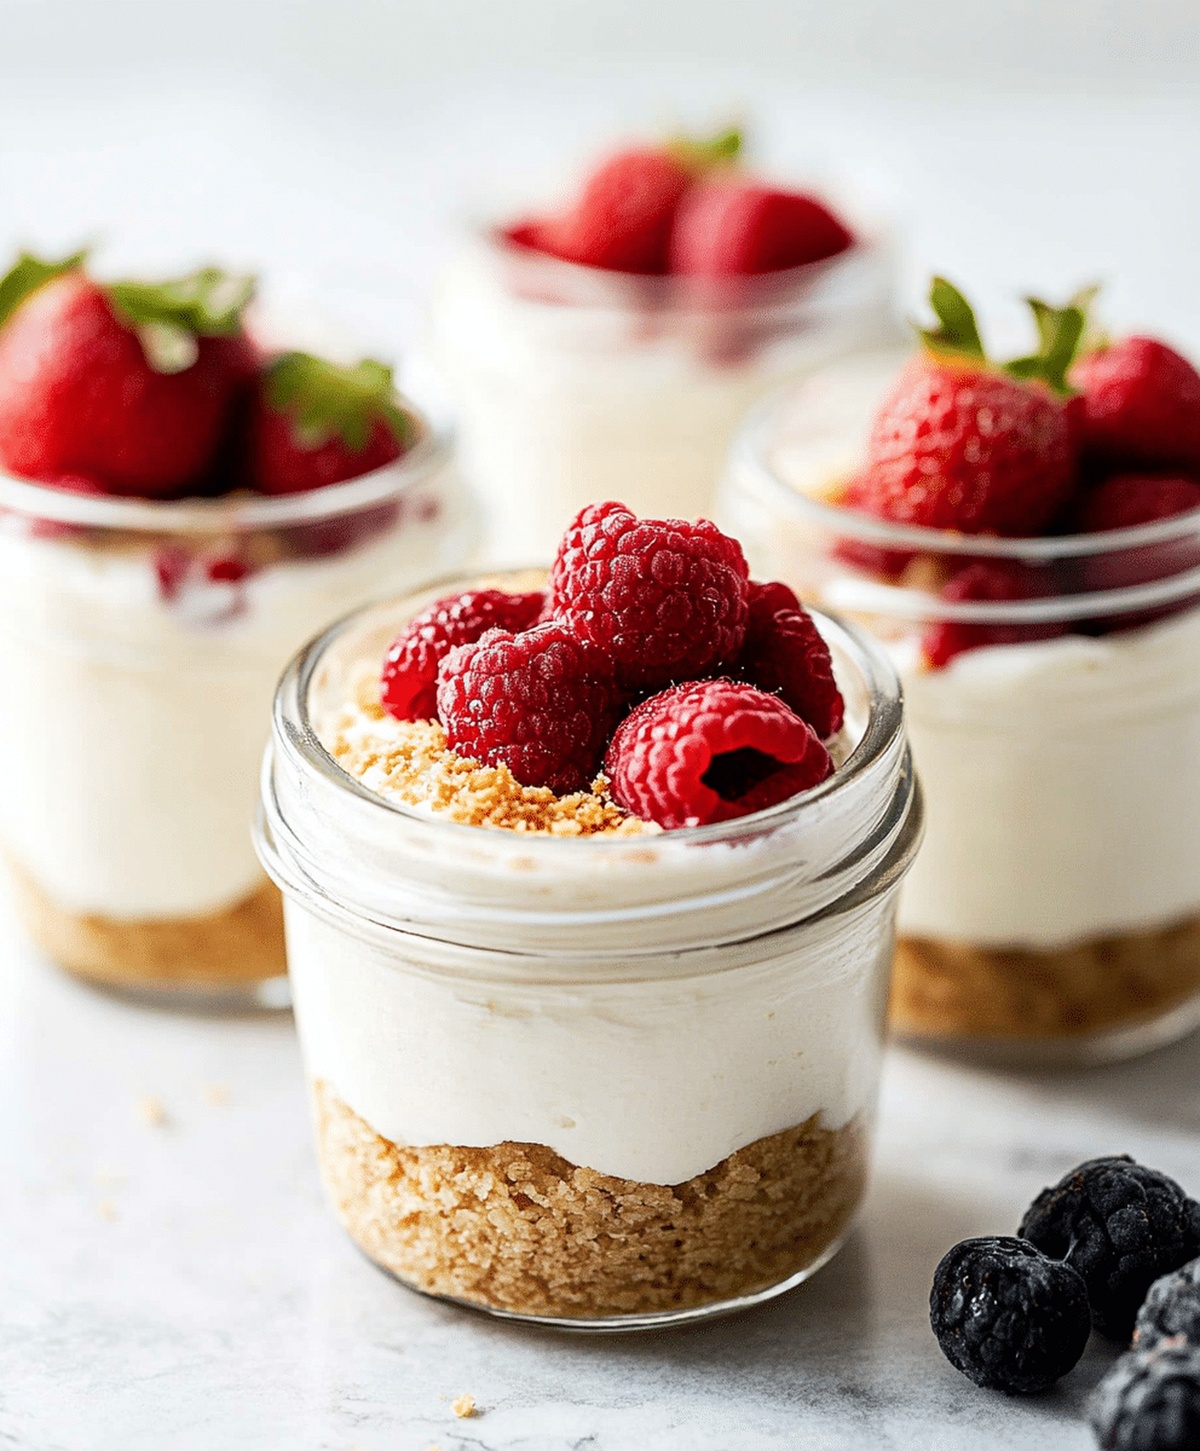
Creamy no-bake cheesecake jars bring a delightful twist to dessert lovers seeking quick and effortless sweet treats.
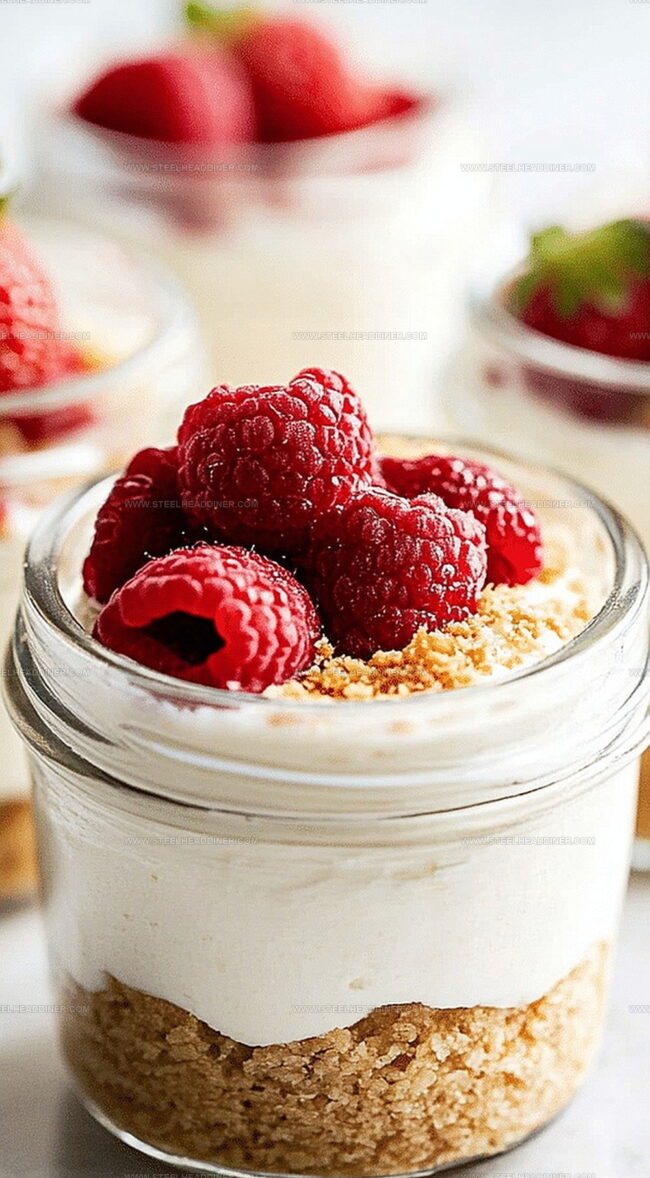
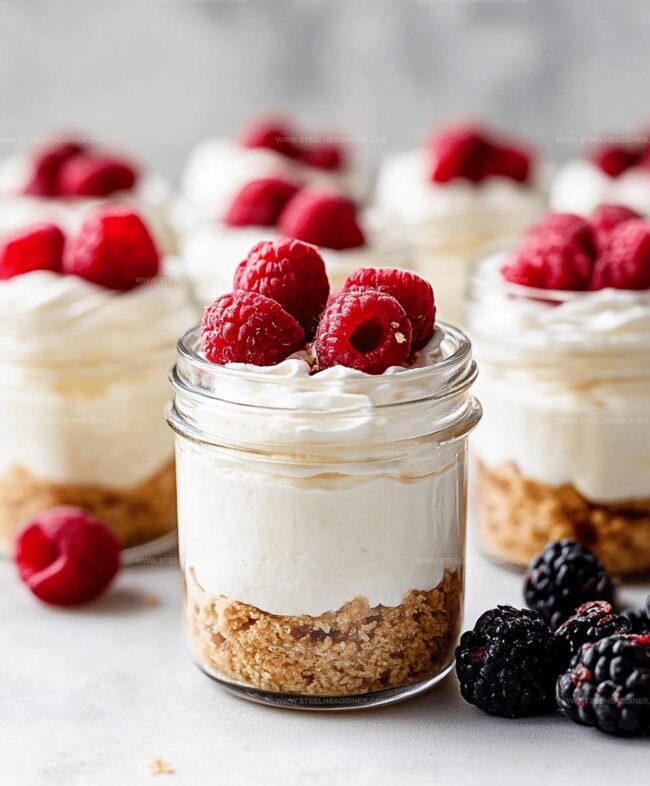
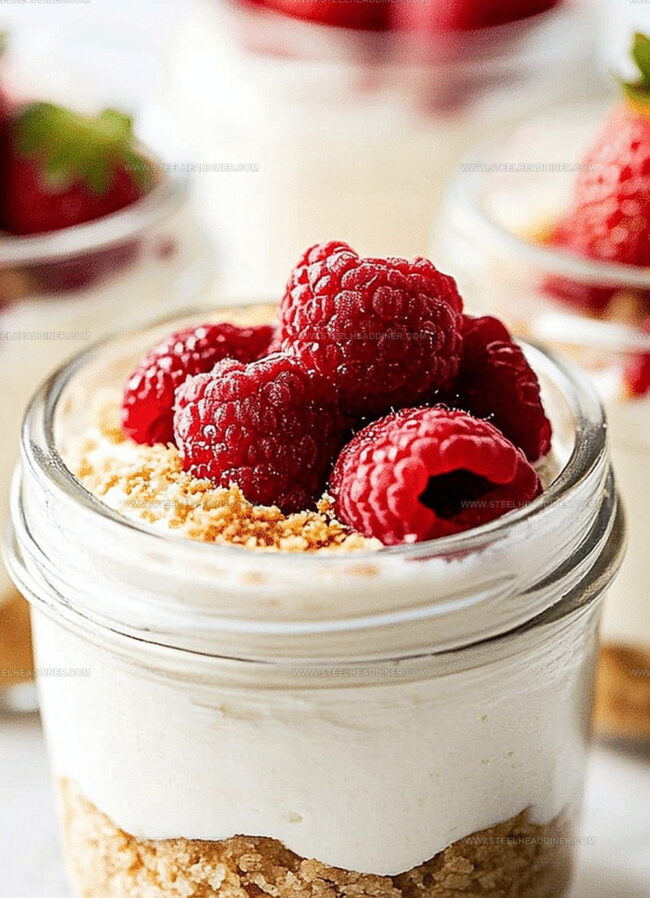
Layers of velvety goodness stack perfectly in compact glass containers.
Smooth cream cheese blends with luscious graham cracker base for an irresistible combination.
Simple ingredients create magic without requiring complicated baking techniques.
Cool and refreshing, these individual desserts look stunning on any table.
Each spoonful promises pure indulgence with minimal kitchen effort.
I promise you’ll fall in love with this ridiculously easy recipe that looks like it came from a professional bakery.
No-Bake Cheesecake Jars Are Fun to Serve
Must-Have Items for No-Bake Cheesecake Jars
For the Crust:For the Filling:For the Toppings:Making No-Bake Cheesecake Jars Is a Breeze
Step 1: Prepare Crunchy Crust Base
Mix together graham cracker crumbs, melted butter, and granulated sugar in a bowl until the mixture looks like wet sand. The ingredients will clump together perfectly, creating a delicious foundation for your cheesecake.
Step 2: Press Crust into Jars
Carefully distribute the graham cracker mixture into 6 small jars or cups. Use your fingers or the back of a spoon to press down firmly, creating an even and compact layer that will serve as the perfect cheesecake bottom.
Step 3: Whip up Creamy Cheesecake Filling
In a large mixing bowl, beat cream cheese and powdered sugar together until the mixture becomes silky smooth and free of any lumps. The texture should be light and fluffy, promising a decadent dessert experience.
Step 4: Enhance Filling with Vanilla
Stir in vanilla extract, which will add a subtle yet rich flavor to your cheesecake. The aroma will start to make your kitchen smell absolutely amazing.
Step 5: Fold in Whipped Cream
Gently incorporate whipped cream into the cream cheese mixture, folding carefully to maintain the light and airy texture. This step ensures your cheesecake will be incredibly creamy and smooth.
Step 6: Fill Jars with Cheesecake Goodness
Spoon the luscious cheesecake filling evenly over the crust in each jar. Make sure to distribute it equally so every bite is perfectly balanced.
Step 7: Add Delightful Toppings
Crown your cheesecake jars with an array of toppings like:Step 8: Chill and Set
Refrigerate the jars for at least 2 hours, allowing the cheesecake to set and flavors to meld together. The waiting will be worth every delicious moment when you finally dig in!
Little Tips for Better No-Bake Cheesecake Jars
Customize No-Bake Cheesecake Jars with Tasty Mix-Ins
Plate No-Bake Cheesecake Jars with Style
Picnic Perfect Cheesecake Companions:Summer Berry Bliss:Decadent Chocolate Lover’s Dream:Brunch Spectacular Presentation:Easy Storage for No-Bake Cheesecake Jars
FAQs
Yes, you can substitute graham crackers with digestive biscuits, shortbread cookies, or even crushed vanilla wafers for a similar texture and flavor.
These no-bake cheesecake jars can be stored in the refrigerator for up to 3-4 days when kept in an airtight container.
Absolutely! These cheesecake jars are perfect for preparing in advance. You can make them up to 2 days before serving, which makes them great for parties or gatherings.
Print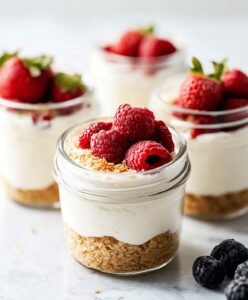
No-Bake Cheesecake Jars Recipe
- Total Time: 20 minutes
- Yield: 6 1x
Description
Creamy classic no-bake cheesecake jars bring layers of indulgence to dessert lovers. Graham cracker crumbs, smooth cream cheese, and fresh berries create a delightful treat you’ll savor with each spoonful.
Ingredients
- 16 oz cream cheese, softened
- 1 cup powdered sugar
- 1 1/2 cups heavy cream, whipped
- 1 1/2 cups graham cracker crumbs
- 1/4 cup unsalted butter, melted
- 2 tablespoons granulated sugar
- 1 teaspoon vanilla extract
- Fresh fruit or chocolate chips for topping
Instructions
- Crush graham crackers into fine crumbs, then blend thoroughly with melted butter and sugar to create a cohesive base mixture.
- Carefully distribute the cracker mixture into individual serving jars, using firm pressure to compact the crust evenly across the bottom.
- Using an electric mixer, whip cream cheese with powdered sugar until achieving a silky, lump-free consistency.
- Incorporate vanilla extract into the cream cheese mixture, then tenderly fold in whipped cream to maintain a light, airy texture.
- Delicately portion the creamy cheesecake filling over the prepared graham cracker foundation in each jar, ensuring smooth and even distribution.
- Embellish the surface with selected garnishes like fresh berries, chocolate shavings, or preferred decorative elements.
- Chill the assembled dessert jars in the refrigerator for a minimum of 2 hours to allow flavors to meld and texture to set.
- Remove from refrigerator approximately 10 minutes before serving to optimize taste and consistency.
Notes
- Swap graham crackers with gluten-free alternatives like almond flour or gluten-free cookie crumbs for a celiac-friendly version.
- Use low-fat cream cheese and Greek yogurt to reduce calories while maintaining creamy texture.
- Try flavor variations by adding lemon zest, cocoa powder, or fruit purees directly into the cheesecake mixture for unique twists.
- Prepare jars in advance and store in the refrigerator up to 3 days, making them perfect for meal prep or last-minute dessert options.
- Prep Time: 20 minutes
- Cook Time: 0 minutes
- Category: Desserts
- Method: None
- Cuisine: American
Nutrition
- Serving Size: 6
- Calories: 403 kcal
- Sugar: 35 g
- Sodium: 230 mg
- Fat: 30 g
- Saturated Fat: 18 g
- Unsaturated Fat: 10 g
- Trans Fat: 0.5 g
- Carbohydrates: 26 g
- Fiber: 1 g
- Protein: 6 g
- Cholesterol: 90 mg
Jack Monroe
Founder & Recipe Innovator
Expertise
Pacific Northwest cuisine, Single-serving recipe development, Sustainable sourcing and cooking, Modern comfort food
Education
Brightwater
Associate of Applied Science in Culinary Arts
Focus: Sustainable cooking, seasonal ingredients, and food systems education
Jack grew up with a fishing rod in one hand and a cast-iron skillet in the other. After graduating from Brightwater: A Center for the Study of Food, he set out to prove that cooking for one could still taste like a feast.
Jack believes that food should feel real: fresh, fearless, and a little wild, just like the rivers he grew up around. For Jack, every single dish is a small adventure, and the best ones are the ones you can cook with heart, not hassle.