The Crispiest Easy Fried Cheese Bites Recipe for Instant Joy
Crispy golden cheese bites will revolutionize your snack game in minutes.
Melted cheese surrounded by a crunchy exterior creates pure magic on your plate.
Simplicity meets deliciousness with this quick recipe anyone can master.
Home cooks adore how fast these delectable morsels come together.
Minimal ingredients guarantee maximum flavor in every single bite.
You’ll want to make these again and again for unexpected gatherings.
Grab some cheese and let’s start cooking something spectacular!
Crispy Fried Cheese Bites That Will Steal the Show
Ingredients You Need for Golden Fried Cheese Bites
Cheese Base:Coating Ingredients:Cooking Ingredients:Serving Component:Step-by-Step Guide to Making Crispy Cheese Bites
Step 1: Prepare Cheese Cubes
Slice your favorite cheese block into small, bite-sized cubes that will create perfect little flavor bombs. Ensure the cubes are roughly the same size for even cooking and a consistent texture.
Step 2: Create Crunchy Coating
Set up a three-stage breading station for maximum crispiness:Gently roll each cheese cube through the flour, shaking off excess. Dunk into beaten eggs, allowing extra coating to drip off.
Finally, roll in breadcrumbs, pressing gently to ensure complete coverage. For an extra crunchy exterior, repeat the egg and breadcrumb dip.
Step 3: Heat Cooking Oil
Select a deep skillet or heavy-bottomed pan. Pour neutral cooking oil to create a depth of about 2 inches.
Heat oil to 350 degrees Fahrenheit, using a cooking thermometer for precision. The oil should shimmer but not smoke.
Step 4: Fry Cheese Bites
Carefully lower breaded cheese cubes into hot oil using a slotted spoon. Fry in small batches to maintain oil temperature.
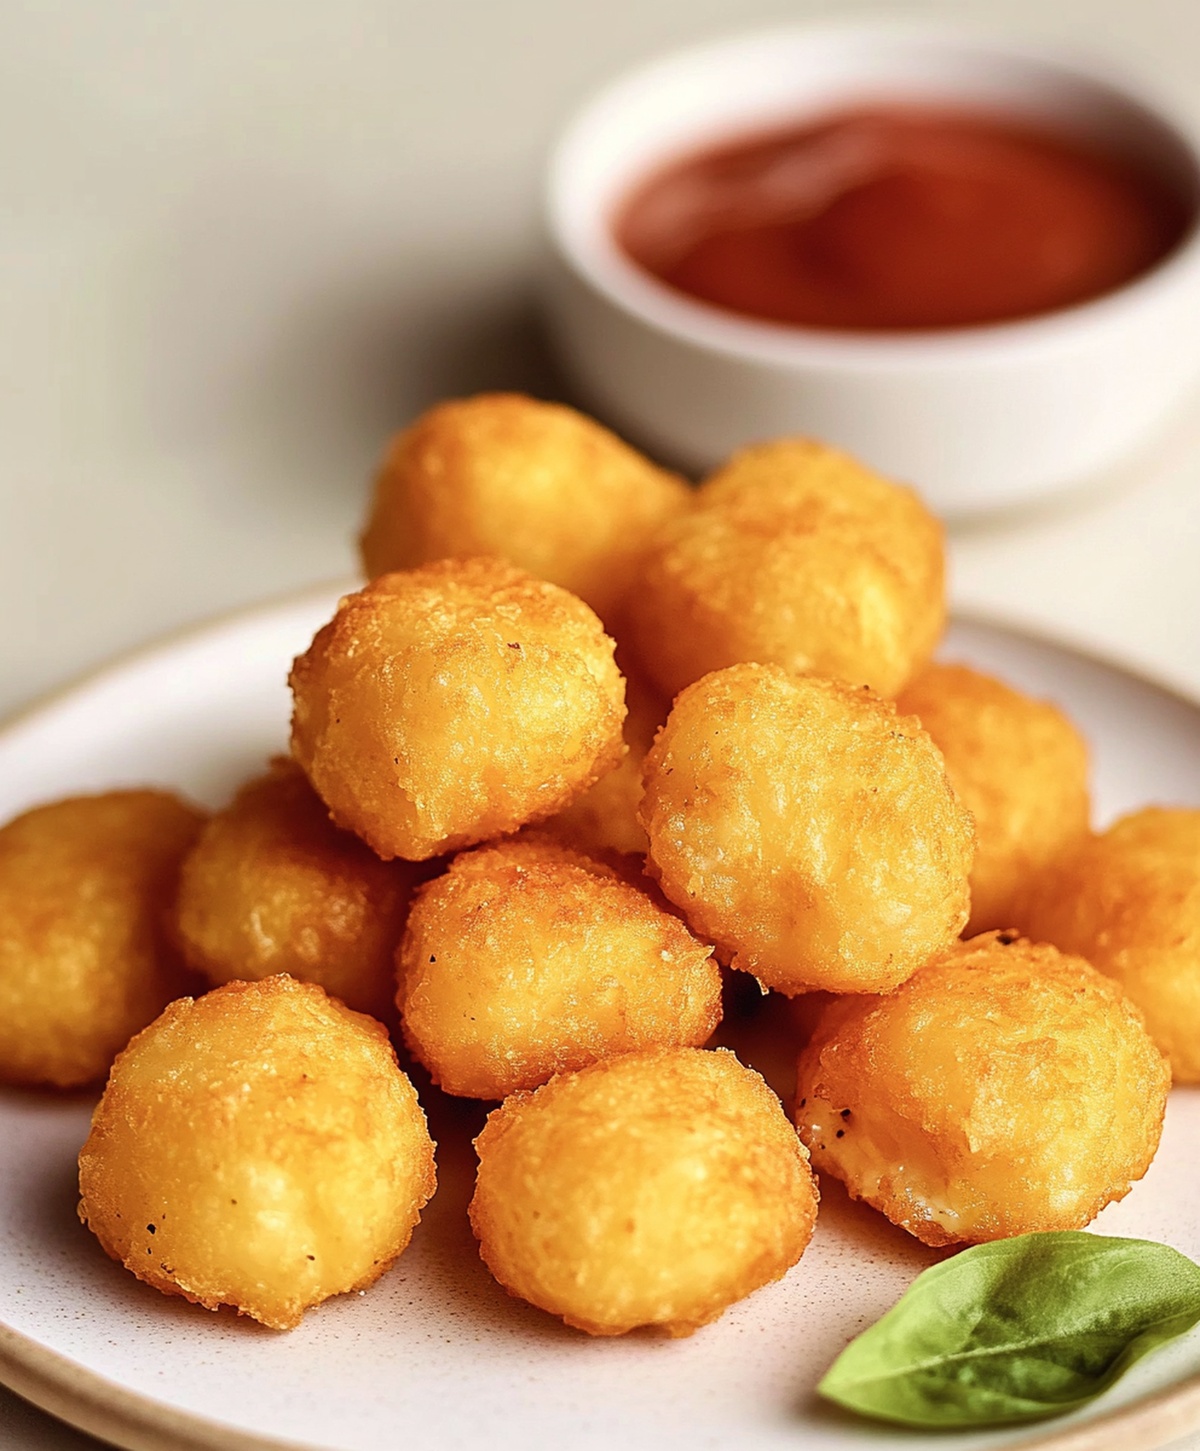
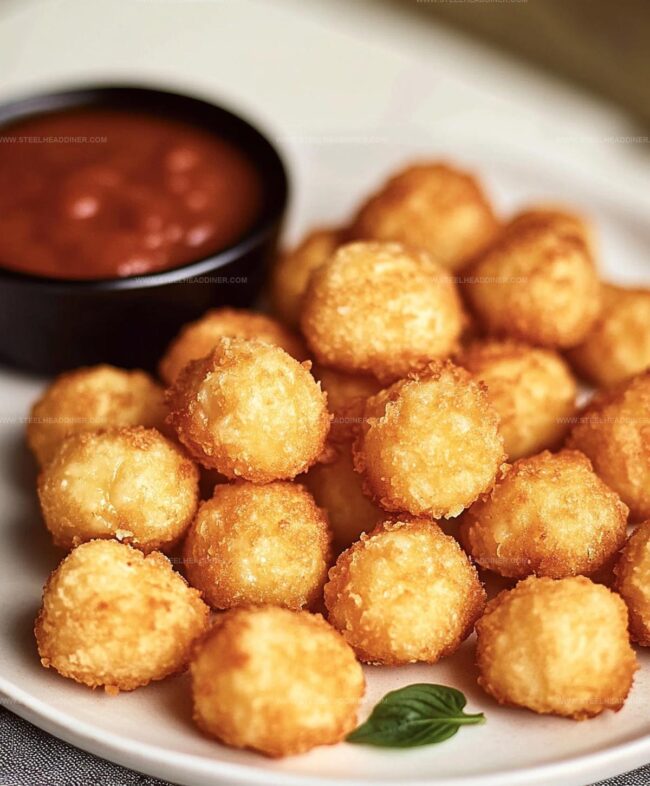
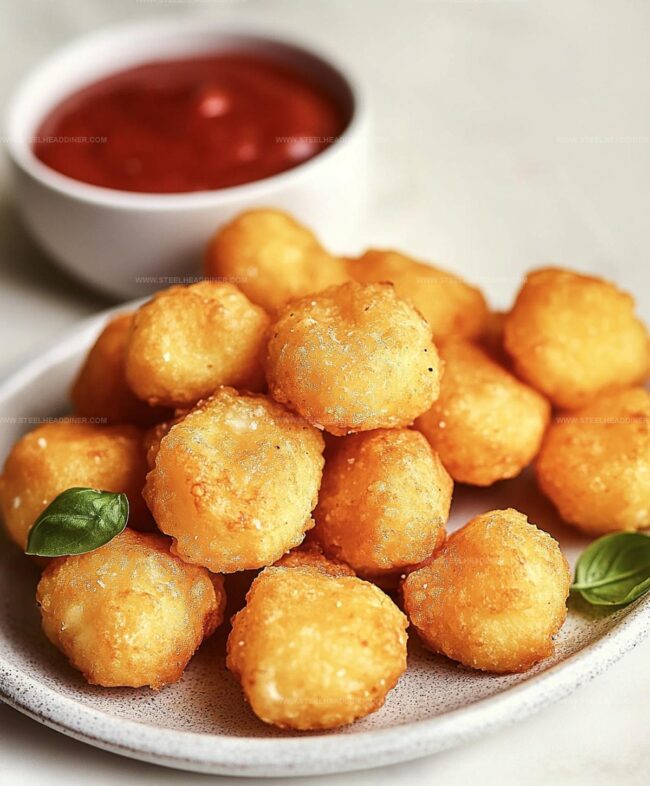
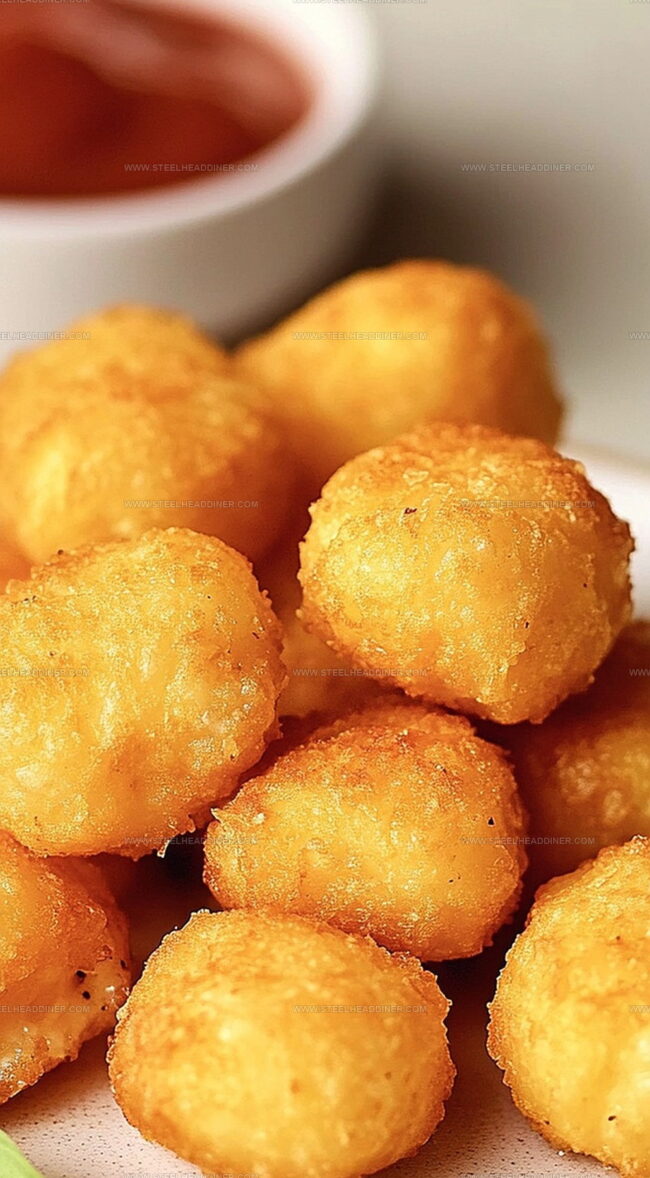
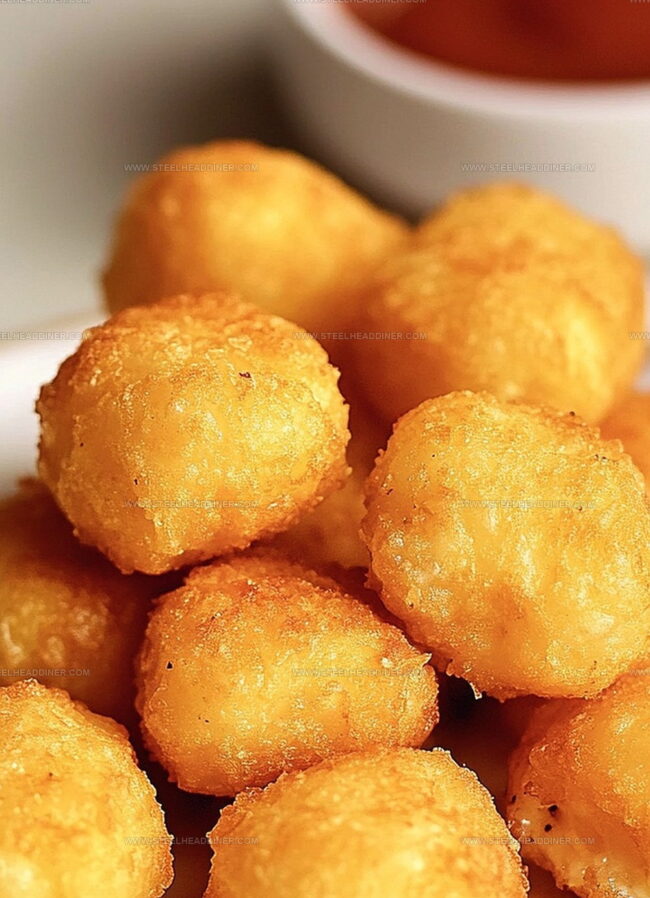
Cook for 1-2 minutes until golden brown and crispy. The exterior should be deep amber and the cheese slightly melted.
Step 5: Drain Excess Oil
Transfer fried cheese bites onto a wire rack or paper towel-lined plate. Allow excess oil to drip away, which helps maintain the crispy coating.
Step 6: Serve and Enjoy
Plate the warm cheese poppers immediately. Pair with marinara sauce, ranch dressing, or your favorite dipping sauce.
Serve as an appetizer or party snack that’ll have everyone asking for the recipe.
Tips to Achieve the Perfect Crunchy Coating
Flavor Variations for Fried Cheese Bites
Delicious Pairings for Fried Cheese Bites
Best Practices for Storing Fried Cheese Bites
FAQs
Mozzarella, cheddar, and halloumi are excellent choices. They melt nicely and create a crispy exterior while maintaining a gooey center.
Yes, you can prepare them in advance and refrigerate before frying. Just coat the cheese cubes and keep them chilled until ready to fry, which helps prevent cheese from melting too quickly.
Double-coating creates a thicker, crunchier breading that helps seal the cheese and prevents it from leaking out during frying. The extra layer ensures a crisp, golden exterior.
Print
Quick Fried Cheese Bites Recipe
- Total Time: 20 minutes
- Yield: 4 1x
Description
Crispy homemade cheese bites blend Mediterranean flavors into irresistible appetizers. Quick golden-brown snacks offer savory satisfaction for informal gatherings and casual meals.
Ingredients
Main Ingredients:
- 1 block cheese (cheddar, mozzarella, or your choice)
- 1 cup all-purpose flour
- 1 cup breadcrumbs (panko or regular)
- 2 eggs
Seasoning Ingredients:
- 1/2 teaspoon salt
- 1/2 teaspoon black pepper
- 1/2 teaspoon garlic powder (optional)
Cooking Ingredient:
- Vegetable oil for frying
Instructions
- Transform cheese blocks into uniform, bite-sized cubes using a sharp knife, ensuring consistent sizing for even cooking.
- Create a crispy exterior by first dusting cheese cubes with a light flour coating, which helps egg and breadcrumbs adhere perfectly.
- Submerge floured cubes into beaten eggs, ensuring complete coverage, then generously roll in breadcrumbs for a delectable, crunchy texture.
- Perform a second egg and breadcrumb coating to enhance crispiness and create a robust, golden shell around each cheese morsel.
- Prepare a deep skillet or heavy-bottomed pan, heating vegetable oil to precisely 350F (175C) using a digital thermometer for accuracy.
- Carefully lower breaded cheese cubes into hot oil, frying in small batches to maintain optimal temperature and prevent overcrowding.
- Monitor cheese bites closely, cooking for 1-2 minutes until they transform into a beautiful golden-brown color with a crisp exterior.
- Extract fried cheese bites using a slotted spoon, allowing excess oil to drip back into the pan.
- Transfer to a paper towel-lined plate to absorb remaining oil and maintain crispness.
- Serve immediately while warm, accompanied by tangy marinara sauce or your preferred dipping condiment for a delightful appetizer experience.
Notes
- Chill cheese cubes before coating to prevent melting during frying and maintain a crispy exterior.
- Experiment with different cheese types like mozzarella, cheddar, or gouda for varied flavor profiles and melting textures.
- Use gluten-free flour and breadcrumbs to make this recipe suitable for those with gluten sensitivities.
- Add herbs or spices to the breadcrumb mixture for extra flavor complexity and personal touch.
- Prep Time: 15 minutes
- Cook Time: 5 minutes
- Category: Appetizer, Snacks
- Method: Frying
- Cuisine: American
Nutrition
- Serving Size: 4
- Calories: 370 kcal
- Sugar: 1 g
- Sodium: 420 mg
- Fat: 28 g
- Saturated Fat: 15 g
- Unsaturated Fat: 10 g
- Trans Fat: 0.5 g
- Carbohydrates: 20 g
- Fiber: 1 g
- Protein: 18 g
- Cholesterol: 110 mg
Jack Monroe
Founder & Recipe Innovator
Expertise
Pacific Northwest cuisine, Single-serving recipe development, Sustainable sourcing and cooking, Modern comfort food
Education
Brightwater
Associate of Applied Science in Culinary Arts
Focus: Sustainable cooking, seasonal ingredients, and food systems education
Jack grew up with a fishing rod in one hand and a cast-iron skillet in the other. After graduating from Brightwater: A Center for the Study of Food, he set out to prove that cooking for one could still taste like a feast.
Jack believes that food should feel real: fresh, fearless, and a little wild, just like the rivers he grew up around. For Jack, every single dish is a small adventure, and the best ones are the ones you can cook with heart, not hassle.