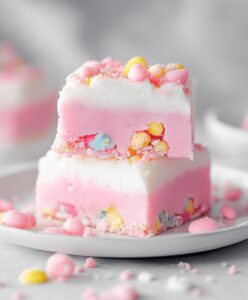
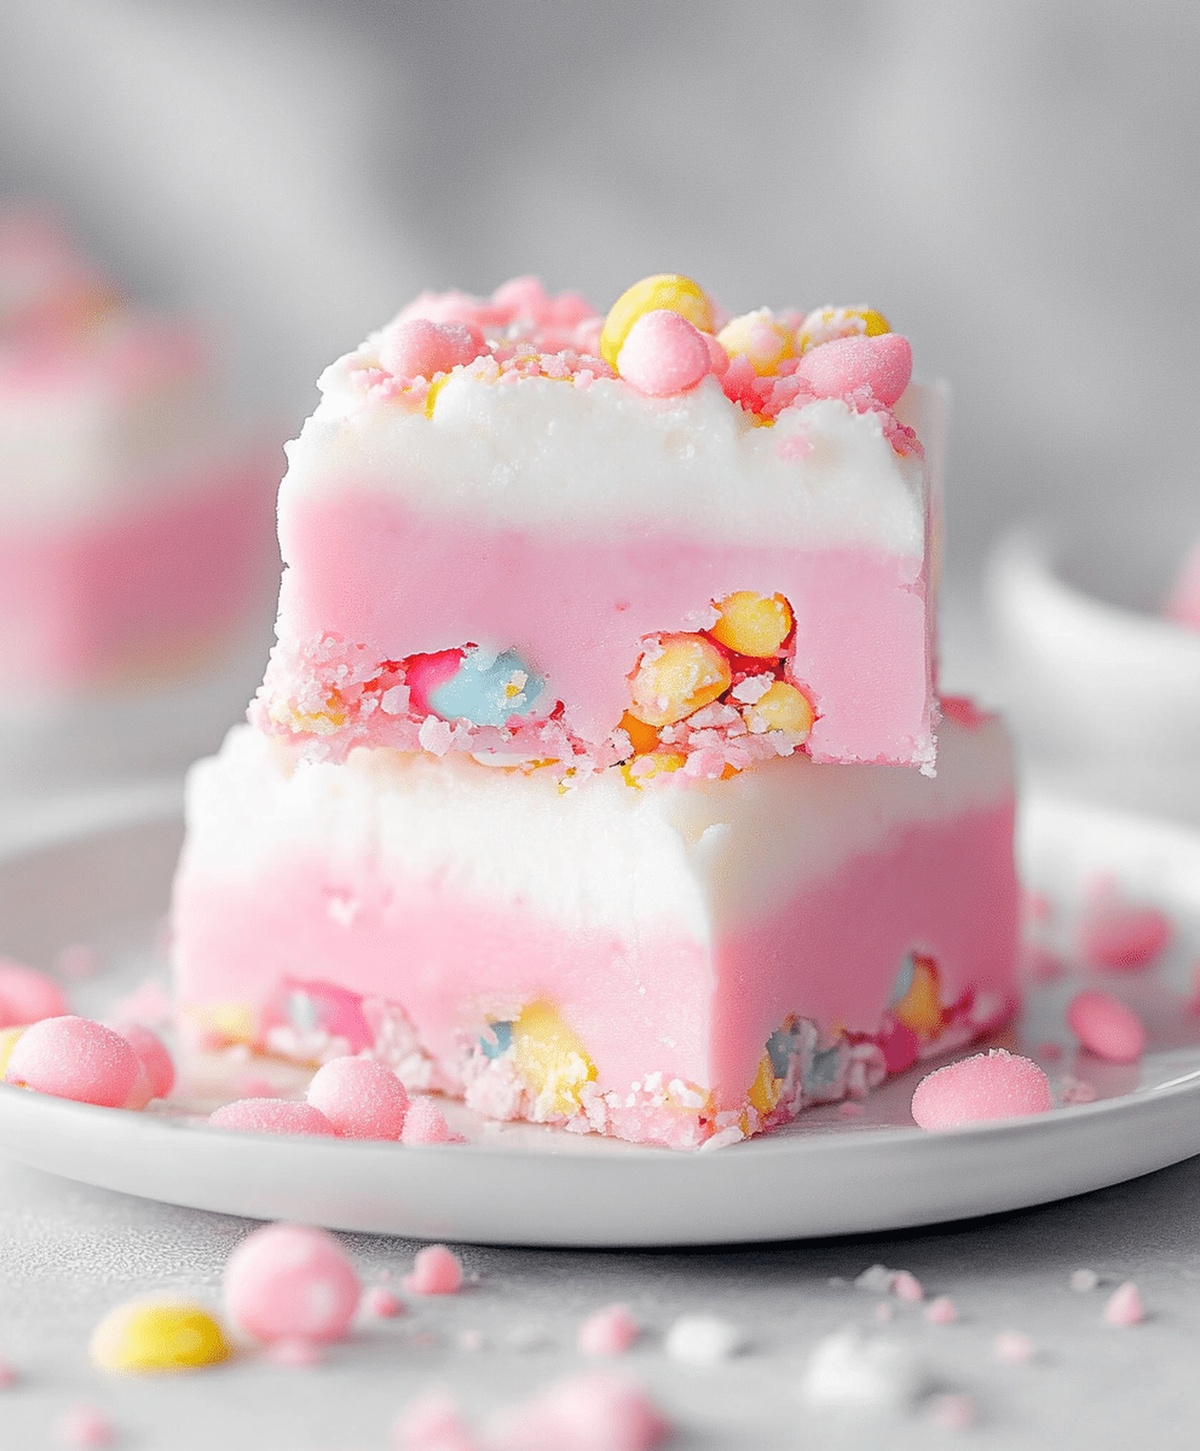
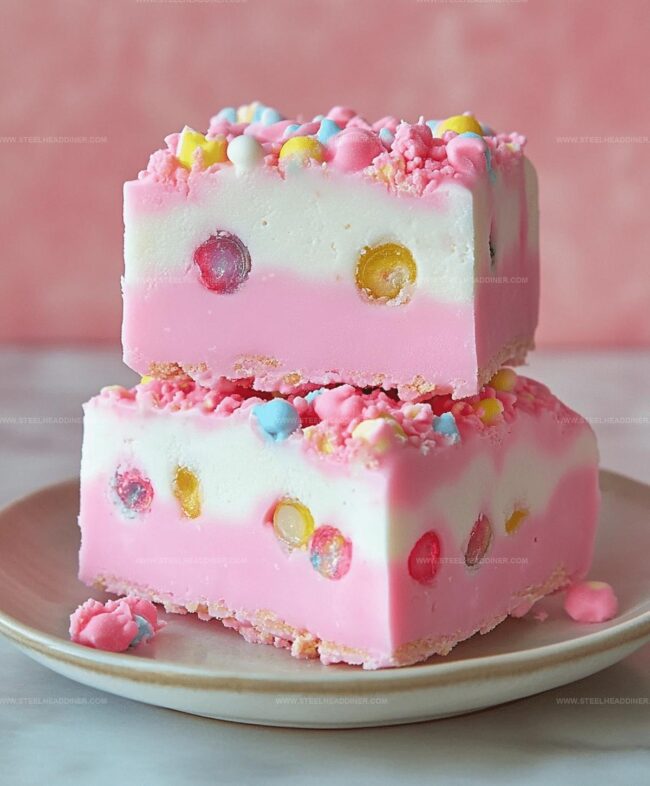
Fluffy Homemade Bubblegum Cloud Fudge Recipe: Sweet Bliss
Sweet memories drift through kitchens when bubblegum cloud fudge becomes a delightful culinary adventure.
Soft pink swirls promise pure childhood nostalgia with every creamy bite.
Childhood whimsy meets sophisticated dessert crafting in this playful recipe.
Unexpected flavor combinations spark curiosity and excitement among dessert enthusiasts.
Pastel colors and sugary notes create a magical treat that sparks joy.
Crafting this delectable confection requires minimal ingredients and simple techniques.
You’ll love how quickly this enchanting fudge comes together, turning an ordinary afternoon into something extraordinary.
Best Storage for Bubblegum Cloud Fudge
FAQs
The bubblegum extract provides a nostalgic, sweet candy-like taste that reminds you of childhood treats.
Not at all! It’s a simple microwave and mix method that takes about 10 minutes of active preparation time, making it perfect for beginner bakers.
Yes, absolutely. The pink color is optional, and the fudge will still taste delicious without it.
The marshmallow fluff creates a light, cloud-like texture that makes this fudge extra creamy and soft compared to traditional dense fudge recipes.
What Makes Homemade Bubblegum Cloud Fudge Fun
Ingredients for Homemade Bubblegum Cloud Fudge
Chocolate Base:Flavor Enhancers:Decorative and Texture Elements:How to Make Homemade Bubblegum Cloud Fudge
Step 1: Prepare Melting Station
Grab a microwave-safe bowl and combine white chocolate chips with sweetened condensed milk. Zap in short 20-second bursts, stirring between each interval until the mixture transforms into a silky, glossy blend with zero lumps.
Step 2: Boost Flavor Profile
Pour in heavy cream and bubblegum extract, stirring enthusiastically to distribute the magical bubblegum essence throughout the creamy base. The mixture will start smelling like a sweet carnival treat.
Step 3: Create Dreamy Color
If desired, introduce pink food coloring drop by drop, swirling until the fudge reaches a delightful cotton candy-like hue. Mix thoroughly to ensure even color distribution.
Step 4: Whip Up Fluffy Texture
Gently fold marshmallow fluff into the mixture, creating soft, billowy clouds within the fudge. The texture will become incredibly light and airy, resembling a sweet, pillowy dream.
Step 5: Prepare Fudge Mold
Line an 8×8-inch baking dish with parchment paper, allowing slight overhang for easy removal. Pour the dreamy fudge mixture into the pan, using a spatula to smooth the top into a perfectly even layer.
Step 6: Add Playful Topping
Sprinkle colorful confetti sprinkles across the surface for an extra burst of whimsy and fun. This step is totally optional but highly recommended for maximum delight.
Step 7: Set and Chill
Slide the pan into the refrigerator and let the fudge set for 2-3 hours. The waiting is the hardest part, but patience rewards you with perfect, sliceable squares.
Step 8: Slice and Serve
Remove the fudge from the refrigerator, lift out using parchment paper, and slice into delectable squares. Serve and watch faces light up with pure sugary joy.
Tips for Successful Bubblegum Cloud Fudge
Flavor Variations for Bubblegum Cloud Fudge
Serving Suggestions for Homemade Bubblegum Cloud Fudge
Print
Quick Homemade Bubblegum Cloud Fudge Recipe
- Total Time: 3 hours 15 minutes
- Yield: 12 1x
Description
Creamy homemade bubblegum cloud fudge delivers nostalgic sweetness with playful pink hues and marshmallow-like texture. Confectionery enthusiasts will adore this whimsical dessert that brings childhood memories to life.
Ingredients
Main Ingredients:
- 2 cups white chocolate chips
- 1/2 cup sweetened condensed milk
- 1/4 cup heavy cream
Flavor and Color Enhancers:
- 1 teaspoon bubblegum extract
- Pink food coloring (optional)
Texture and Topping Ingredients:
- 1/4 cup marshmallow fluff
- Sprinkles (optional, for topping)
Instructions
- Combine white chocolate chips and sweetened condensed milk in a microwave-safe bowl, heating in 20-second increments and stirring until completely melted and silky smooth.
- Incorporate heavy cream and bubblegum extract, whisking thoroughly to ensure even distribution of flavors.
- Introduce pink food coloring if desired, gently stirring until the mixture reaches a uniform pastel hue.
- Delicately fold marshmallow fluff into the mixture, creating billowy pockets of cloud-like texture throughout the fudge.
- Transfer the creamy mixture into a parchment-lined 8×8-inch baking dish, using a spatula to spread evenly and create a perfectly flat surface.
- Sprinkle decorative toppings across the surface for added visual appeal and texture.
- Chill in the refrigerator for 2-3 hours, allowing the fudge to set completely and develop a firm, sliceable consistency.
- Remove from refrigerator, lift out of the pan using parchment paper, and slice into neat, bite-sized squares.
- Serve chilled and enjoy the whimsical, melt-in-your-mouth treat.
Notes
- Swap white chocolate chips with dairy-free alternatives for vegan friends, ensuring everyone can enjoy this sweet treat.
- Experiment with different extract flavors like strawberry or vanilla to create unique variations and personalize the fudge.
- Use gel food coloring for more vibrant and concentrated color without affecting the fudge’s texture or consistency.
- Cool fudge completely at room temperature for a softer, melt-in-your-mouth texture that’s less firm than refrigerated versions.
- Prep Time: 15 minutes
- Cook Time: 3 hours
- Category: Desserts, Snacks
- Method: Blending
- Cuisine: American
Nutrition
- Serving Size: 12
- Calories: 230
- Sugar: 25 g
- Sodium: 30 mg
- Fat: 12 g
- Saturated Fat: 7 g
- Unsaturated Fat: 4 g
- Trans Fat: 0.2 g
- Carbohydrates: 28 g
- Fiber: 0.1 g
- Protein: 2 g
- Cholesterol: 20 mg


Jack Monroe
Founder & Recipe Innovator
Expertise
Pacific Northwest cuisine, Single-serving recipe development, Sustainable sourcing and cooking, Modern comfort food
Education
Brightwater
Associate of Applied Science in Culinary Arts
Focus: Sustainable cooking, seasonal ingredients, and food systems education
Jack grew up with a fishing rod in one hand and a cast-iron skillet in the other. After graduating from Brightwater: A Center for the Study of Food, he set out to prove that cooking for one could still taste like a feast.
Jack believes that food should feel real: fresh, fearless, and a little wild, just like the rivers he grew up around. For Jack, every single dish is a small adventure, and the best ones are the ones you can cook with heart, not hassle.