
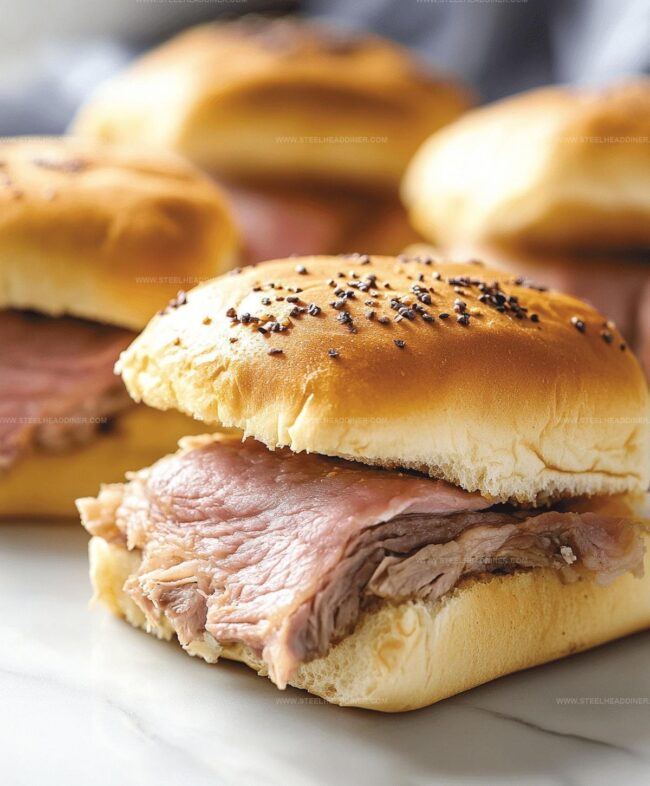
Quick & Juicy Roast Beef Sliders Recipe Everyone Will Love
Crafting delectable roast beef sliders brings pure comfort to any gathering.
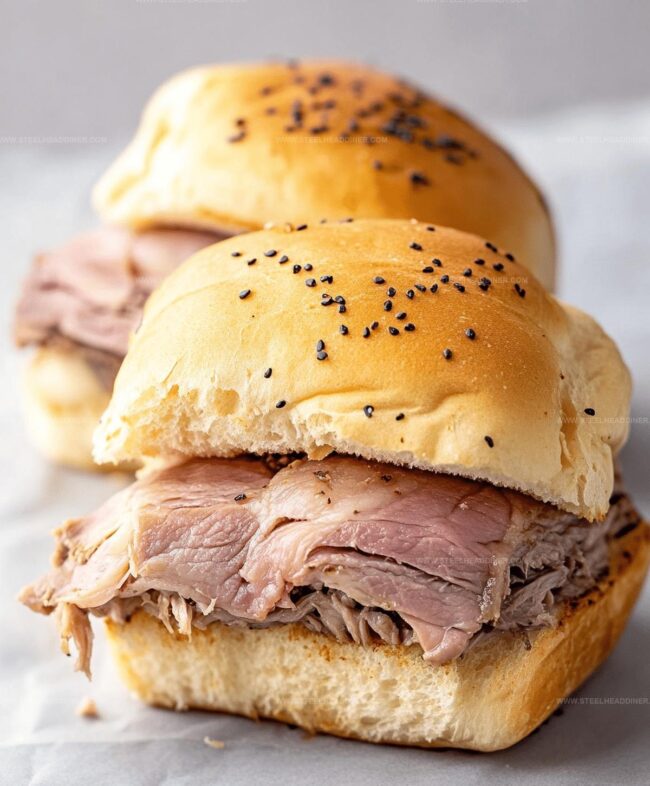
Soft, pillowy rolls cradle tender meat with zesty condiments.
Meaty, succulent layers promise an irresistible bite that melts in your mouth.
Small sandwiches pack massive flavor into compact packages.
Perfectly seasoned beef combines with creamy spreads for an unforgettable experience.
Quick to assemble and even faster to devour, these sliders will become your new party favorite.
Dive into this simple yet spectacular recipe that guarantees smiles around the table.
What Makes Roast Beef Sliders Shine
What You Need For Roast Beef Sliders
For the Main Components:For the Butter Mixture:For the Optional Garnish:How To Cook Roast Beef Sliders
Step 1: Prep the Oven
Fire up your oven to a toasty 350°F (175°C) to get ready for slider magic.
Step 2: Split and Arrange Buns
Slice your slider buns horizontally and lay the bottom halves on a greased baking sheet, creating a perfect foundation for deliciousness.
Step 3: Build Flavor Layers
Create tempting layers by adding:Nestle these goodies onto the bottom bun halves.
Step 4: Top and Complete
Crown each slider with the matching top bun half, creating little flavor packages.
Step 5: Whip Up Flavor Boost
In a small bowl, blend together:Stir until the mixture becomes a harmonious flavor bomb.
Step 6: Brush and Sprinkle
Generously brush the butter mixture over the slider tops.
For an extra touch of green, sprinkle dried parsley across the buns.
Step 7: Initial Baking
Cover the sliders with foil and slide into the preheated oven.
Bake for 15 minutes, letting the flavors meld and warmth spread.
Step 8: Final Golden Touch
Remove the foil and return to the oven.
Bake for an additional 5-7 minutes until the tops turn a gorgeous golden brown and the cheese becomes irresistibly melted.
Step 9: Serve and Savor
Pull out your perfectly crafted sliders and serve them immediately while they’re hot and absolutely delectable.
Enjoy every single bite!
Handy Insights For Roast Beef Sliders
Taste Tweaks For Roast Beef Sliders

Best Pairings With Roast Beef Sliders
Keeping Roast Beef Sliders Fresh Longer
FAQs
Deli-sliced roast beef is perfect, but you can also use leftover roast beef from a home-cooked meal for even more flavor.
Yes, you can assemble the sliders up to a day before baking. Just cover and refrigerate, then bake when ready to serve.
Absolutely! They’re easy to make in large batches and are always a crowd-pleaser at gatherings, game days, or potlucks.
Use whole wheat slider buns, lean roast beef, and reduce the amount of butter for a lighter version of this classic appetizer.
Print
Roast Beef Sliders Recipe
- Total Time: 35 minutes
- Yield: 12 1x
Description
Succulent roast beef sliders showcase classic comfort with tender meat nestled between pillowy rolls. Hearty sandwiches deliver rich flavors you’ll savor at game day gatherings or casual family meals.
Ingredients
- 1 lb roast beef (sliced)
- 6 slices provolone or Swiss cheese
- 12 slider buns
- 4 tablespoons butter (melted)
- 1 tablespoon Dijon mustard
- 1 teaspoon Worcestershire sauce
- 1 teaspoon garlic powder
- 1 teaspoon dried parsley (optional)
Instructions
- Warm the oven to 350°F, preparing a greased baking sheet for assembly.
- Carefully split slider buns horizontally, positioning bottom halves on the prepared baking sheet.
- Generously distribute roast beef slices across the bun bases, ensuring even coverage.
- Add cheese layers directly over the roast beef, creating a rich foundation.
- Crown each slider with corresponding top bun halves.
- Craft a savory glaze by whisking melted butter with Dijon mustard, Worcestershire sauce, and garlic powder until thoroughly combined.
- Liberally brush the butter mixture across the slider tops, allowing the flavors to penetrate the bread surface.
- Optional: Sprinkle dried parsley for added visual appeal and herbal undertones.
- Drape aluminum foil loosely over the sliders to prevent excessive browning.
- Bake covered for 15 minutes, allowing ingredients to meld and heat through.
- Remove foil and continue baking 5-7 minutes until bun tops transform to a golden, crisp finish and cheese melts completely.
- Remove from oven, let rest momentarily, and serve while warm for optimal taste and texture.
Notes
- Prep buns ahead by toasting them lightly for extra crunch and stability when handling sliders.
- Try different cheese varieties like provolone or Swiss to customize flavor profiles and match personal preferences.
- Choose high-quality deli roast beef for tender, juicy meat that enhances the overall slider experience.
- Adjust butter mixture proportions to create a lighter or more intense flavor depending on taste preferences and dietary needs.
- Prep Time: 15 minutes
- Cook Time: 20 minutes
- Category: Lunch, Dinner, Appetizer, Snacks
- Method: Baking
- Cuisine: American
Nutrition
- Serving Size: 12
- Calories: 220 kcal
- Sugar: 2 g
- Sodium: 450 mg
- Fat: 12 g
- Saturated Fat: 6 g
- Unsaturated Fat: 5 g
- Trans Fat: 0.3 g
- Carbohydrates: 20 g
- Fiber: 1 g
- Protein: 15 g
- Cholesterol: 40 mg
Maya Thompson
Culinary Content Creator & Nutrition Enthusiast
Expertise
Healthy single-serving recipes, Meal prepping for individuals, Integrating nutrition into everyday cooking, Vegetarian and plant-based cuisine
Education
The Chef’s Academy at Harrison College
Associate of Applied Science in Culinary Arts
Focus: Nutrition, meal planning, and culinary techniques for healthy living.
Maya found her passion in the kitchen by mixing good food with good energy. After earning her culinary degree at The Chef’s Academy at Harrison College, she made it her mission to keep cooking simple, wholesome, and packed with flavor.
At Steelhead Diner, Maya shares easy, healthy recipes built for real life. For Maya, great food seems like a celebration of everyday moments, made better one fresh bite at a time.