Spooky Bloodshot Eyeballs Candy Recipe for Halloween Fun
Crafting spooky Halloween bloodshot eyeballs candy will unleash your inner mad scientist in the kitchen!
Ghoulish treats like these become the talk of any costume party.
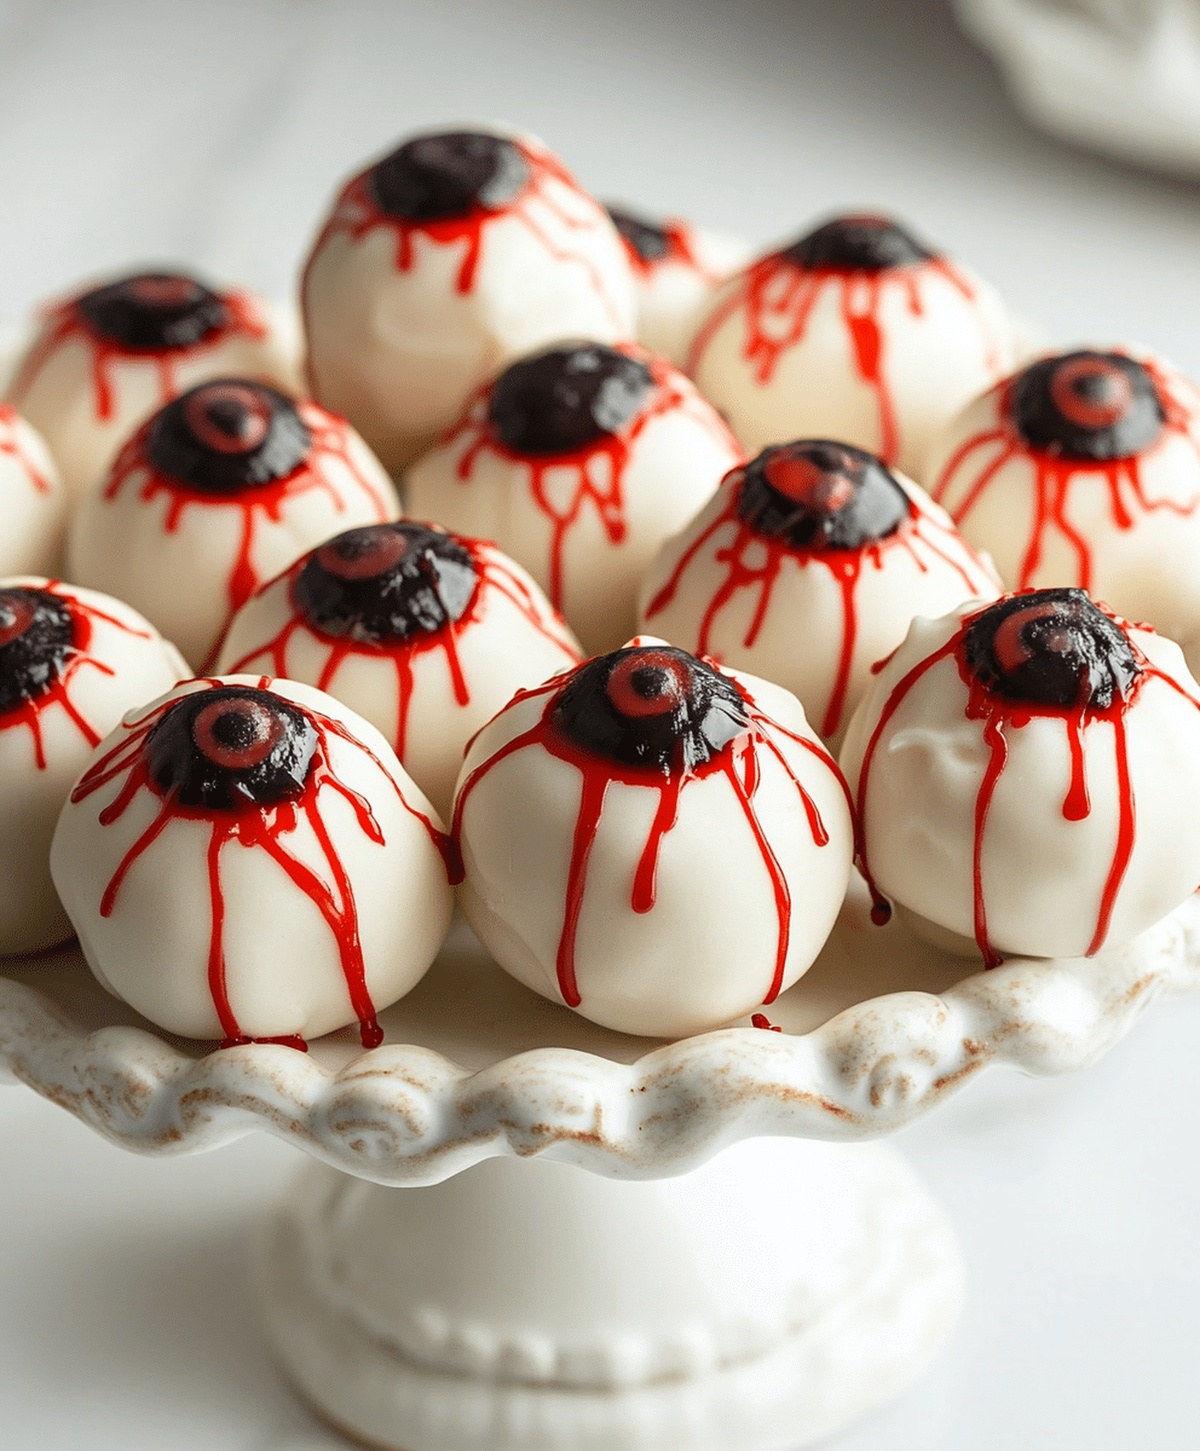
Peeled grapes and white chocolate combine to create seriously creepy confections.
Delicate details make these edible eyeballs look disturbingly realistic.
Scary-good flavors merge with wickedly fun presentation for maximum shock value.
Guests will squirm and delight in equal measure when you serve these gruesome goodies.
You want to be the coolest host at the Halloween bash, so let’s get creepily creative!
Halloween Bloodshot Eyeballs Candy for Spooky Fun

Ingredients for Halloween Bloodshot Eyeballs Candy
Candy Base:Decoration Elements:Color Accents:Step-by-Step Guide to Halloween Bloodshot Eyeballs Candy
Step 1: Prepare Melting Station
Set up a clean, dry workspace near your stovetop or microwave. Grab white candy melts and a heat-safe bowl for smooth, even melting.
Choose a method that works best for you – microwave or double boiler.
Step 2: Transform Candy Melts into Liquid
Gently heat the white candy melts using short bursts in the microwave or slowly over simmering water.
Stir frequently to prevent burning. Continue until the mixture becomes completely smooth and glossy.
Step 3: Shape Eyeball Foundations
Pour the silky melted candy into round silicone molds. Carefully tilt and rotate the molds to ensure even coating.
Tap gently to remove any potential air bubbles. Place in refrigerator to quickly set.
Step 4: Create Bloodshot Effect
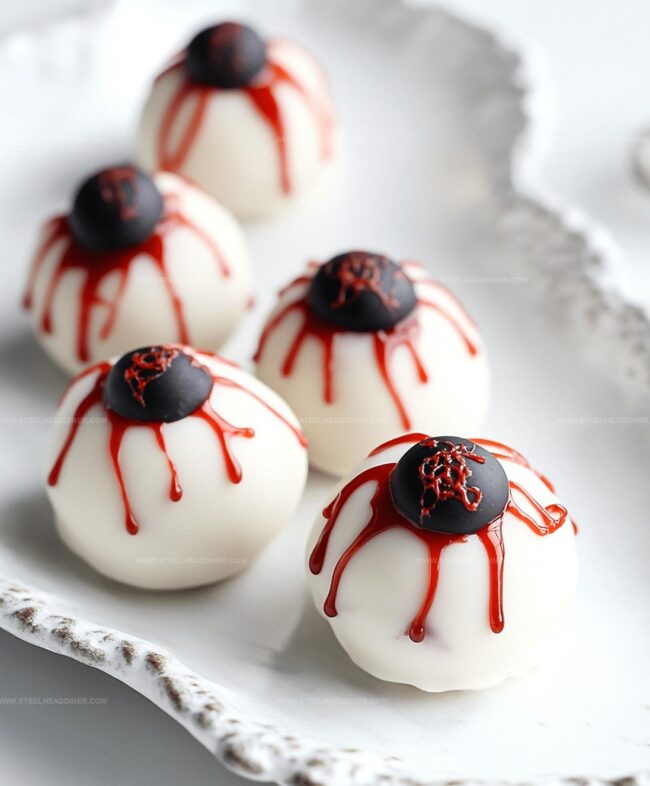
Once hardened, remove eyeball shapes from molds. Take red gel icing and delicately draw squiggly lines across the surface, mimicking blood vessels.
Allow for natural, slightly irregular patterns.
Step 5: Add Dramatic Pupil Details
Select either mini chocolate chips or black gel icing to create a central pupil.
Place directly in the middle of each white candy eyeball. Press gently to secure.
Step 6: Optional Iris Enhancement
For extra realism, consider adding a touch of green or blue decorating gel around the pupil. This creates depth and makes the eyeball look more lifelike.
Step 7: Final Setting
Let decorated eyeball candies rest at room temperature until completely firm. Store in a cool, dry container until ready to serve your spooky treats.
Pro Tips to Make Halloween Bloodshot Eyeballs Candy

Variations on Halloween Bloodshot Eyeballs Candy
Serving Ideas for Halloween Bloodshot Eyeballs Candy
How to Store Halloween Bloodshot Eyeballs Candy
FAQs
Use a double boiler or microwave at 50% power, stirring every 30 seconds to ensure smooth melting without scorching.
Absolutely! You can use various decorating gel colors like green, blue, brown, or even purple to create unique and fun eyeball designs.
Silicone round molds with smooth surfaces work perfectly, allowing easy removal and creating a nice spherical shape for the eyeball candies.
Store in an airtight container at room temperature for up to 1 week, keeping them away from direct sunlight and heat to maintain their shape and quality.
Print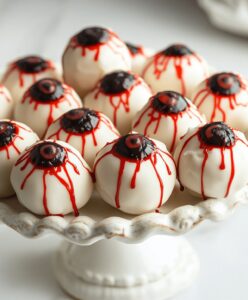
Spooky Halloween Bloodshot Eyeballs Candy Recipe
- Total Time: 30 minutes
- Yield: 12 1x
Description
Spooky Halloween bloodshot eyeballs candy combines creamy white chocolate with eerie red vein details for a ghoulish treat. Candy makers can craft these chilling confections with simple ingredients and creative decorating techniques that will shock party guests.
Ingredients
Main Ingredients:
- 1 cup white candy melts
- 1/2 cup round candy (white chocolate or sugar pearls)
Decorative Ingredients:
- 2 tablespoons red gel icing
- 1 tablespoon green or blue decorating gel
- 1 tablespoon black decorating gel or mini chocolate chips
Optional Finishing Ingredient:
- 1 teaspoon edible glitter (optional)
Instructions
- Gently heat white candy melts in a microwave or double boiler, stirring periodically until smooth and completely liquefied.
- Carefully pour the molten white candy into circular silicone molds, ensuring even distribution to create spherical shapes.
- Allow the candy eyeballs to solidify at room temperature for approximately 15-20 minutes, or expedite the process by placing in the refrigerator.
- Using red gel icing, delicately draw wispy, irregular lines across the surface to simulate blood vessels and create a realistic bloodshot effect.
- Place a tiny black gel dot or mini chocolate chip precisely in the center to represent the pupil.
- For enhanced visual complexity, apply a subtle layer of green or blue decorating gel around the pupil to mimic an iris.
- Rest the decorated candy eyeballs at room temperature for an additional 10 minutes to ensure complete setting and prevent smudging.
- Transfer to a serving platter or store in an airtight container until ready to present at your Halloween gathering.
Notes
- Choose high-quality candy melts for a smooth, glossy finish that makes the eyeballs look realistic and professional.
- Use a piping bag or squeeze bottle for precise red gel icing lines to create authentic “bloodshot” veins without messy edges.
- Chill the eyeballs briefly in the refrigerator to help the gel icing set faster and prevent smudging during decoration.
- Consider using food-safe edible markers as an alternative to gel icing for more controlled and intricate blood vessel details.
- Prep Time: 10 minutes
- Cook Time: 20 minutes
- Category: Snacks, Desserts
- Method: Melting
- Cuisine: American
Nutrition
- Serving Size: 12
- Calories: 30 kcal
- Sugar: 5 g
- Sodium: 10 mg
- Fat: 1 g
- Saturated Fat: 0.5 g
- Unsaturated Fat: 0.4 g
- Trans Fat: 0 g
- Carbohydrates: 6 g
- Fiber: 0 g
- Protein: 0.2 g
- Cholesterol: 0 mg
Jack Monroe
Founder & Recipe Innovator
Expertise
Pacific Northwest cuisine, Single-serving recipe development, Sustainable sourcing and cooking, Modern comfort food
Education
Brightwater
Associate of Applied Science in Culinary Arts
Focus: Sustainable cooking, seasonal ingredients, and food systems education
Jack grew up with a fishing rod in one hand and a cast-iron skillet in the other. After graduating from Brightwater: A Center for the Study of Food, he set out to prove that cooking for one could still taste like a feast.
Jack believes that food should feel real: fresh, fearless, and a little wild, just like the rivers he grew up around. For Jack, every single dish is a small adventure, and the best ones are the ones you can cook with heart, not hassle.