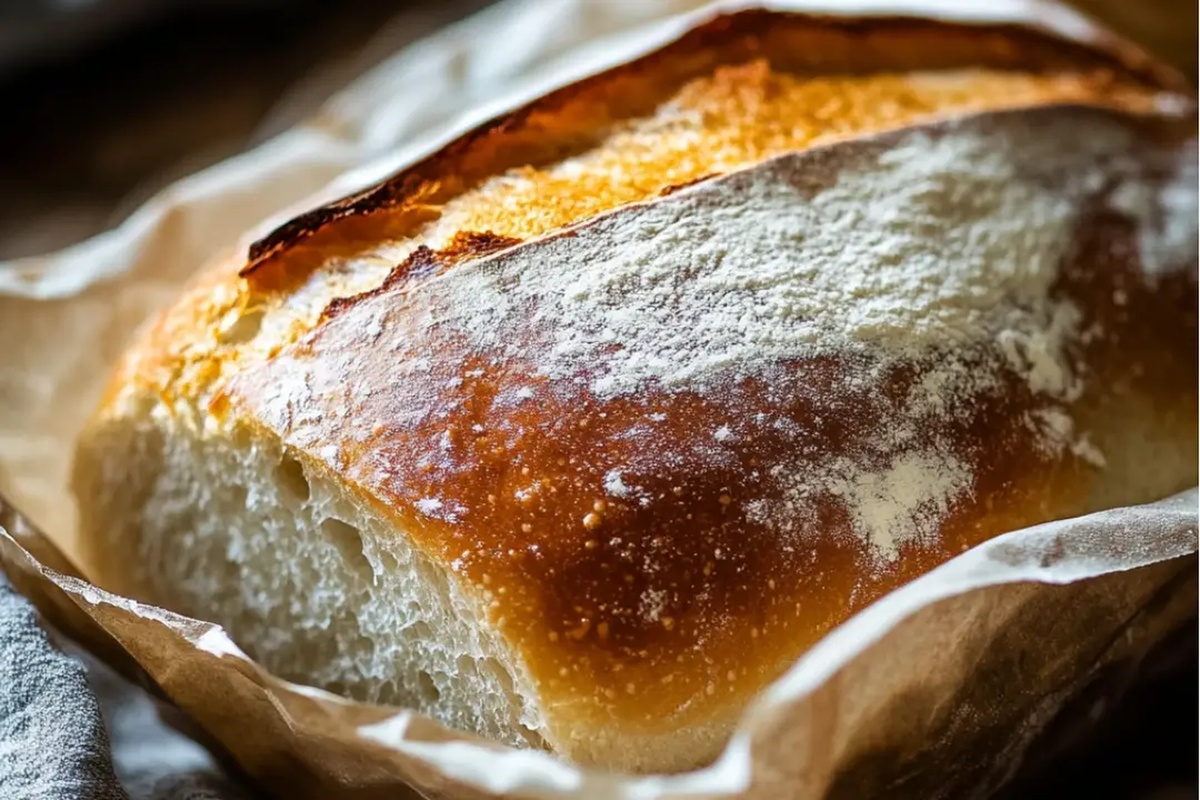
Fluffy Homemade Bread In A Bag Recipe: No-Mess Magic
Baking homemade bread with minimal mess and maximum flavor, this bread in a bag recipe revolutionizes your kitchen experience.
No kneading required means anyone can create soft, delicious bread with ease.
The simple technique eliminates traditional bread-making complexity.
You’ll love how quickly the ingredients come together in a sealed bag.
Mixing and rising happen effortlessly without complicated steps.
The method ensures a perfect loaf every single time.
Warm, fresh bread awaits you with just a few basic ingredients and this foolproof technique.
Homemade Bread In A Bag
Ingredients For Bread In A Bag
Dry Ingredients:Wet Ingredients:Leavening Agent:Stepwise Bread In A Bag Preparation
Step 1: Kickstart the Yeast Activation
In a large ziplock bag, toss in flour, sugar, yeast, and warm water. Give the bag a gentle massage to combine ingredients.
Let the mixture rest and bubble for 10 minutes, allowing the yeast to wake up and get energetic.
Step 2: Create the Dough Base
Add another portion of flour, olive oil, and salt into the bag.
Seal the bag tightly and start kneading with your hands. Squish and squeeze the bag for about 5 minutes until the ingredients transform into a cohesive dough ball.
Step 3: Develop the Dough Texture
Pour the final portion of flour into the bag. Continue massaging the dough inside the bag until it feels smooth and elastic.
If the dough seems too sticky, sprinkle in a bit more flour and keep working it.
Step 4: Allow Dough to Rise and Expand
Leave the sealed bag in a warm spot for roughly 30 minutes.
Watch as the dough magically doubles in size, getting puffy and soft.
Step 5: Prepare for Baking
Warm up the oven to 375°F.
Gently remove the dough from the bag, shape it into a classic loaf, and place it on a baking sheet. Slide the sheet into the oven and bake until the bread turns a gorgeous golden brown and sounds hollow when tapped.
Tips For Perfect Bread In A Bag
Flavor Variations For Bread In A Bag
Foods To Enjoy With Bread In A Bag
Proper Storage For Bread In A Bag
FAQs
The bag method makes kneading easier, reduces mess, and allows kids to help without getting flour everywhere. It’s a fun, hands-on way to make bread without using traditional mixing bowls.
Yes, you can experiment with whole wheat, bread flour, or a mix of flours. Just ensure you maintain the same total flour quantity for the best texture and rise.
Check the expiration date on the yeast package. If unsure, dissolve it in warm water with sugar. If it becomes foamy and bubbly within 10 minutes, the yeast is good to use.
Print
Bread In A Bag Recipe
- Total Time: 1 hour 20 minutes
- Yield: 8 1x
Description
Homemade bread in a bag delivers effortless baking magic straight to your kitchen. Simple ingredients and foolproof steps ensure warm, freshly baked comfort you can enjoy with minimal effort.
Ingredients
Main Ingredients:
- 3 cups all-purpose flour
- 1 cup warm water
- 1 packet rapid-rise yeast
Seasoning and Flavor Enhancers:
- 3 teaspoons sugar
- 1 1/2 teaspoons salt
- 3 tablespoons olive oil
Measurement Conversion:
- 3 cups (710 ml) all-purpose flour
- 1 cup (240 ml) warm water
- 1 packet rapid-rise yeast
- 3 teaspoons (15 ml) sugar
- 1 1/2 teaspoons (7.5 ml) salt
- 3 tablespoons (45 ml) olive oil
Instructions
- In a large resealable plastic bag, mix flour, sugar, yeast, and warm water. Allow the mixture to rest for 10 minutes, enabling the yeast to become active and develop its characteristic bubbling texture.
- Introduce additional flour, olive oil, and salt into the bag. Seal the bag securely and massage the contents thoroughly, ensuring all ingredients blend seamlessly into a cohesive dough. Continue kneading for approximately 5 minutes until the texture becomes uniform.
- Gradually incorporate the remaining flour into the bag, gently manipulating the dough to create a smooth, elastic consistency. If the mixture appears excessively tacky, sprinkle extra flour to achieve the desired texture.
- Permit the dough to undergo fermentation inside the sealed bag for roughly 30 minutes, watching it expand and approximately double in volume.
- Heat the oven to 375°F (190°C). Carefully extract the risen dough from the bag, tenderly shape it into a classic loaf form, and position it on a baking sheet. Bake for 25-30 minutes until the surface transforms into a rich golden brown and produces a distinctive hollow sound when tapped on the bottom.
Notes
- Embrace the mess-free method by using a resealable bag, perfect for kids or first-time bakers who want a fun, hands-on bread-making experience.
- Adjust water temperature carefully to ensure yeast activates properly without killing it – aim for lukewarm around 110°F (43°C) for optimal rising.
- Try different flour types like whole wheat or gluten-free blends to customize the bread’s texture and nutritional profile while maintaining the simple bag technique.
- Check bread doneness by inserting a thermometer – internal temperature should reach 190-200°F (88-93°C) for a perfectly baked loaf with a crispy crust and soft interior.
- Prep Time: 50 minutes
- Cook Time: 30 minutes
- Category: Breakfast, Snacks
- Method: Baking
- Cuisine: American
Nutrition
- Serving Size: 8
- Calories: 180kcal
- Sugar: 1g
- Sodium: 250mg
- Fat: 4.5g
- Saturated Fat: 0.6g
- Unsaturated Fat: 3.8g
- Trans Fat: 0g
- Carbohydrates: 33g
- Fiber: 1g
- Protein: 5g
- Cholesterol: 0mg
Maya Thompson
Culinary Content Creator & Nutrition Enthusiast
Expertise
Healthy single-serving recipes, Meal prepping for individuals, Integrating nutrition into everyday cooking, Vegetarian and plant-based cuisine
Education
The Chef’s Academy at Harrison College
Associate of Applied Science in Culinary Arts
Focus: Nutrition, meal planning, and culinary techniques for healthy living.
Maya found her passion in the kitchen by mixing good food with good energy. After earning her culinary degree at The Chef’s Academy at Harrison College, she made it her mission to keep cooking simple, wholesome, and packed with flavor.
At Steelhead Diner, Maya shares easy, healthy recipes built for real life. For Maya, great food seems like a celebration of everyday moments, made better one fresh bite at a time.