
Sizzling Cheeseburger Sliders Recipe: Mini Bites of Joy
Crafting the perfect cheeseburger sliders requires a dash of creativity and a sprinkle of culinary magic.
Every bite promises a miniature explosion of flavor that will make your taste buds dance.
Small yet mighty, these little burgers pack a serious punch of deliciousness.
Lean ground beef seasoned with secret spices creates a mouthwatering foundation for these irresistible mini masterpieces.
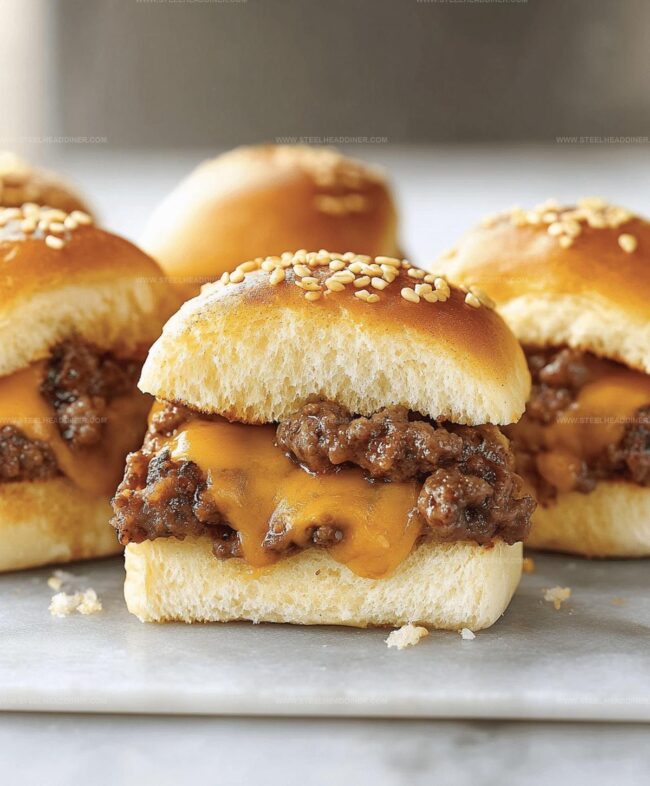
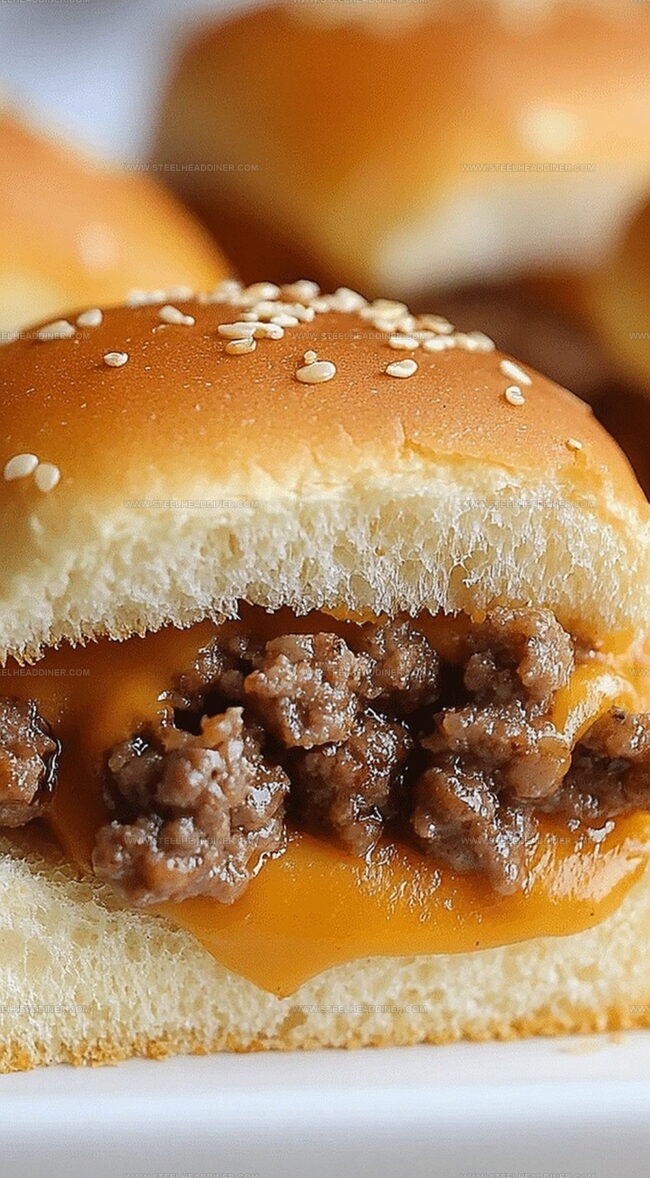
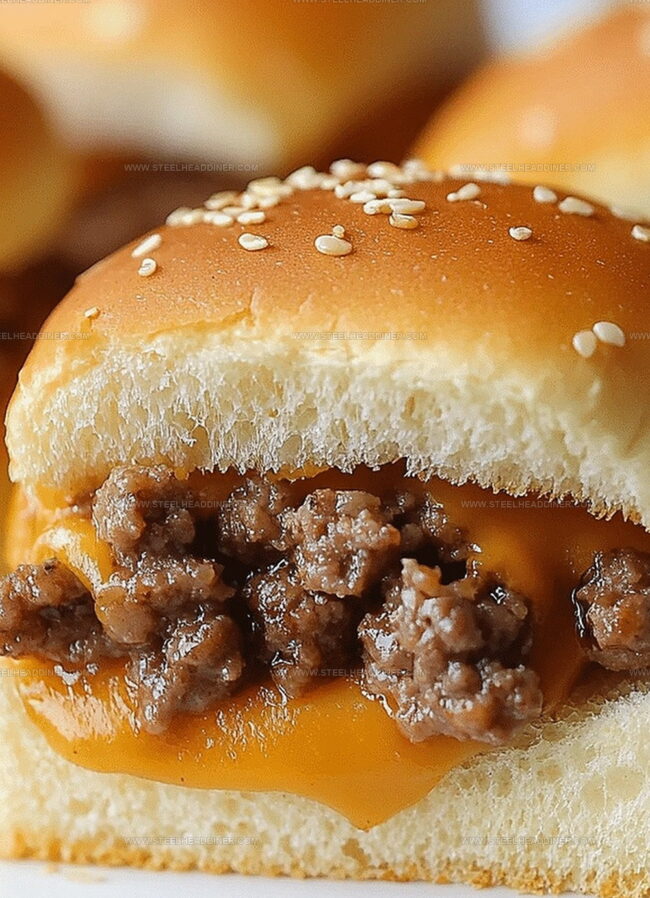
Melted cheese cascading over juicy meat transforms these sliders into a crowd-pleasing sensation.
Crisp buns and fresh toppings elevate the experience from ordinary to extraordinary.
You’ll want to whip up a batch and watch them disappear in record time.
Why Cheeseburger Sliders Are So Loved
Ingredients for Cheeseburger Sliders Recipe
Main Ingredients:Seasonings and Spices:Finishing Touches:How to Prepare Cheeseburger Sliders Easily

Step 1: Prepare the Oven
Warm up your oven to a toasty 350°F (175°C) so it’s ready for the final touch of your sliders.
Step 2: Season the Beef
Grab your ground beef and sprinkle in:Mix the seasonings thoroughly into the meat to ensure every bite is packed with flavor.
Step 3: Shape the Mini Patties
Divide the seasoned beef into 8 equal portions.
Gently form each portion into small, compact patties that will perfectly fit your slider buns.
Step 4: Sizzle the Patties
Heat a skillet over medium heat.
Cook the patties for 2-3 minutes on each side until they develop a delicious golden-brown crust.
Step 5: Build the Sliders
Place each cooked patty on a soft slider bun.
Top with:Step 6: Butter the Bun Tops
Brush the top of each bun with melted butter to create a golden, slightly crispy surface.
Step 7: Bake to Perfection
Slide the assembled sliders into the preheated oven.
Bake for 5-7 minutes until the cheese melts completely and the buns turn a light golden brown.
Step 8: Serve and Savor
Pull out your hot, cheesy sliders and serve immediately.
Get ready for a mouthwatering mini burger experience!
Tips for Perfect Cheeseburger Sliders
Cheeseburger Slider Flavor Variations to Try
What Goes Great With Cheeseburger Sliders
Store Cheeseburger Sliders for Freshness
FAQs
Yes, you can substitute ground beef with ground turkey, chicken, or even plant-based meat alternatives for a different flavor profile.
Mix in a small amount of breadcrumbs or an egg to help bind the meat and prevent crumbling during cooking.
Cheddar, American, and Swiss cheese are classic choices that melt well and complement the beef perfectly.
You can prepare the patties in advance and store them in the refrigerator, but it’s best to assemble and bake the sliders just before serving to maintain their fresh, crispy texture.
Print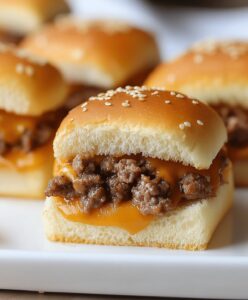
Cheeseburger Sliders Recipe
- Total Time: 25 minutes
- Yield: 8 1x
Description
Succulent cheeseburger sliders showcase mini beef patties nestled between fluffy potato rolls with melted cheese and classic condiments. Guests will devour these crowd-pleasing mini sandwiches that deliver maximum flavor in compact, irresistible bites.
Ingredients
Meat:
- 1 pound (454 grams) ground beef
Seasonings:
- 1 teaspoon salt
- 1/2 teaspoon black pepper
- 1/2 teaspoon garlic powder
- 1/2 teaspoon onion powder
Buns and Cheese:
- 8 slider buns
- 4 slices of cheddar cheese (cut in halves)
- 1 tablespoon butter (melted)
Optional Toppings:
- lettuce
- pickles
- ketchup
- mustard
Instructions
- Create compact beef patties by gently mixing ground beef with aromatic seasonings like salt, pepper, garlic powder, and onion powder.
- Partition the seasoned meat into 8 uniform miniature portions, carefully shaping each into a petite round patty.
- Warm a skillet over medium heat and sear the patties for 2-3 minutes on each side until a golden-brown exterior develops.
- Position the cooked patties onto slider buns, layering with cheese slices and preferred condiments.
- Generously brush the bun surfaces with melted butter for enhanced flavor and golden crispness.
- Transfer the prepared sliders to a preheated 350°F (175°C) oven, allowing them to bake for 5-7 minutes until cheese melts completely and buns acquire a light toast.
- Remove from oven, let rest momentarily, and serve these delectable mini burgers while piping hot, ensuring maximum taste and textural enjoyment.
Notes
- Customize patty thickness for even cooking by using a burger press or gently pressing with fingertips to create uniform slider-sized patties.
- Opt for high-fat ground beef like 80/20 to ensure juicy, flavorful sliders that won’t dry out during cooking.
- Add extra moisture and depth by mixing finely chopped onions or Worcestershire sauce into the ground beef before forming patties.
- Experiment with cheese varieties like sharp cheddar, pepper jack, or blue cheese to elevate flavor profiles and create unique slider experiences.
- Prep Time: 10 minutes
- Cook Time: 15 minutes
- Category: Lunch, Dinner, Snacks
- Method: Sautéing
- Cuisine: American
Nutrition
- Serving Size: 8
- Calories: 277 kcal
- Sugar: 2 g
- Sodium: 520 mg
- Fat: 18 g
- Saturated Fat: 7 g
- Unsaturated Fat: 8 g
- Trans Fat: 1 g
- Carbohydrates: 16 g
- Fiber: 1 g
- Protein: 15 g
- Cholesterol: 45 mg
Jack Monroe
Founder & Recipe Innovator
Expertise
Pacific Northwest cuisine, Single-serving recipe development, Sustainable sourcing and cooking, Modern comfort food
Education
Brightwater
Associate of Applied Science in Culinary Arts
Focus: Sustainable cooking, seasonal ingredients, and food systems education
Jack grew up with a fishing rod in one hand and a cast-iron skillet in the other. After graduating from Brightwater: A Center for the Study of Food, he set out to prove that cooking for one could still taste like a feast.
Jack believes that food should feel real: fresh, fearless, and a little wild, just like the rivers he grew up around. For Jack, every single dish is a small adventure, and the best ones are the ones you can cook with heart, not hassle.