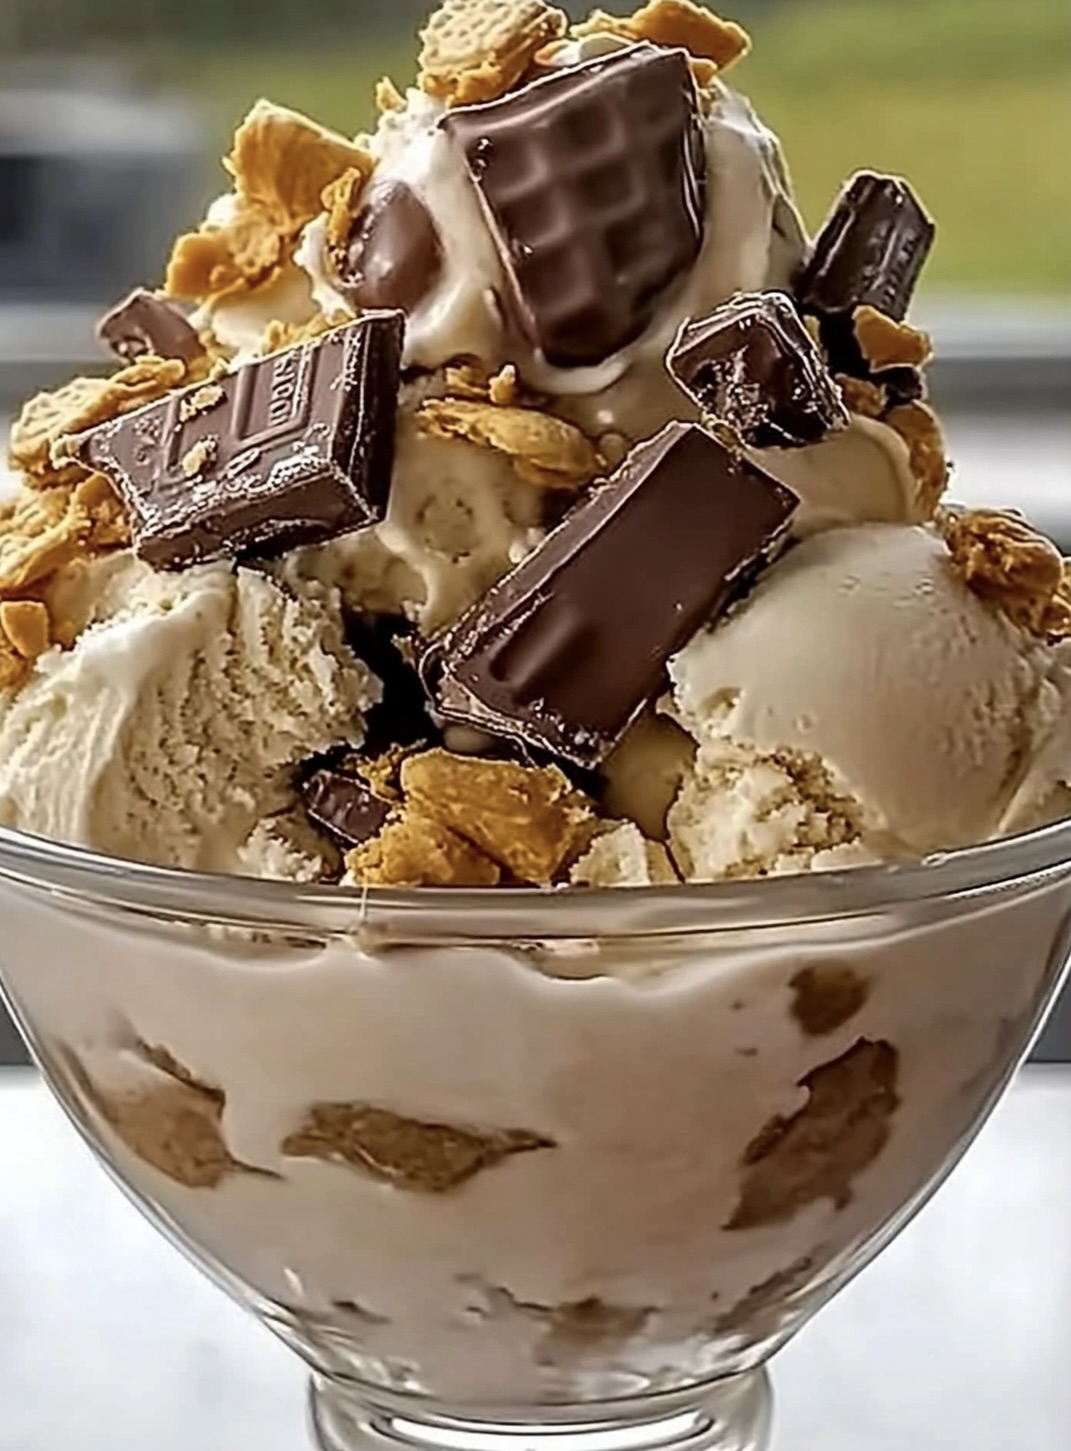
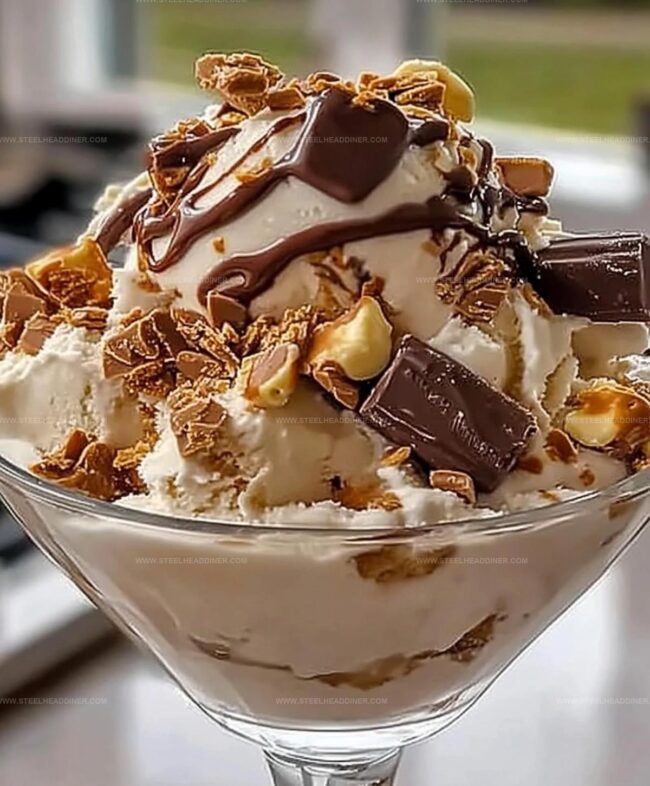
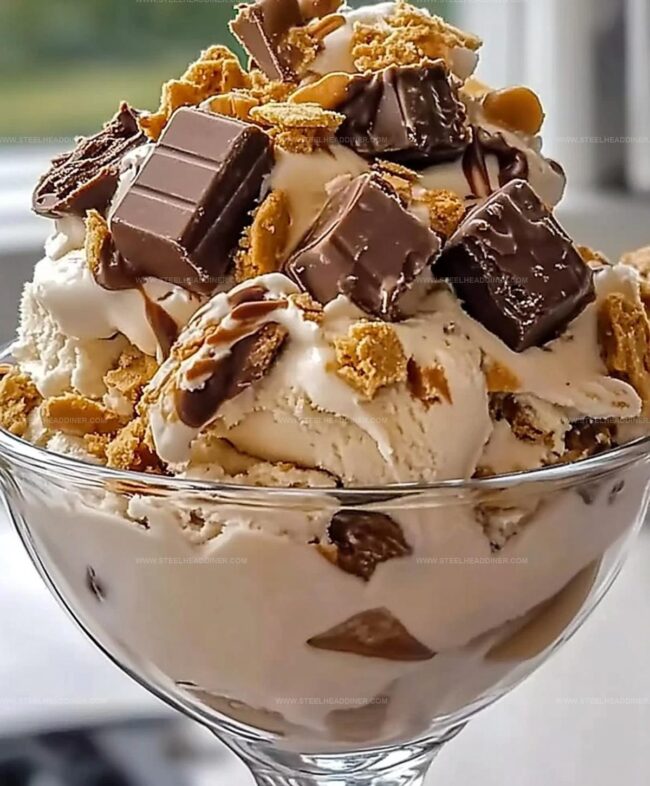
Homemade Cookie Dough Snickers & Reese’s Ice Cream Recipe
Whipping up a decadent cookie dough Snickers & Reese’s ice cream promises pure indulgence for dessert enthusiasts.
Sweet memories of childhood favorites dance through this creamy concoction.
Chocolate chunks and caramel swirls create a playground of flavors waiting to be discovered.
Nostalgic candy bars melt seamlessly into rich, velvety ice cream base.
Unexpected combinations spark joy with each delightful spoonful.
Crafting this treat becomes an adventure in delicious creativity.
You’ll want to savor every single bite of this irresistible frozen delight.
Cookie Dough Snickers & Reese’s Ice Cream: The Ultimate Treat
Key Ingredients for This Rich and Crunchy Ice Cream Creation
Dairy Base:Mix-Ins:Mixing Agent:Step-by-Step Guide to Make Cookie Dough Snickers & Reese’s Ice Cream
Step 1: Whip Up the Creamy Base
In a large mixing bowl, combine heavy cream, milk, sugar, and vanilla extract. Whisk the ingredients vigorously until the sugar completely dissolves, creating a smooth and silky mixture that will serve as the foundation for your decadent frozen treat.
Step 2: Churn the Magical Mixture
Pour the creamy base into your ice cream maker. Follow the manufacturer’s churning instructions carefully, allowing the machine to work its magic and transform the liquid into a soft, velvety texture.
Step 3: Load Up with Sweet Treasures
As the ice cream begins to thicken and take shape, it’s time to add the exciting mix-ins. Gently fold in your delightful ingredients:Step 4: Blend the Delicious Goodies
Continue churning the ice cream until all the mix-ins are evenly distributed throughout the mixture.
The goal is to achieve a perfect soft-serve consistency where each spoonful promises a burst of flavor and texture.
Step 5: Freeze and Anticipate
Transfer the fully mixed ice cream to a freezer-safe container.
Place in the freezer and let it set for at least 4 hours. This waiting period allows the ice cream to firm up and develop an incredibly rich, creamy texture that will make your taste buds dance with joy.
Tips to Perfect the Creamy and Crunchy Texture in Every Bite

Flavor Twists to Add Fun to Your Cookie Dough Ice Cream

Serving Suggestions That Make This Ice Cream Shine
How to Store Cookie Dough Snickers & Reese’s Ice Cream Properly
Methods for Reheating/Softening:FAQs
Yes, you can use the no-churn method by whipping heavy cream until stiff peaks form, then folding in condensed milk and other ingredients before freezing.
Use edible cookie dough or egg-free cookie dough to ensure food safety. Store-bought or homemade versions that exclude raw eggs are recommended.
Add a small amount of alcohol like vodka or use corn syrup, which helps prevent large ice crystal formation and keeps the texture smooth.
Absolutely! Feel free to use your favorite candy bars or chocolate chunks. Just chop them into small, bite-sized pieces for even distribution throughout the ice cream.
Print
Creative Cookie Dough Snickers & Reese’s Ice Cream Recipe
- Total Time: 4 hours 30 minutes
- Yield: 6 1x
Description
Indulgent cookie dough snickers & reese’s ice cream blends classic candy bar flavors into a creamy frozen dessert. Chocolate chunks, peanut butter swirls, and homemade cookie dough pieces create a rich, irresistible treat you’ll savor with each delightful spoonful.
Ingredients
Main Ingredients:
- 2 cups (480 milliliters) heavy cream
- 1 cup (240 milliliters) whole milk
- 12 cup (75 grams) chopped Snickers
- 12 cup (75 grams) chopped Reeses Peanut Butter Cups
- 12 cup (75 grams) edible cookie dough
Sweeteners and Flavoring:
- 3/4 cup (150 grams) granulated sugar
- 1 teaspoon vanilla extract
Additional Mix-ins:
- 1/2 cup (85 grams) mini chocolate chips
Instructions
- Whisk heavy cream, milk, sugar, and vanilla extract in a mixing bowl until sugar completely dissolves, creating a smooth base.
- Pour the liquid mixture into an ice cream maker and churn at medium speed for approximately 15-20 minutes.
- As the mixture begins to thicken and develop a creamy texture, gently fold in mini chocolate chips, chopped Snickers bars, Reese’s pieces, and crumbled cookie dough.
- Continue churning until all additional ingredients are evenly distributed throughout the ice cream, ensuring a consistent mix.
- Once the mixture reaches a soft-serve consistency with a rich, creamy appearance, transfer to a freezer-safe container.
- Seal the container and place in the freezer for a minimum of 4 hours, allowing the ice cream to fully set and develop a firm texture.
- Before serving, let the ice cream sit at room temperature for 2-3 minutes to soften slightly, making it easier to scoop and enjoy.
Notes
- Chill your mixing bowl and whisk before starting to help the cream whip faster and create a smoother texture.
- Chop the Snickers and Reese’s into smaller pieces for even distribution throughout the ice cream, ensuring every bite has delicious chunks.
- Use room temperature ingredients to help them blend more easily and prevent clumping when mixing.
- For a dairy-free version, substitute coconut cream and almond milk, which will add a rich, creamy alternative without compromising flavor.
- Prep Time: 10 minutes
- Cook Time: 4 hours 20 minutes
- Category: Desserts
- Method: Blending
- Cuisine: American
Nutrition
- Serving Size: 6
- Calories: 479
- Sugar: 37 g
- Sodium: 126 mg
- Fat: 35 g
- Saturated Fat: 21 g
- Unsaturated Fat: 11 g
- Trans Fat: 0.5 g
- Carbohydrates: 36 g
- Fiber: 2 g
- Protein: 6 g
- Cholesterol: 120 mg
Jack Monroe
Founder & Recipe Innovator
Expertise
Pacific Northwest cuisine, Single-serving recipe development, Sustainable sourcing and cooking, Modern comfort food
Education
Brightwater
Associate of Applied Science in Culinary Arts
Focus: Sustainable cooking, seasonal ingredients, and food systems education
Jack grew up with a fishing rod in one hand and a cast-iron skillet in the other. After graduating from Brightwater: A Center for the Study of Food, he set out to prove that cooking for one could still taste like a feast.
Jack believes that food should feel real: fresh, fearless, and a little wild, just like the rivers he grew up around. For Jack, every single dish is a small adventure, and the best ones are the ones you can cook with heart, not hassle.