The Ultimate Cherry Chocolate Cheesecake Recipe For Sweet Tooths
Sweet memories dance around this cherry chocolate cheesecake that blends velvety richness with fruity charm.
Layers of creamy indulgence promise a sensational dessert experience waiting to unfold.
chocolate deep notes intertwine perfectly with bright cherry bursts, creating an irresistible symphony of flavors.
Complex yet approachable, this recipe invites bakers of all skill levels to craft something extraordinary.
Smooth cream cheese forms the luxurious base, complemented by dark chocolate intense character.
Ripe cherries add a vibrant pop of color and tangy excitement to each delectable slice.
You’ll want to savor every single bite of this stunning masterpiece that transforms simple ingredients into pure magic.
Indulgent Cherry Chocolate Cheesecake for Decadent Moments
Ingredients to Create Rich Cherry Chocolate Cheesecake
Crust:Cheesecake Filling:Topping:How to Bake a Cheesecake That’s Creamy and Full of Flavor
Step 1: Prepare Oven And Pan
Set the oven to 325F (163C). Grab a 9-inch springform pan and generously coat it with butter or cooking spray to prevent sticking.
Step 2: Create Chocolate Cookie Crust
Crush chocolate cookies into fine crumbs. Melt butter and mix thoroughly with the cookie crumbs.
Press the mixture firmly and evenly into the bottom of the pan. Place the pan in the refrigerator for 10 minutes to solidify the crust.
Step 3: Craft Creamy Cheesecake Base
In a large mixing bowl, whip cream cheese until incredibly smooth and lump-free. Gradually add sugar and blend until light and fluffy.
Incorporate eggs one at a time, ensuring each is fully integrated before adding the next. Gently mix in vanilla extract and sour cream until the mixture becomes silky and uniform.
Step 4: Incorporate Decadent Chocolate
Melt chocolate using a double boiler or microwave. Carefully fold the melted chocolate into the cheesecake batter, creating beautiful swirls and ensuring complete integration.
Step 5: Bake To Perfection
Pour the luxurious chocolate cheesecake mixture over the chilled cookie crust. Smooth the top with a spatula.
Bake in the preheated oven for 45-50 minutes. The cheesecake is ready when the center is slightly jiggly but set.
Step 6: Cool And Chill
Remove the cheesecake from the oven and let it cool completely at room temperature. Once cooled, refrigerate for a minimum of 4 hours or overnight to allow it to set completely.
Step 7: Garnish And Serve
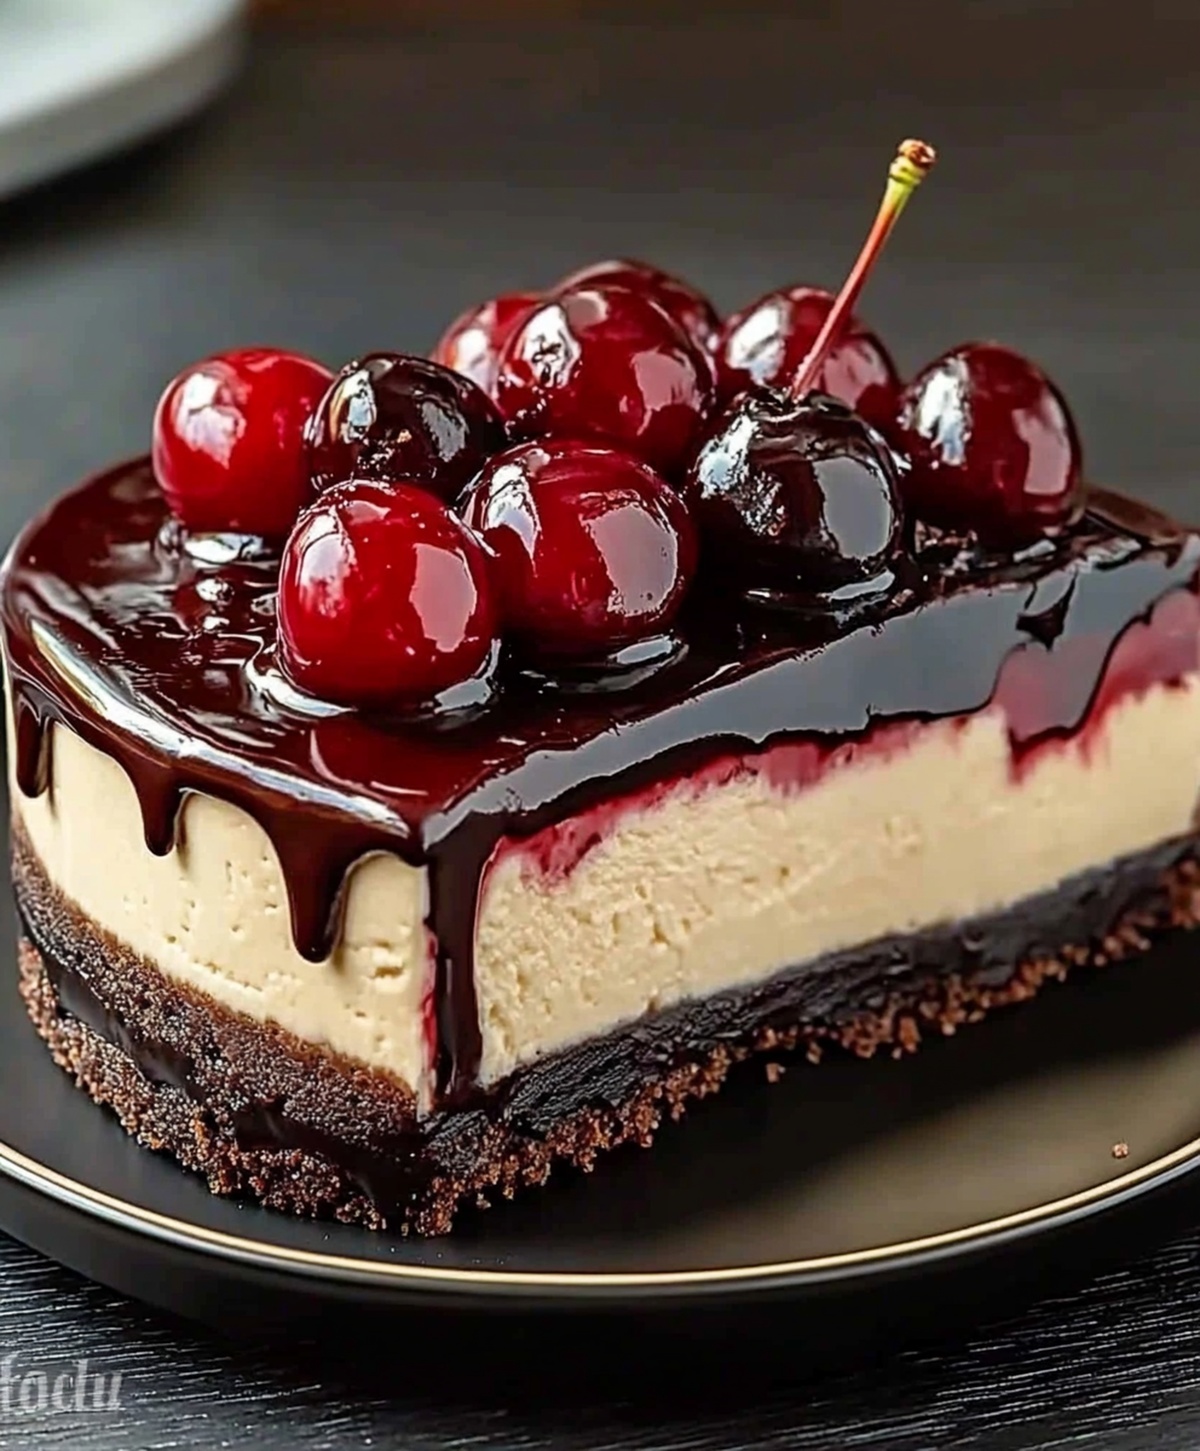
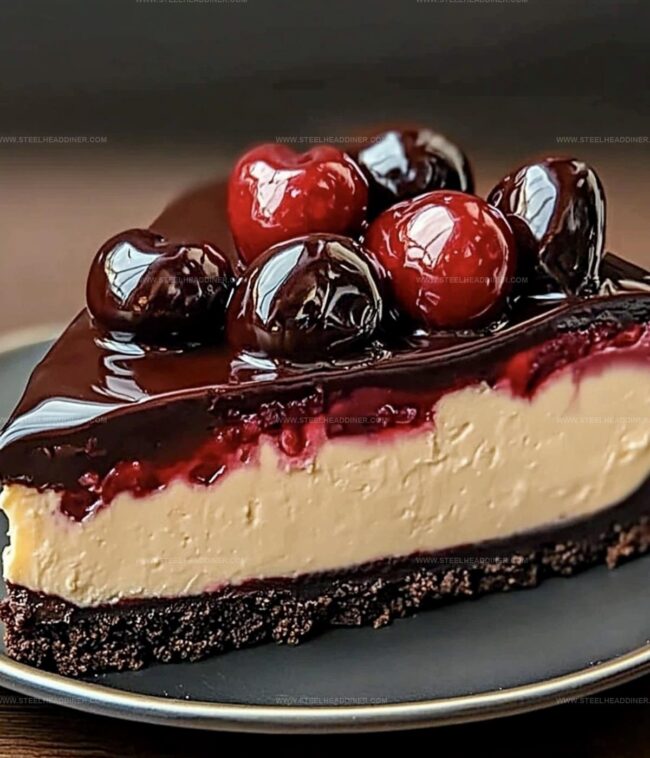
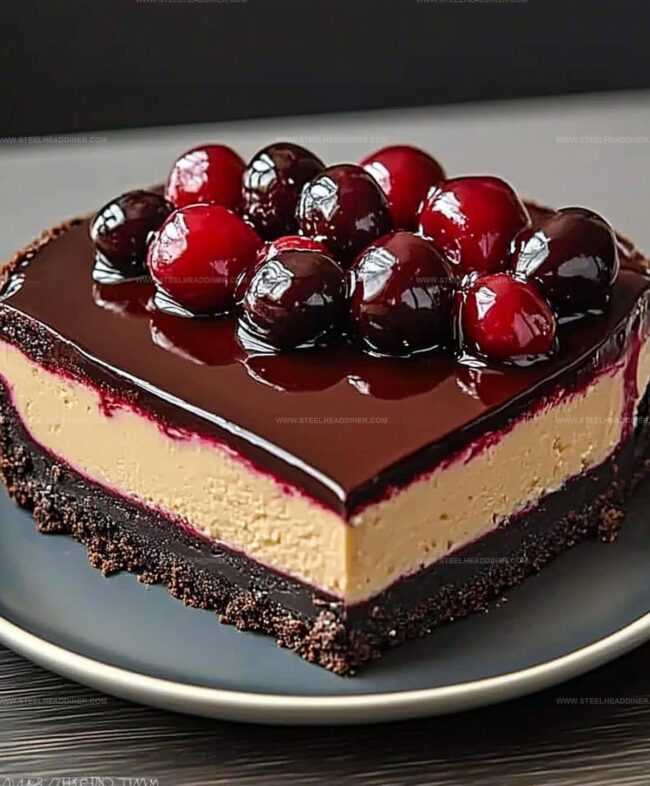
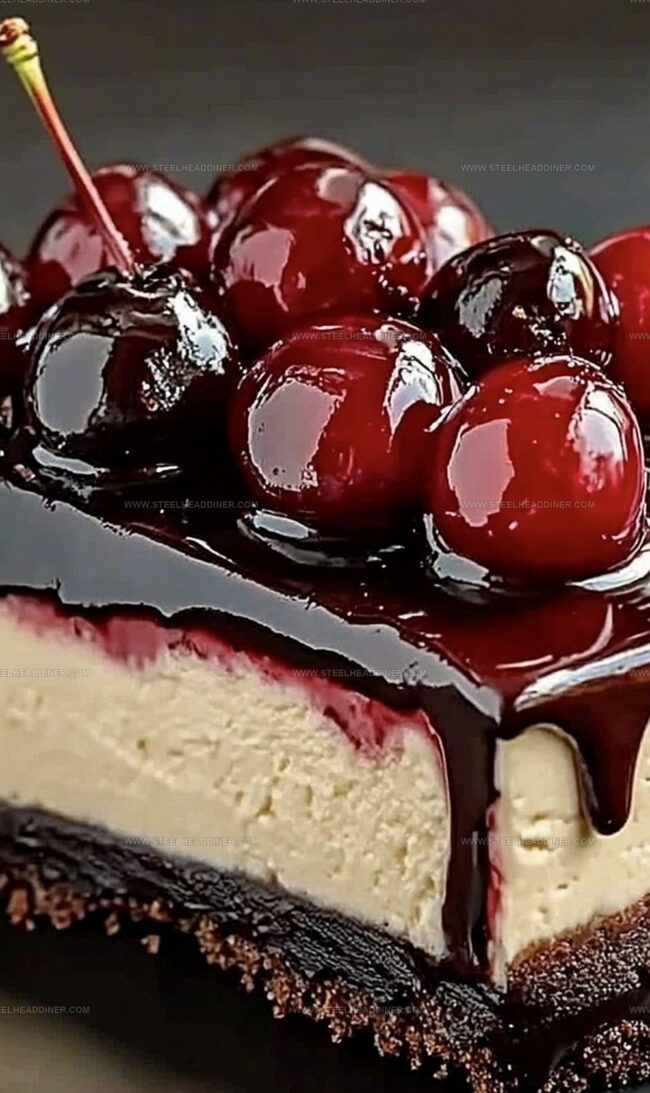
Before serving, generously top the cheesecake with luscious cherry pie filling. Sprinkle delicate chocolate shavings over the top for an extra touch of elegance.
Slice and enjoy this spectacular dessert!
Expert Advice for Smooth and Silky Cheesecake Texture
Creative Variations to Customize Your Cherry Chocolate Cheesecake

Serving Ideas That Highlight This Decadent Dessert
Storing Cherry Chocolate Cheesecake to Keep It Fresh Longer
FAQs
Use room temperature ingredients, mix gently, avoid overmixing, and bake in a water bath to create even, gentle heat that prevents surface cracking.
Yes, you can prepare the cheesecake up to 3 days in advance. Keep it refrigerated and add fresh cherry topping just before serving to maintain the best texture and flavor.
Use high-quality semi-sweet or dark chocolate with 60-70% cocoa content. This ensures rich chocolate flavor without being overly bitter or too sweet.
Print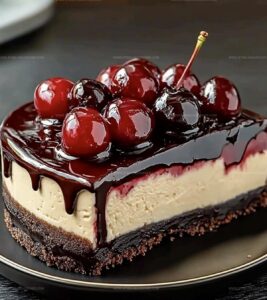
Delicious Cherry Chocolate Cheesecake Recipe
- Total Time: 1 hour 20 minutes
- Yield: 8 1x
Description
Creamy cherry chocolate cheesecake promises pure indulgence with its rich layers of chocolate and tangy cherries. Dessert enthusiasts will savor each luxurious bite of this classic American treat.
Ingredients
Crust Ingredients:
- 1.5 cups (354 ml) chocolate cookie crumbs
- 0.25 cup (59 ml) melted butter
Filling Ingredients:
- 16 ounces (454 grams) cream cheese, softened
- 0.75 cup (177 ml) granulated sugar
- 2 eggs
- 1 teaspoon vanilla extract
- 0.5 cup (118 ml) sour cream
- 6 ounces (170 grams) melted dark chocolate
Topping Ingredients:
- 1 cup (237 ml) cherry pie filling
- 0.5 cup (118 ml) chocolate shavings
Instructions
- Prepare the oven at 325°F (163°C) and coat a 9-inch springform pan with cooking spray.
- Crush chocolate cookies into fine crumbs and blend with melted butter, pressing the mixture firmly into the pan’s bottom. Refrigerate for 10 minutes to set the base.
- In a large mixing bowl, whip cream cheese and sugar until completely smooth and creamy, ensuring no lumps remain.
- Incorporate eggs individually, mixing thoroughly after each addition to maintain a silky texture.
- Gently fold in vanilla extract and sour cream, creating a rich and velvety cheesecake batter.
- Melt chocolate and carefully integrate into the cream cheese mixture, stirring until uniformly blended.
- Transfer the batter into the chilled crust, smoothing the top with a spatula for an even surface.
- Bake for 45-50 minutes, watching for a slightly jiggly center that will set during cooling.
- Remove from oven and allow to cool completely at room temperature for approximately 1 hour.
- Refrigerate cheesecake for minimum 4 hours to achieve optimal firmness and flavor development.
- Before serving, generously spread cherry pie filling across the top and garnish with delicate chocolate shavings.
Notes
- Gentle baking ensures a silky smooth cheesecake texture without cracking, maintaining a professional, restaurant-quality result.
- Bring cream cheese and eggs to room temperature before mixing to create a perfectly blended, lump-free filling that incorporates smoothly.
- Use high-quality dark chocolate for a rich, intense flavor that elevates the entire dessert, creating a more sophisticated taste profile.
- For gluten-free option, substitute chocolate cookie crumbs with gluten-free graham crackers or almond flour, making the recipe accessible to more dietary needs.
- Prep Time: 30 minutes
- Cook Time: 50 minutes
- Category: Desserts
- Method: Baking
- Cuisine: American
Nutrition
- Serving Size: 8
- Calories: 416 kcal
- Sugar: 27 g
- Sodium: 210 mg
- Fat: 29 g
- Saturated Fat: 16 g
- Unsaturated Fat: 11 g
- Trans Fat: 0.5 g
- Carbohydrates: 34 g
- Fiber: 3 g
- Protein: 6 g
- Cholesterol: 90 mg
Jack Monroe
Founder & Recipe Innovator
Expertise
Pacific Northwest cuisine, Single-serving recipe development, Sustainable sourcing and cooking, Modern comfort food
Education
Brightwater
Associate of Applied Science in Culinary Arts
Focus: Sustainable cooking, seasonal ingredients, and food systems education
Jack grew up with a fishing rod in one hand and a cast-iron skillet in the other. After graduating from Brightwater: A Center for the Study of Food, he set out to prove that cooking for one could still taste like a feast.
Jack believes that food should feel real: fresh, fearless, and a little wild, just like the rivers he grew up around. For Jack, every single dish is a small adventure, and the best ones are the ones you can cook with heart, not hassle.