The Magical Dirt Cake Recipe Kids Go Wild For
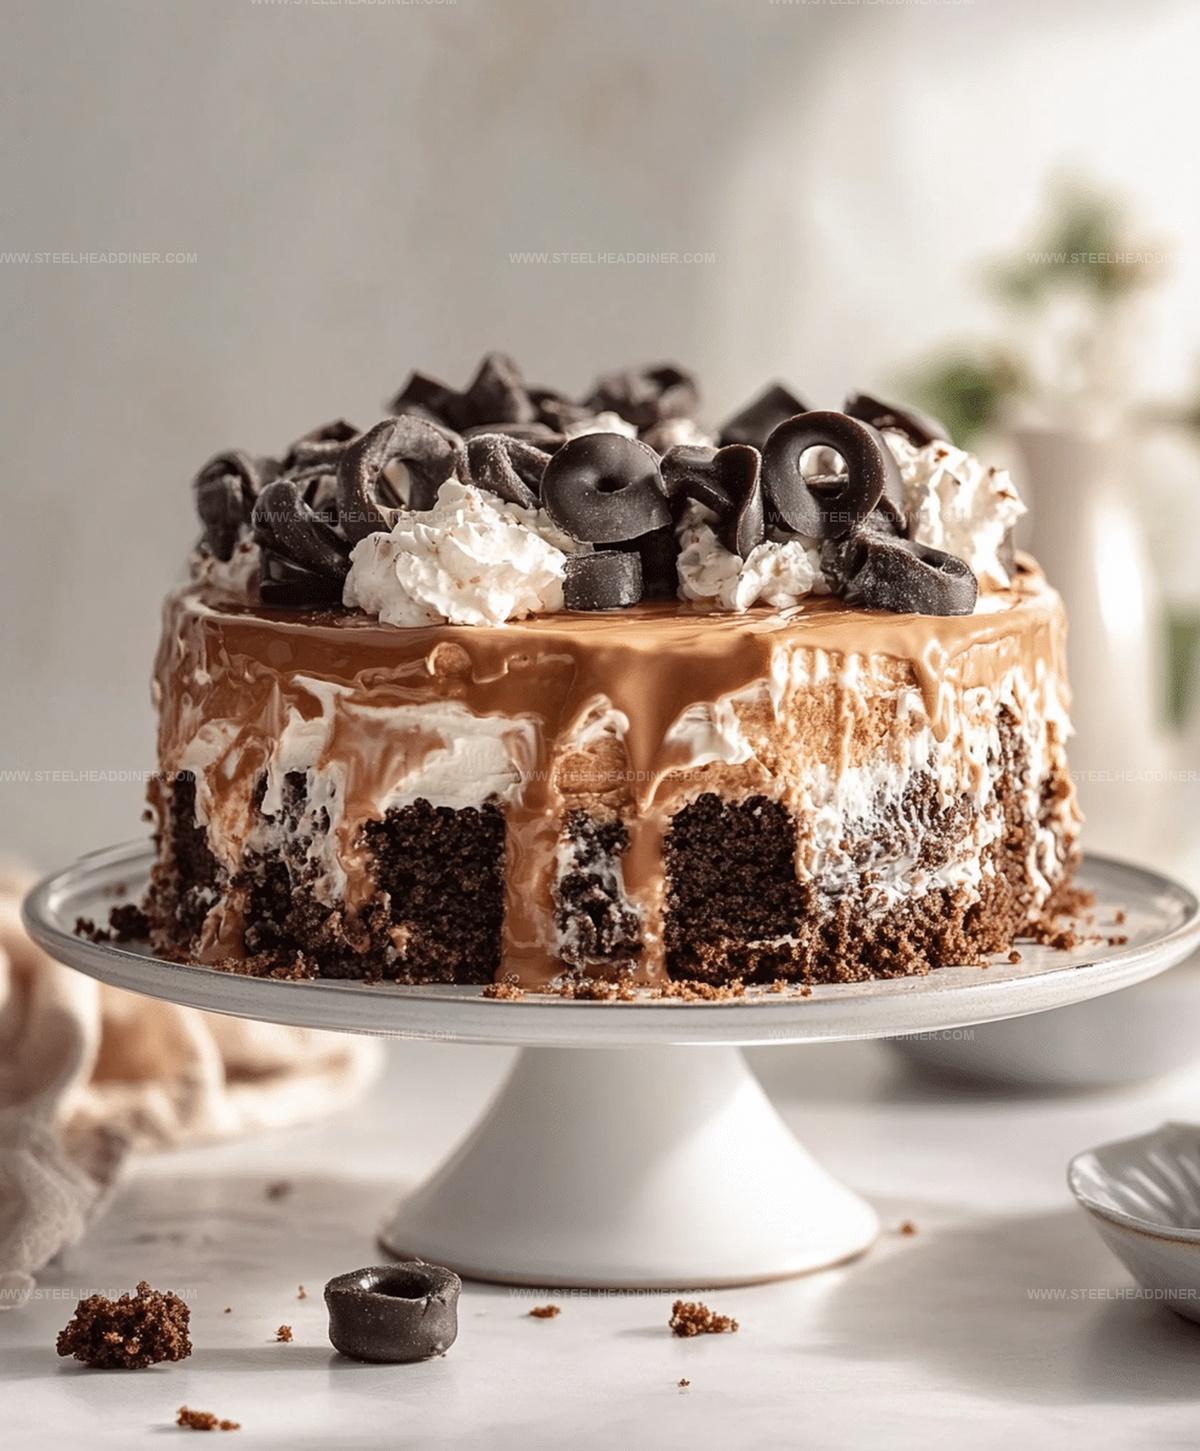
Chocolate lovers find pure delight in this whimsical dirt cake that looks like a garden landscape.
Layers of crumbled cookies and creamy pudding create a playful dessert.
Crushed Oreos mimic rich soil while fluffy cream cheese filling adds unexpected smoothness.
Kids absolutely adore watching this dessert come together with its surprising appearance.
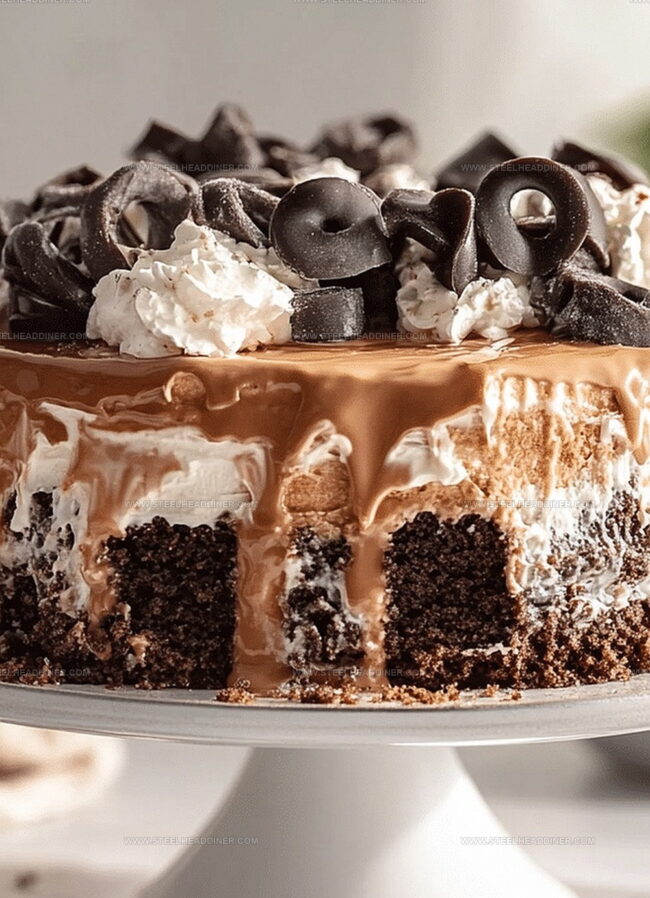
Sweet chocolate crumbles and silky textures make each spoonful a delightful adventure.
Surprise your guests with this clever dessert that blends fun presentation and delicious flavors.
You’ll want to grab a big spoon and dive right into this delectable creation.
What Makes Dirt Cake So Popular
Ingredients for Dirt Cake Delight
For the Base:For the Creamy Layers:For the Pudding and Liquid:For the Optional Garnish:How to Create Dirt Cake Magic
Step 1: Crush Cookie Foundations
Place Oreo cookies in a resealable plastic bag and crush them using a rolling pin until they become fine, sandy crumbs. Set aside some crumbs for the final topping decoration.
Step 2: Whip Creamy Base
In a spacious mixing bowl, combine cream cheese, softened butter, and powdered sugar. Use an electric mixer to blend these ingredients until they transform into a silky, smooth mixture with no lumps visible.
Step 3: Prepare Pudding Magic
In a separate bowl, pour milk into instant pudding mix. Whisk vigorously until the mixture thickens and becomes smooth.
Allow the pudding to rest for approximately 5 minutes to fully develop its creamy consistency.
Step 4: Blend Flavor Layers
Gently fold the prepared pudding mixture into the cream cheese blend.
Carefully incorporate whipped topping, stirring until all ingredients are perfectly combined and create a unified, luscious texture.
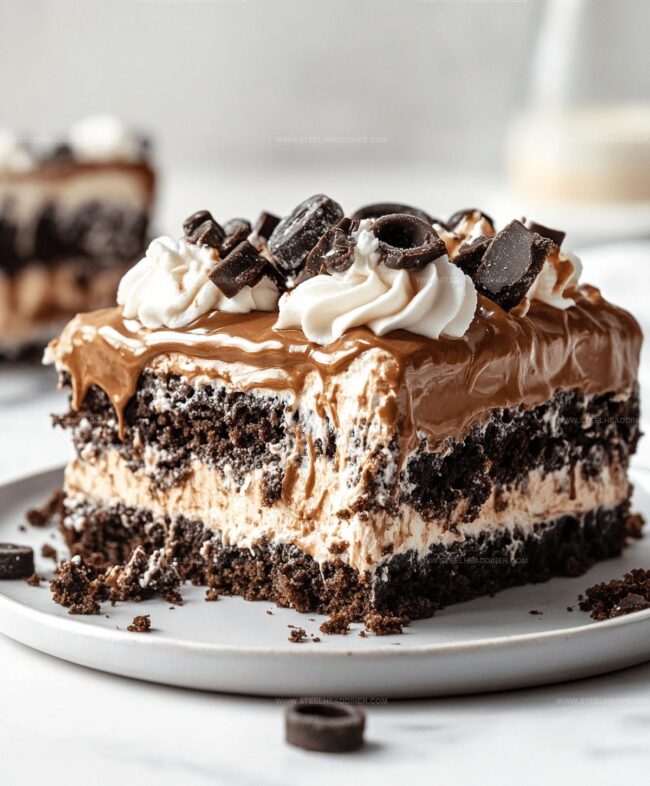
Step 5: Create Delectable Layers
Select a clear serving dish to showcase the dessert’s beautiful layers.
Begin by spreading a generous layer of crushed Oreo crumbs as the base. Pour a portion of the pudding-cream mixture over the crumbs.
Repeat these layering steps, ending with a final sprinkle of cookie crumbs on top.
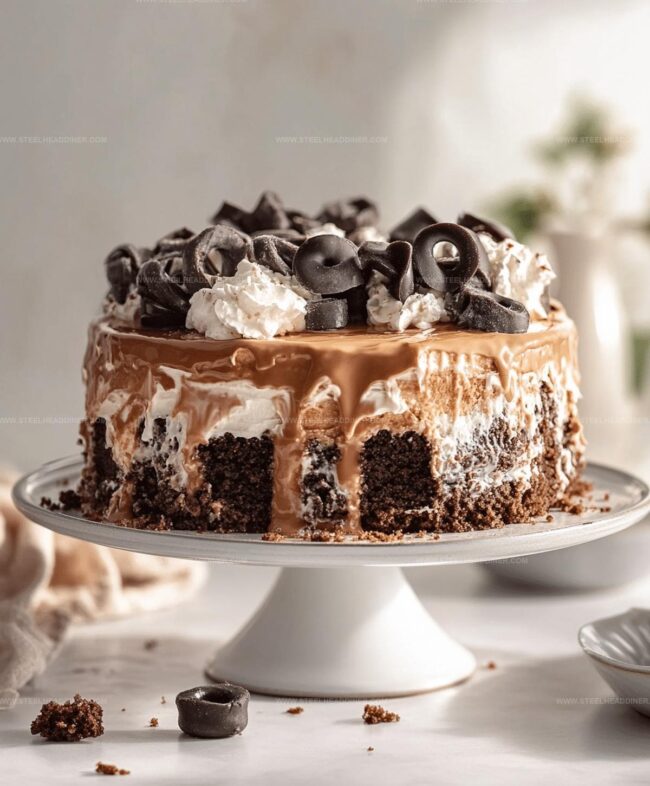
Step 6: Chill and Embellish
Refrigerate the dessert for 2 hours, allowing flavors to meld and the cake to set.
Optional: Decorate with gummy worms scattered across the top for a playful, whimsical touch. Serve chilled and enjoy the delightful dirt cake experience.
Tips to Perfect Dirt Cake Texture

Delicious Spins on Dirt Cake
Ideas for Serving Dirt Cake
Storing Dirt Cake for Freshness
FAQs
Yes, you can substitute Oreos with graham crackers or chocolate wafer cookies for a similar texture and taste.
Absolutely! Kids love the playful “dirt” theme and the sweet, creamy layers. It’s a fun dessert that’s easy to make and enjoy.
The dirt cake stays fresh for 3-4 days when stored in an airtight container in the refrigerator. Just be sure to keep it chilled.
Yes, dirt cake is perfect for preparing in advance. You can make it a day before serving, which actually helps the flavors meld together and intensifies the taste.
Print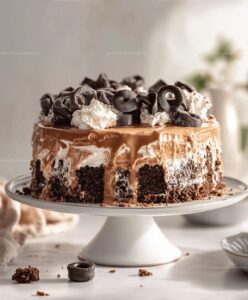
Dirt Cake Recipe
- Total Time: 2 hours 20 minutes
- Yield: 8 1x
Description
Beloved dirt cake delights dessert enthusiasts with its playful chocolate pudding and cookie crumb layers. Creamy textures and nostalgic charm make you smile with each delightful spoonful.
Ingredients
- 2 packages (3.4 oz each) instant vanilla pudding mix
- 3 1/2 cups milk
- 1 package Oreo cookies (crushed)
- 1 container (8 oz) whipped topping (thawed)
- 1 package (8 oz) cream cheese (softened)
- 1/4 cup butter (softened)
- 1 cup powdered sugar
- Gummy worms (optional for decoration)
Instructions
- Pulverize Oreo cookies into ultra-fine powder, reserving a portion for final decoration.
- Whip cream cheese, butter, and powdered sugar until achieving a silky, uniform consistency.
- Blend instant pudding mix with cold milk, stirring vigorously until mixture transforms into a thick, creamy texture. Allow to settle for approximately 5 minutes.
- Gently incorporate pudding into cream cheese blend, ensuring smooth integration without overmixing.
- Fold whipped topping into the mixture, creating a light and airy cream.
- Select a clear glass serving vessel to showcase delightful layered presentation.
- Create initial foundation by spreading a generous layer of crushed Oreo crumbs across bottom of dish.
- Carefully spread pudding-cream mixture over cookie layer, maintaining even distribution.
- Repeat layering process, alternating between cookie crumbs and pudding cream.
- Crown the dessert with remaining Oreo crumbs, creating a textured surface.
- Refrigerate for 2 hours to allow flavors to meld and dessert to set firmly.
- Optional: Embellish with gummy worms for whimsical visual appeal before serving chilled.
Notes
- Crush cookies in a food processor for ultra-fine, consistent crumbs that create a smoother texture and more even layering.
- Use full-fat cream cheese and butter for richer, more decadent flavor that enhances the dessert’s creamy consistency.
- Refrigerate gummy worms before placing them on top to prevent them from melting and maintain their playful, wiggly appearance.
- Try different cookie variations like chocolate graham crackers or chocolate chip cookies to customize the dessert’s base flavor profile.
- Prep Time: 20 minutes
- Cook Time: 2 hours
- Category: Desserts
- Method: Blending
- Cuisine: American
Nutrition
- Serving Size: 8
- Calories: 370 kcal
- Sugar: 30 g
- Sodium: 210 mg
- Fat: 22 g
- Saturated Fat: 13 g
- Unsaturated Fat: 7 g
- Trans Fat: 0.5 g
- Carbohydrates: 40 g
- Fiber: 1 g
- Protein: 4 g
- Cholesterol: 50 mg
Maya Thompson
Culinary Content Creator & Nutrition Enthusiast
Expertise
Healthy single-serving recipes, Meal prepping for individuals, Integrating nutrition into everyday cooking, Vegetarian and plant-based cuisine
Education
The Chef’s Academy at Harrison College
Associate of Applied Science in Culinary Arts
Focus: Nutrition, meal planning, and culinary techniques for healthy living.
Maya found her passion in the kitchen by mixing good food with good energy. After earning her culinary degree at The Chef’s Academy at Harrison College, she made it her mission to keep cooking simple, wholesome, and packed with flavor.
At Steelhead Diner, Maya shares easy, healthy recipes built for real life. For Maya, great food seems like a celebration of everyday moments, made better one fresh bite at a time.