Adorable Easter Bunny Poke Cake Recipe – Sweet Spring Treat
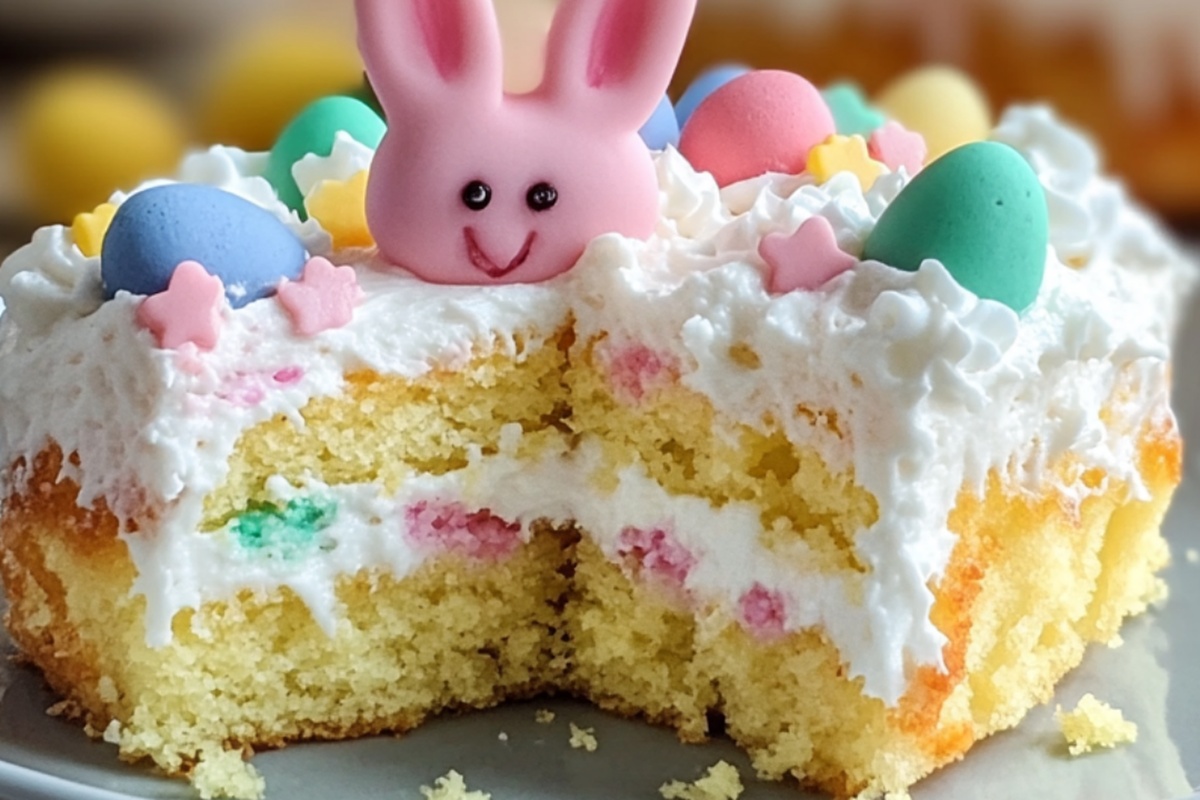
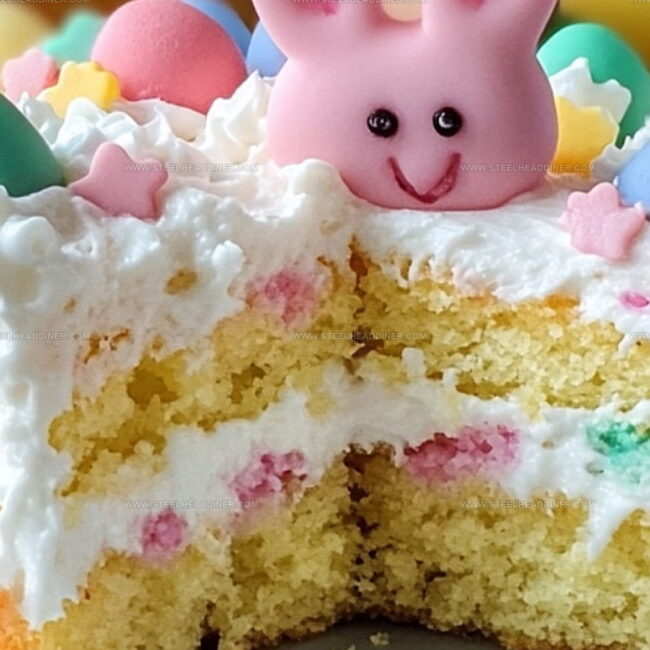
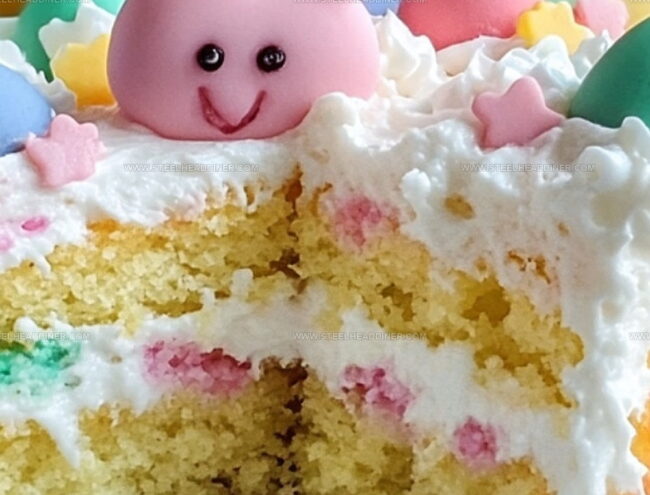
Soft, moist cake layers hide a delightful secret in this whimsical Easter bunny poke cake that promises pure springtime magic.
Pastel-colored cream seeps through perfectly punctured holes, creating a mesmerizing dessert experience.
Sweet and creamy textures mingle with each delectable bite.
Festive pastel decorations turn this cake into a centerpiece that sparks joy and excitement.
Delicate marshmallow and cream cheese frosting adds an irresistible touch of indulgence.
Clusters of pastel sprinkles and chocolate eggs complete this dreamy Easter treat.
You’ll want to savor every single slice of this enchanting dessert that celebrates the season’s sweetest moments.
Easter Bunny Poke Cake That Charms
Ingredients For Easter Bunny Poke Cake
Cake Base:Filling and Topping:Decorative Elements:Making Easter Bunny Poke Cake Fun And Easy
Step 1: Mix Cake Batter
Grab your mixing bowl and combine cake mix, eggs, water, and vegetable oil. Stir everything until the mixture looks smooth and creamy.
Pour the batter into a greased 9×13-inch baking dish.
Step 2: Bake the Cake
Slide the baking dish into a preheated oven at 350°F (175°C).
Bake for 25-30 minutes until the cake turns golden and passes the toothpick test. Let the cake cool down for about 10 minutes.
Step 3: Create Cake Holes
Take the handle of a wooden spoon and gently poke holes all across the cake’s surface. Make sure the holes are evenly distributed to help the filling seep in nicely.
Step 4: Prepare Pudding Filling
In a separate bowl, whisk together:Stir until the mixture thickens and becomes smooth. Pour the pudding over the cake, making sure it fills all the holes completely.
Step 5: Chill and Set
Place the cake in the refrigerator for 1 hour to let the pudding settle and firm up.
Step 6: Add Whipped Topping
Spread a generous layer of whipped topping over the chilled cake, covering it completely.
Step 7: Decorate Like a Bunny
Create a festive Easter bunny design using:Arrange the decorations to form bunny ears, face, and fun patterns.
Step 8: Final Chill and Serve
Return the decorated cake to the refrigerator for an additional 30 minutes.
Slice and serve chilled, enjoying your adorable Easter Bunny Poke Cake.
Tips For Easter Bunny Poke Cake
Flavor Variations For Easter Bunny Poke Cake
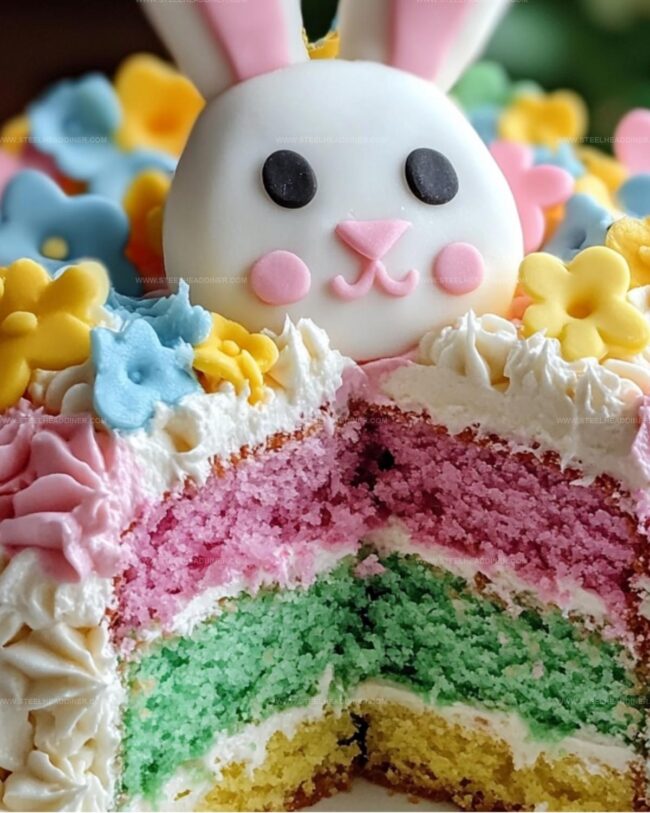
Presentation Ideas For Easter Bunny Poke Cake
Storing Easter Bunny Poke Cake Properly
FAQs
While the basic recipe isn’t specifically designed for special diets, you can modify it by using gluten-free cake mix, dairy-free pudding, and vegan whipped topping to accommodate various dietary needs.
Absolutely! Kids can help poke holes in the cake, sprinkle candies, and create fun bunny decorations. Adult supervision is recommended for oven and mixing tasks.
You can make this cake a day ahead. Prepare and decorate it, then store it covered in the refrigerator until ready to serve. The cake actually tastes better after the pudding has fully absorbed into the cake.
Print
Easter Bunny Poke Cake Recipe
- Total Time: 50 minutes
- Yield: 12 1x
Description
Delightful Easter Bunny Poke Cake delights springtime dessert lovers with its whimsical charm. Pastel-colored layers and creamy filling create a festive centerpiece that will make celebrations sweeter and more memorable.
Ingredients
Main Ingredients:
- 1 box (18.25 ounces) white or yellow cake mix
- 3 large eggs
- 1 cup water
- 1/2 cup vegetable oil
Dairy and Cream Ingredients:
- 1 package (3.4 ounces) instant vanilla pudding mix
- 2 cups cold milk
- 1 container (8 ounces) whipped topping (such as Cool Whip), thawed
Decorative Ingredients:
- Pastel-colored jelly beans or candy-coated chocolates (e.g., M&Ms)
- 1 cup shredded coconut (dyed pink or left white for bunny ears)
- Optional: Candy eyes
- Optional: Licorice strips
- Optional: Other decorations for bunny faces
Instructions
- Preheat the oven to 350F (175C) and generously coat a 9×13-inch baking dish with non-stick spray.
- Combine cake mix, eggs, water, and vegetable oil in a mixing bowl, stirring until the batter achieves a smooth, consistent texture.
- Transfer the batter into the prepared baking dish, ensuring even distribution, and bake for approximately 25-30 minutes until a toothpick inserted comes out clean.
- Allow the cake to cool for 10 minutes, then create uniform holes across the entire surface using a wooden spoon handle.
- Whisk vanilla pudding mix with cold milk until the mixture thickens and becomes creamy.
- Gently pour the pudding over the cake, carefully spreading it to fill each hole completely.
- Refrigerate the cake for 1 hour to allow the pudding to set and absorb into the cake.
- Cover the chilled cake with a layer of whipped topping, spreading it evenly and smoothly.
- Decorate the cake surface with colorful jelly beans and M&Ms to create playful Easter-themed patterns or bunny faces.
- Sprinkle shredded coconut strategically to form bunny ears or additional decorative elements.
- Add candy eyes, licorice whiskers, or other creative embellishments to enhance the bunny design.
- Return the decorated cake to the refrigerator and chill for an additional 30 minutes before serving.
Notes
- Soften the cake mix by letting ingredients reach room temperature before mixing to ensure a smoother, more even texture.
- Customize the pudding flavor by experimenting with different instant pudding varieties like white chocolate or lemon for a unique twist.
- Use pastel-colored candies to create a more festive Easter theme, matching the spring holiday vibe with soft, cheerful decorations.
- Swap regular cake mix with gluten-free or low-sugar options to accommodate dietary restrictions while maintaining the playful bunny design.
- Prep Time: 20 minutes
- Cook Time: 30 minutes
- Category: Desserts
- Method: Baking
- Cuisine: American
Nutrition
- Serving Size: 12
- Calories: 308 kcal
- Sugar: 21 g
- Sodium: 230 mg
- Fat: 13 g
- Saturated Fat: 3 g
- Unsaturated Fat: 10 g
- Trans Fat: 0 g
- Carbohydrates: 43 g
- Fiber: 1 g
- Protein: 4 g
- Cholesterol: 40 mg
Maya Thompson
Culinary Content Creator & Nutrition Enthusiast
Expertise
Healthy single-serving recipes, Meal prepping for individuals, Integrating nutrition into everyday cooking, Vegetarian and plant-based cuisine
Education
The Chef’s Academy at Harrison College
Associate of Applied Science in Culinary Arts
Focus: Nutrition, meal planning, and culinary techniques for healthy living.
Maya found her passion in the kitchen by mixing good food with good energy. After earning her culinary degree at The Chef’s Academy at Harrison College, she made it her mission to keep cooking simple, wholesome, and packed with flavor.
At Steelhead Diner, Maya shares easy, healthy recipes built for real life. For Maya, great food seems like a celebration of everyday moments, made better one fresh bite at a time.