Irresistible Easter Egg Oreo Balls Recipe for Sweet Celebrations
These decadent Easter egg Oreo balls pack a sweet surprise that’ll make your taste buds dance with delight.
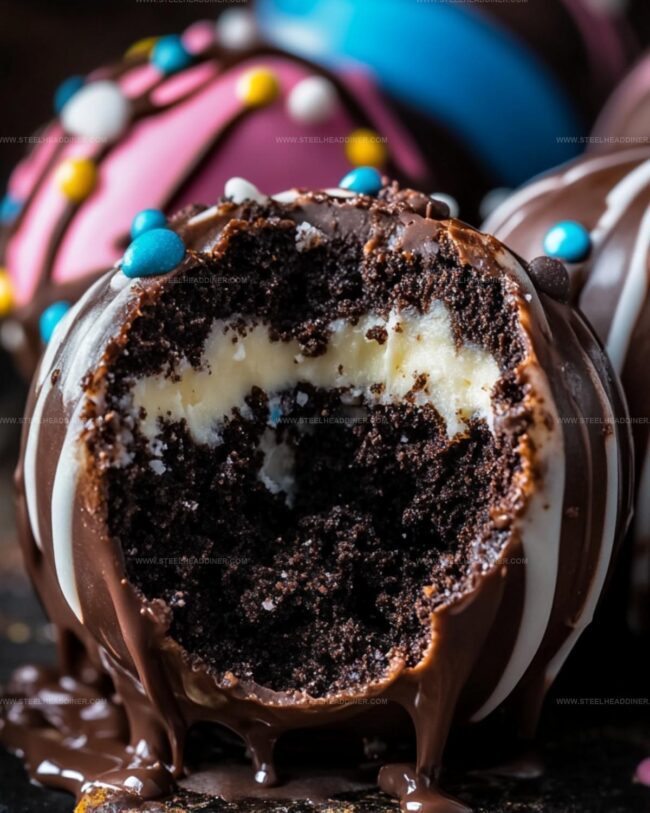
Creamy, rich, and impossibly simple to whip up, this no-bake treat combines classic Oreo cookies with smooth cream cheese.
A perfect blend of chocolate and crunch awaits you in every single bite.
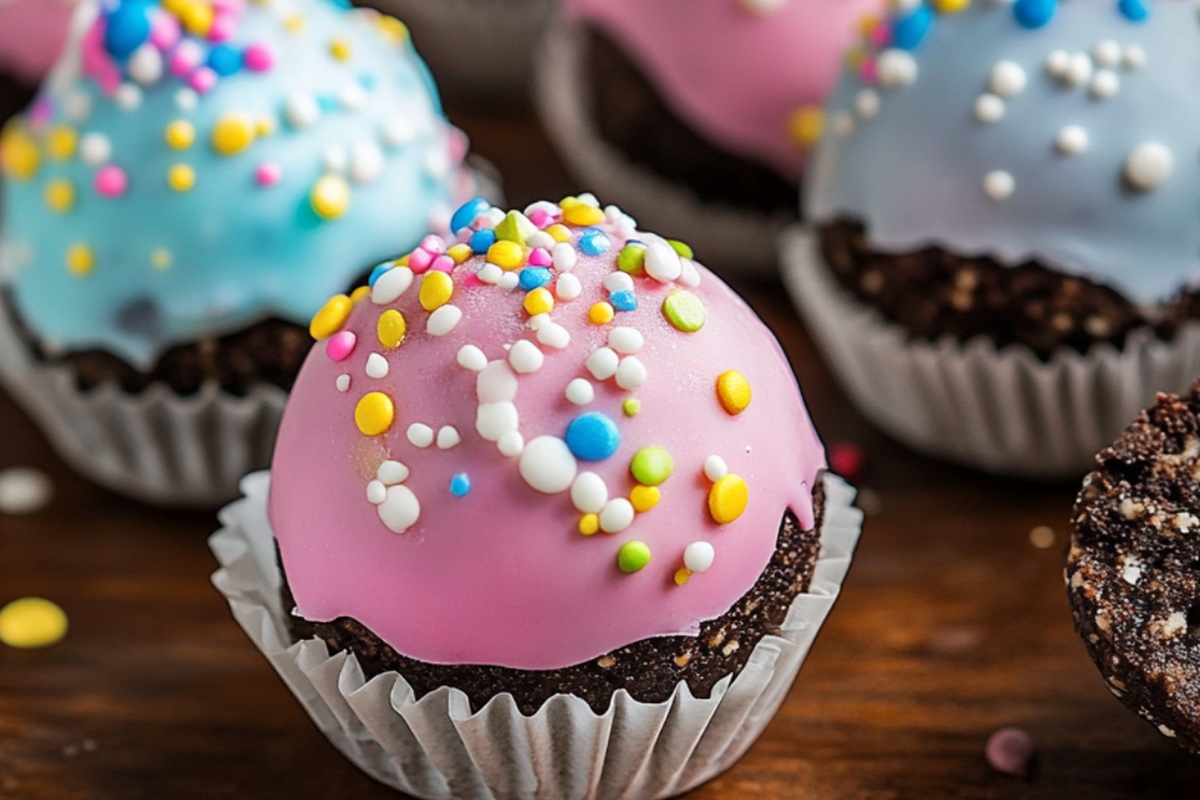
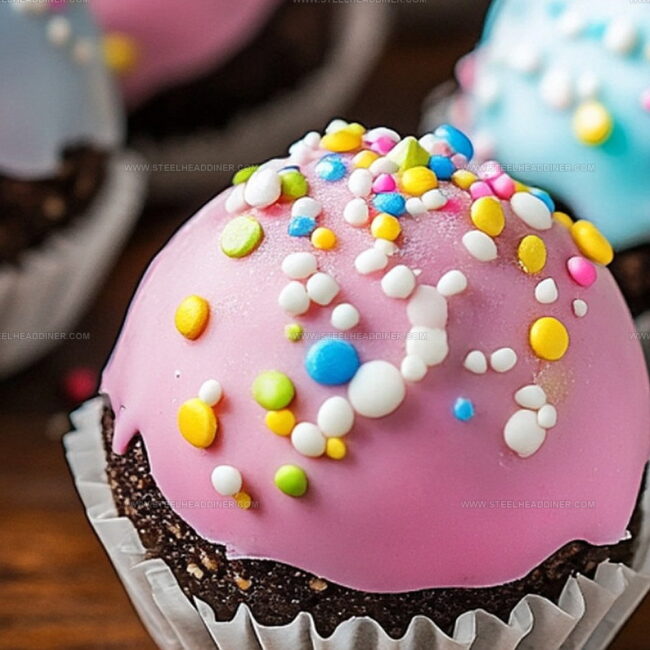
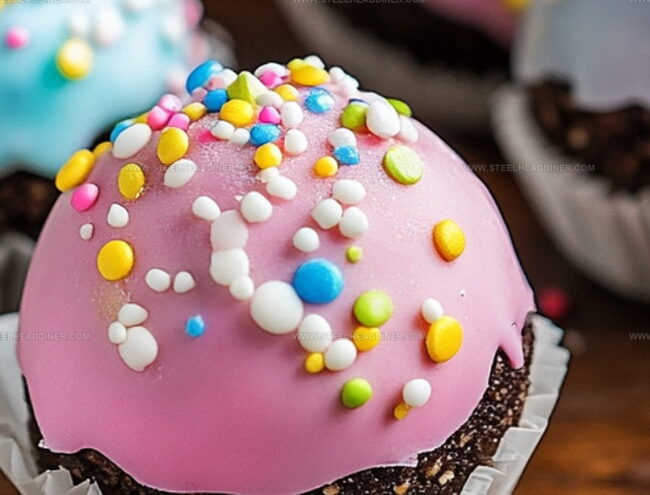
The pastel-colored coating adds a festive spring touch that makes these treats irresistible.
Chocolate lovers and dessert enthusiasts will fall head over heels for this quick and effortless confection.
Each ball delivers a burst of indulgent flavor that feels like a celebration in your mouth.
Prepare to become the dessert hero at your next gathering with these irresistible Easter egg Oreo balls.
Easter Egg Oreo Balls Everyone Loves
Ingredients For Easter Egg Oreo Balls
Cookies:Binding Ingredient:Coating and Decoration:Making Easter Egg Oreo Balls Easily
Step 1: Crush Oreo Cookies
Grab your food processor and transform the Oreo cookies into super fine crumbs. Pour these crumbs into a large mixing bowl and blend them with softened cream cheese until you create a smooth, consistent mixture that holds together perfectly.
Step 2: Shape Egg Treats
Scoop out small portions of the Oreo mixture and roll them gently between your palms to craft egg-like shapes. Carefully place each shaped treat onto a parchment-lined baking sheet.
Continue until you’ve used all the mixture.
Step 3: Chill and Firm
Transfer the baking sheet to the freezer and let the egg-shaped treats chill for about 20 minutes.
This helps them become firm and easier to handle during the coating process.
Step 4: Prepare Chocolate Coating
Select your preferred coating:Melt the chosen coating according to package instructions until it reaches a smooth, glossy consistency.
Step 5: Dip and Cover
Using a fork or specialized dipping tool, carefully submerge each chilled egg into the melted chocolate. Ensure complete coverage and gently tap off any excess coating.
Return each coated egg to the parchment-lined baking sheet.
Step 6: Add Festive Decorations
While the chocolate coating remains wet, sprinkle your favorite decorative elements:Step 7: Let Treats Set
Allow the chocolate-covered eggs to set completely at room temperature.
For faster results, place the baking sheet in the refrigerator until the coating hardens.
Tips For Easter Egg Oreo Balls
Flavor Variations For Easter Egg Oreo Balls
Presentation Ideas For Easter Egg Oreo Balls
Storing Easter Egg Oreo Balls Properly
FAQs
Lightly coat your hands with powdered sugar or cooking spray before shaping the eggs. This will help the mixture roll smoothly and prevent sticking.
Yes, you can substitute white chocolate or almond bark for coating the eggs. Just ensure it’s melted smoothly and at the right temperature for dipping.
Use a deep bowl for dipping, tap off excess chocolate gently, and use a fork or dipping tool to help create an even, smooth surface on each egg.
Print
Easter Egg Oreo Balls Recipe
- Total Time: 20 minutes
- Yield: 24 1x
Description
Indulgent Easter Egg Oreo Balls bring a playful twist to classic dessert favorites, combining creamy chocolate and crushed cookies into adorable egg-shaped treats. Sweet chocolate coating and festive sprinkles make these bite-sized delights perfect for spring celebrations you’ll absolutely adore.
Ingredients
Main Ingredients:
- 1 package (14.3 ounces / 405 grams) Oreo cookies
- 8 ounces (226 grams) cream cheese, softened
Coating:
- 12 ounces (340 grams) candy melts or almond bark
Decoration:
- Sprinkles (optional)
Instructions
- Pulverize Oreo cookies into fine, uniform crumbs using a food processor, ensuring no large chunks remain.
- Transfer cookie crumbs to a mixing bowl and blend thoroughly with softened cream cheese, creating a cohesive, moldable mixture.
- Scoop approximately one tablespoon of the mixture and carefully shape into egg-like forms using gentle palm rolling techniques.
- Arrange shaped eggs on a parchment-lined baking sheet, maintaining consistent size and shape.
- Chill the eggs in the freezer for approximately 15-20 minutes to solidify their structure and enhance coating adherence.
- Simultaneously, melt chocolate coating (candy melts or almond bark) using microwave or double boiler method, stirring until completely smooth and glossy.
- Retrieve chilled eggs and carefully dip each one into melted coating, using a fork or specialized dipping tool to ensure complete, even coverage.
- Gently tap off excess chocolate, allowing smooth, uniform coating on each egg.
- While coating remains wet, sprinkle decorative elements for added visual appeal and texture.
- Allow coated eggs to set at room temperature for 15-20 minutes or accelerate setting by placing in refrigerator for 10 minutes.
- Transfer to serving platter or storage container, maintaining cool environment to preserve texture and appearance.
Notes
- Pulse Oreo cookies into ultra-fine crumbs for a smoother, more uniform texture that blends perfectly with cream cheese.
- Freezing eggs for 20 minutes helps maintain their shape and prevents crumbling during chocolate dipping.
- Use room temperature cream cheese for easier mixing and ensure melted chocolate isn’t too hot to prevent egg mixture from melting.
- Swap regular Oreos with gluten-free cookie alternatives to make the recipe celiac-friendly without compromising taste.
- Prep Time: 20 minutes
- Cook Time: 0 minutes
- Category: Snacks, Desserts
- Method: Chilling
- Cuisine: American
Nutrition
- Serving Size: 24
- Calories: 144
- Sugar: 13g
- Sodium: 58mg
- Fat: 7g
- Saturated Fat: 4g
- Unsaturated Fat: 2g
- Trans Fat: 0.1g
- Carbohydrates: 19g
- Fiber: 1g
- Protein: 2g
- Cholesterol: 15mg
Maya Thompson
Culinary Content Creator & Nutrition Enthusiast
Expertise
Healthy single-serving recipes, Meal prepping for individuals, Integrating nutrition into everyday cooking, Vegetarian and plant-based cuisine
Education
The Chef’s Academy at Harrison College
Associate of Applied Science in Culinary Arts
Focus: Nutrition, meal planning, and culinary techniques for healthy living.
Maya found her passion in the kitchen by mixing good food with good energy. After earning her culinary degree at The Chef’s Academy at Harrison College, she made it her mission to keep cooking simple, wholesome, and packed with flavor.
At Steelhead Diner, Maya shares easy, healthy recipes built for real life. For Maya, great food seems like a celebration of everyday moments, made better one fresh bite at a time.