Easy Mini Lunchbox Pizzas Recipe: Fun Bites for Snack Time
Weeknight dinners call for quick and delightful easy mini lunchbox pizzas that spark joy at the dinner table.
These adorable little bites pack a punch of flavor in every single morsel.
Kids and adults alike will adore these compact pizza gems that come together in minutes.
Simple ingredients transform ordinary bread into crispy, cheesy delights.
Each mini pizza promises a burst of tangy sauce and melted cheese that dances on your palate.
The recipe offers a playful twist on traditional pizza that makes mealtime fun and effortless.
You’ll want to whip up a batch of these irresistible mini pizzas for your next family gathering or quick snack.
Mini Lunchbox Pizzas Fun And Easy Snacks
Ingredients List For Mini Lunchbox Pizzas
Base Ingredients:Topping Ingredients:Additional Ingredients:Cooking Steps For Mini Lunchbox Pizzas
Step 1: Warm Up the Oven
Set your oven to 200C (400F) or 180C (350F) for fan-forced. Cover a baking tray with parchment paper so nothing sticks.
Step 2: Create the Pizza Dough
Grab a large mixing bowl and combine:Mix ingredients with a spoon until crumbly. Use your hands to knead the mixture into a soft, smooth dough.
Keep working the dough for about 12 minutes until it feels soft and elastic.
Step 3: Shape the Pizza Bases
Sprinkle flour on a clean countertop.
Roll out the dough to roughly half an inch thick. Use a large mug or cookie cutter to create round dough shapes.
Collect any leftover dough and roll again to make more circles.
Step 4: Build Your Mini Pizzas
Place dough rounds on the prepared baking tray.
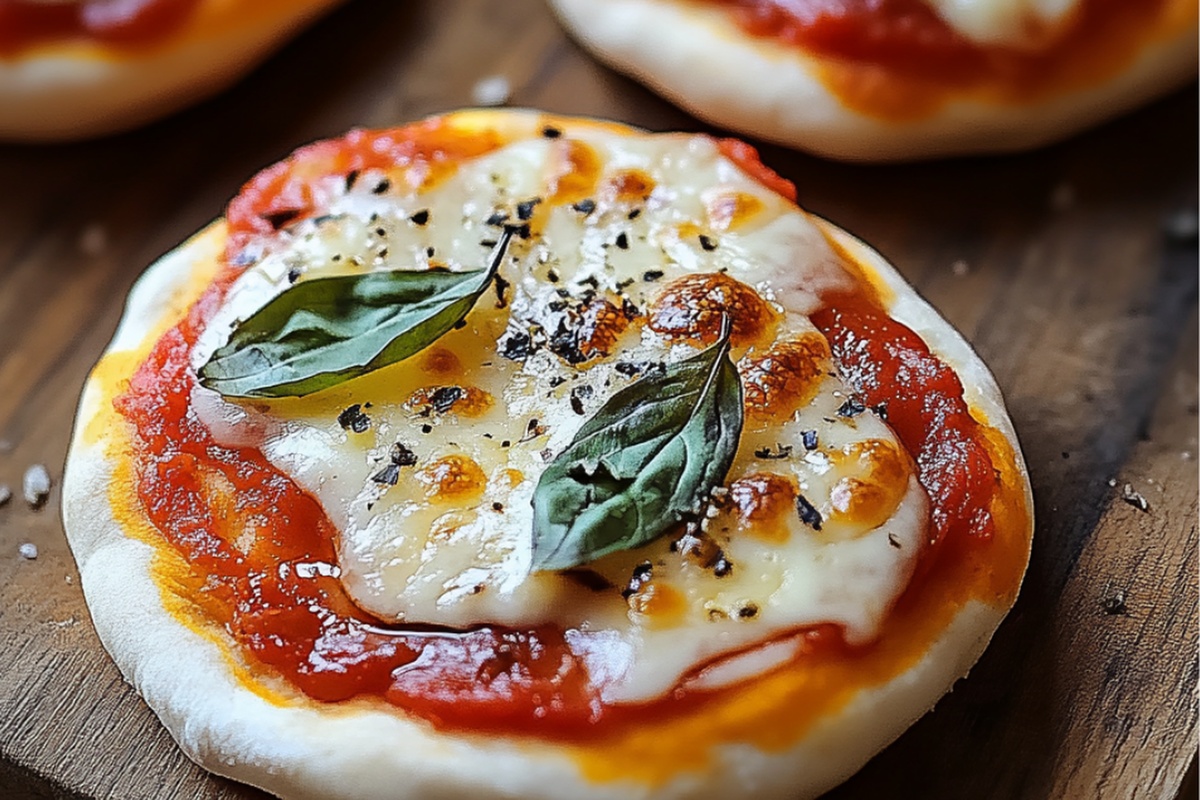
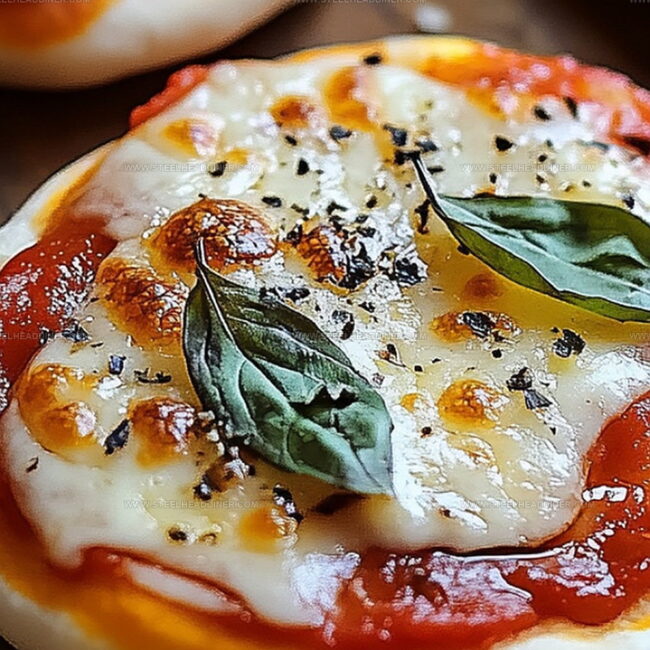
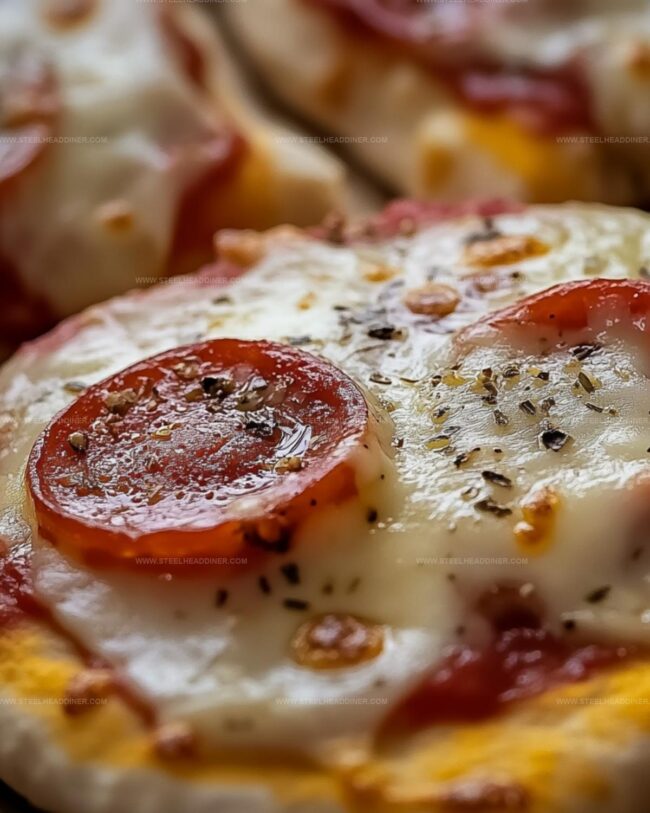
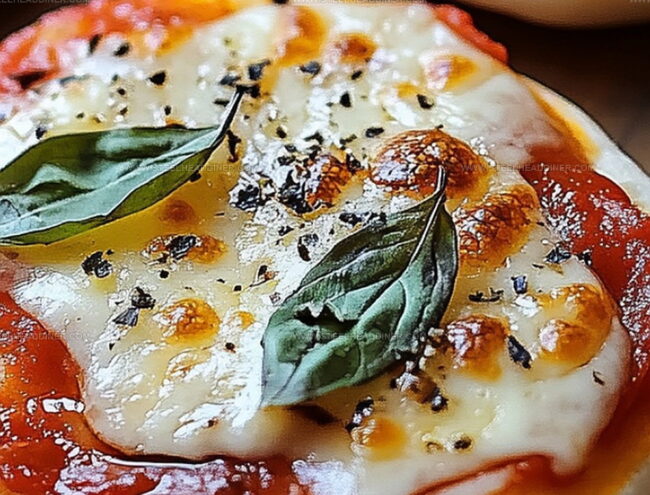
Spread a thin layer of tomato paste over each round. Top with:Step 5: Bake to Perfection
Slide the tray into the oven.
Bake for 12-14 minutes until the dough turns golden and cheese melts completely. Watch closely to prevent burning.
Step 6: Serve and Enjoy
Let the mini pizzas cool slightly on the tray. Serve warm for maximum deliciousness.
Tips For Crispy Mini Lunchbox Pizzas
Variations To Try With Lunchbox Pizzas
Pairings To Enjoy With Mini Lunchbox Pizzas
Storage Recommendations For Lunchbox Pizzas
FAQs
Use a well-floured surface and line your baking tray with parchment paper to ensure easy removal and prevent sticking.
Yes, you can prepare the dough in advance and store it in the refrigerator wrapped in plastic for up to 24 hours before rolling and baking.
You can substitute with all-purpose flour by adding 1.5 teaspoons of baking powder per cup of flour to create a similar rising effect.
Absolutely! Kids love making and eating these mini pizzas. They can help roll the dough, choose toppings, and enjoy a fun cooking activity.
Print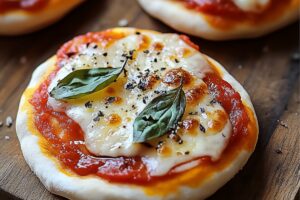
Easy Mini Lunchbox Pizzas Recipe
- Total Time: 39 minutes
- Yield: 6 1x
Description
Mini lunchbox pizzas bring delightful Italian-inspired flavors right into your midday meal. Quick and simple preparation ensures children and adults alike will savor these compact, cheesy delights you can enjoy anywhere.
Ingredients
Main Ingredients:
- 2 cups (300g / 10.6 ounces) self-raising flour
- 1 cup (250g / 8.8 ounces) full-fat plain Greek yoghurt
- 1 cup (125g / 4.4 ounces) freshly shredded mozzarella
Sauce Ingredient:
- 1/3 cup (90g / 3.2 ounces) tomato paste
Protein Topping:
- 1/2 cup (80g / 2.8 ounces) pepperoni
Instructions
- Prepare the oven by heating to 200C (400F), adjusting to 180C for fan-forced ovens. Cover a baking tray with parchment paper to prevent sticking.
- Mix self-raising flour and Greek yogurt in a large bowl until the texture becomes flaky. Knead the mixture thoroughly with hands to create a smooth, cohesive dough, which typically takes about 12 minutes.
- Dust a clean work surface with flour and roll out the dough to approximately 1 cm thickness. Use a large mug or cookie cutter to create circular dough rounds. Collect remaining dough scraps and re-roll to maximize usage.
- Transfer dough rounds onto the prepared baking tray. Spread a thin layer of tomato paste across each round, ensuring even coverage.
- Generously sprinkle freshly shredded mozzarella over the tomato paste. Arrange pepperoni slices evenly on top of the cheese.
- Slide the tray into the preheated oven and bake for 12-14 minutes. Monitor closely to achieve a golden crust and fully melted cheese without burning.
- Remove from oven and let mini pizzas rest on the tray for a few minutes to cool slightly. Serve warm for optimal flavor and texture.
Notes
- Swap Greek yogurt with dairy-free alternatives like coconut or almond yogurt for a vegan version.
- Use wholemeal self-raising flour to boost nutritional value and add more fiber to these mini pizzas.
- Try toppings like roasted vegetables, ham, or vegetarian protein options to customize the pizzas for different dietary preferences.
- Prepare the dough rounds in advance and store them in the refrigerator for a quick meal prep option that saves time during busy weekdays.
- Prep Time: 25 minutes
- Cook Time: 14 minutes
- Category: Lunch, Dinner, Snacks, Appetizer
- Method: Baking
- Cuisine: Italian
Nutrition
- Serving Size: 6
- Calories: 357
- Sugar: 3 g
- Sodium: 570 mg
- Fat: 21 g
- Saturated Fat: 10 g
- Unsaturated Fat: 9 g
- Trans Fat: 0.2 g
- Carbohydrates: 27 g
- Fiber: 1.5 g
- Protein: 18 g
- Cholesterol: 45 mg
Maya Thompson
Culinary Content Creator & Nutrition Enthusiast
Expertise
Healthy single-serving recipes, Meal prepping for individuals, Integrating nutrition into everyday cooking, Vegetarian and plant-based cuisine
Education
The Chef’s Academy at Harrison College
Associate of Applied Science in Culinary Arts
Focus: Nutrition, meal planning, and culinary techniques for healthy living.
Maya found her passion in the kitchen by mixing good food with good energy. After earning her culinary degree at The Chef’s Academy at Harrison College, she made it her mission to keep cooking simple, wholesome, and packed with flavor.
At Steelhead Diner, Maya shares easy, healthy recipes built for real life. For Maya, great food seems like a celebration of everyday moments, made better one fresh bite at a time.