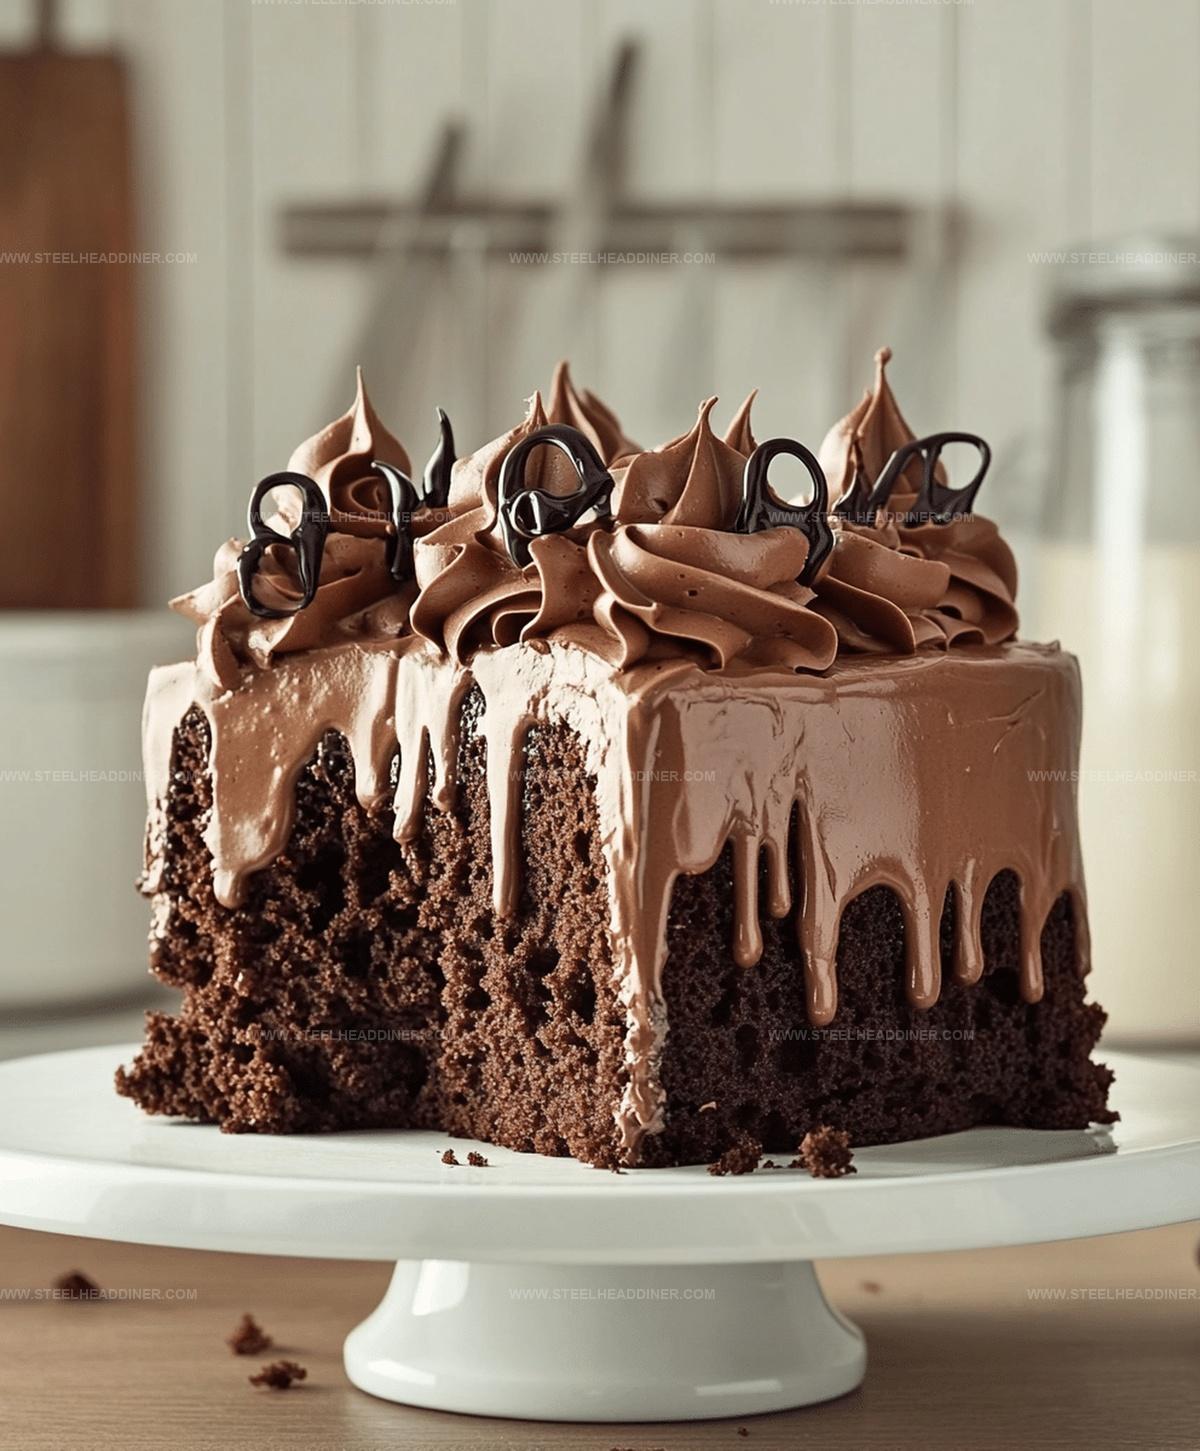
Dreamy Espresso Infused Mocha Poke Cake Recipe for Coffee Lovers
Creamy chocolate layers with an espresso infused mocha poke cake spark serious dessert excitement.
Rich coffee notes weave through each delectable bite.
Soft cake punctured with decadent filling creates a mouthwatering experience.
Chocolate lovers appreciate how simple ingredients combine into something magical.
Brewing strong espresso intensifies the cake deep, complex flavor profile.
Unexpected moisture from strategic liquid additions guarantees incredible texture.
You will absolutely fall in love with this indulgent sweet treat that promises pure deliciousness in every single slice.
What Makes Espresso Infused Mocha Poke Special
Key Ingredients for Espresso Infused Mocha Poke
For the Base:For the Moisture and Flavor Infusion:For the Topping and Garnish:Steps to Make Espresso Infused Mocha Poke
Step 1: Whip Up The Chocolate Base
Grab your favorite chocolate cake mix and follow the package directions to create a delectable cake. Pour the batter into a baking pan and bake until perfectly golden and a toothpick comes out clean.
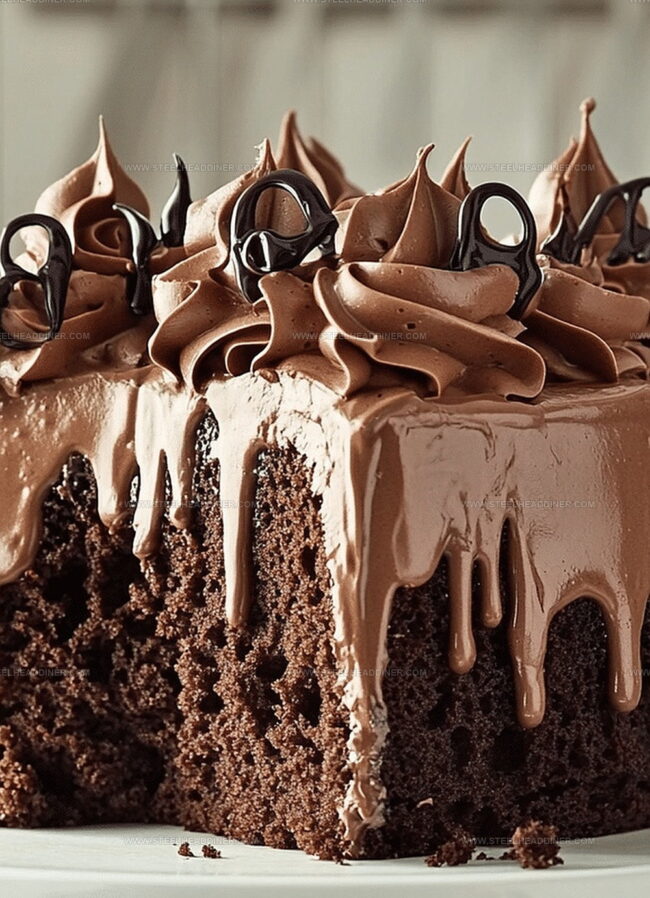
Step 2: Create Delightful Holes
Once the cake has cooled slightly, use the handle of a wooden spoon or a fork to poke multiple holes across the entire surface. Make sure the holes are evenly distributed to allow maximum flavor absorption.
Step 3: Drench With Espresso Magic
Brew a strong batch of espresso and blend it with sweetened condensed milk. Slowly pour this rich mixture over the cake, ensuring the liquid seeps into every hole.
The cake will transform into a moist, flavor-packed dessert.
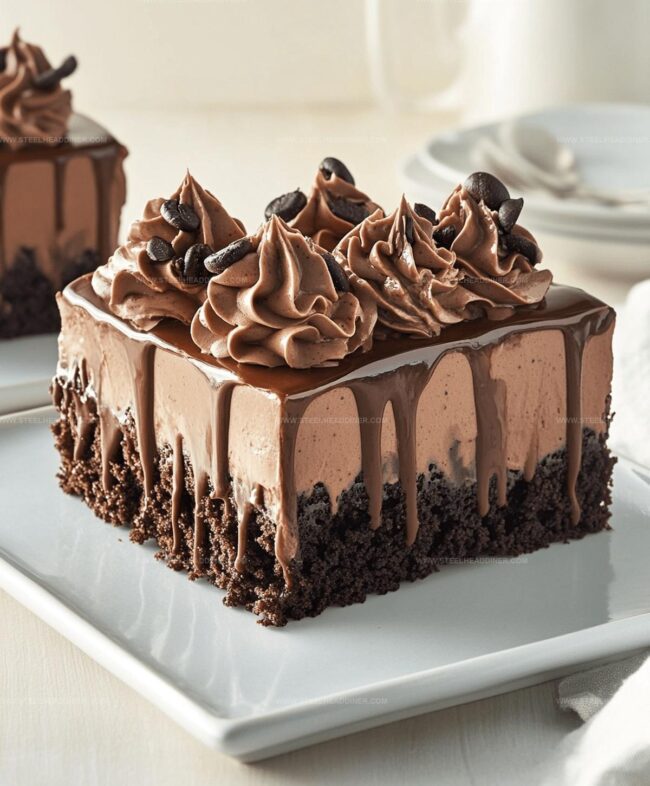
Step 4: Smooth On Creamy Clouds
After the cake has completely cooled, generously spread whipped topping across the entire surface.
Use a spatula to create smooth, even layers that will make the cake look irresistible.
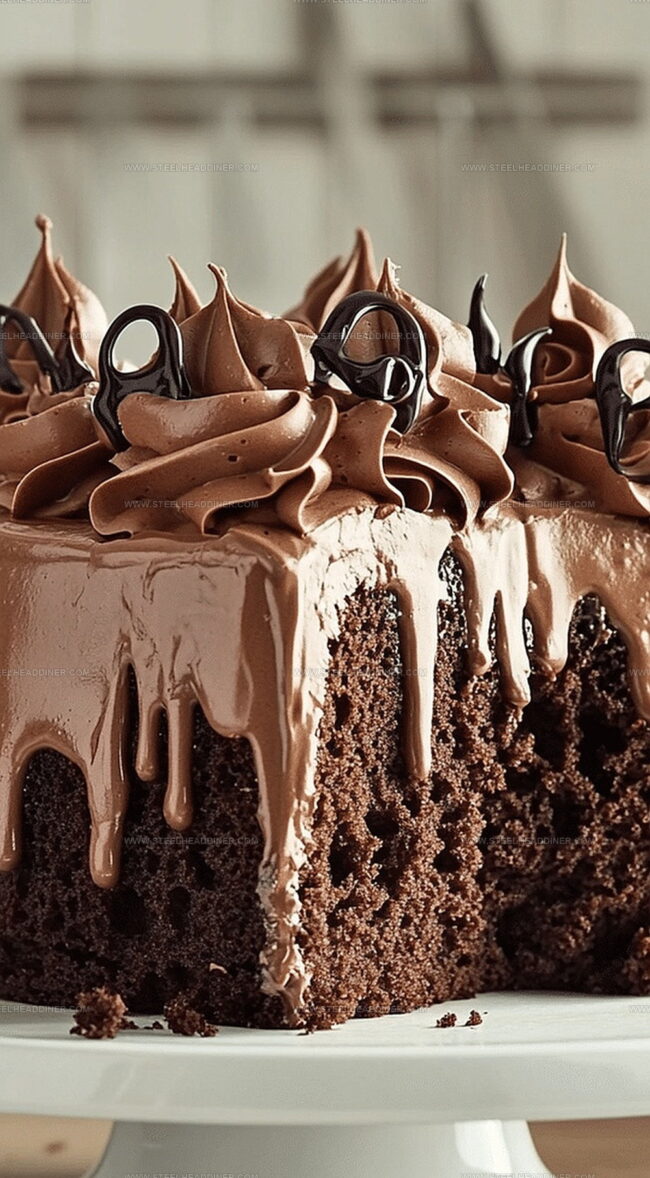
Step 5: Drizzle Chocolate Decadence
Cover the whipped topping with a layer of rich chocolate frosting.
Use gentle sweeping motions to create an elegant finish.
Step 6: Sprinkle Flavor Finale
Dust the top of the cake with a delicate combination of cocoa powder and instant espresso powder.
This final touch adds depth and an extra caffeine kick to your dessert.
Helpful Tips for Espresso Infused Mocha Poke
Different Takes on Espresso Infused Mocha Poke
Ideas to Serve Espresso Infused Mocha Poke
Best Ways to Store Espresso Infused Mocha Poke
FAQs
Yes, you can substitute instant coffee by dissolving 2-3 tablespoons in hot water to create a strong coffee base for the condensed milk mixture.
Use the back of a wooden spoon or a fork to create evenly spaced holes across the entire surface of the cake, allowing the espresso mixture to seep through completely.
The cake is best served chilled after refrigerating for at least 2 hours, which allows the espresso mixture to fully absorb and enhances the overall flavor profile.
Absolutely! You can prepare this cake a day in advance and store it in the refrigerator, which actually helps the flavors meld together even more deliciously.
Print
Espresso Infused Mocha Poke Cake Recipe
- Total Time: 55 minutes
- Yield: 12 1x
Description
Mocha poke cake introduces espresso-rich layers of chocolate decadence from Italian coffee traditions. Rich chocolate and espresso create a luxurious dessert perfect for coffee enthusiasts and sweet tooth travelers.
Ingredients
- 1 box chocolate cake mix
- 1 cup brewed espresso (240 ml)
- 1 can (14 oz / 397 g) sweetened condensed milk
- 1 container whipped topping
- 1 container chocolate frosting
- 2 tbsps cocoa powder
- 1 tsp instant espresso powder
Instructions
- Prepare the chocolate cake mix following package directions and bake in a standard rectangular pan at the recommended temperature until a toothpick inserted comes out clean.
- Allow the cake to cool slightly, then use the handle of a wooden spoon to create evenly spaced deep holes across the entire surface.
- Combine strong brewed espresso with sweetened condensed milk, whisking until fully integrated.
- Slowly drizzle the espresso mixture over the warm cake, ensuring the liquid seeps into each created hole, saturating the interior of the cake.
- Refrigerate the cake for 30 minutes to allow the espresso mixture to completely absorb and cool the dessert.
- Gently spread a thick layer of whipped topping across the entire cake surface, creating an even, smooth coverage.
- Carefully apply chocolate frosting in a decorative pattern, using a piping bag or spatula for precise distribution.
- Finish by delicately dusting the top with a light sprinkle of cocoa powder and finely ground instant espresso powder to enhance the coffee-chocolate flavor profile.
Notes
- Choose a high-quality chocolate cake mix for richer flavor and better texture.
- Allow the cake to cool completely before adding whipped topping to prevent melting.
- For a dairy-free version, substitute coconut whipped cream and use dairy-free condensed milk alternative.
- Enhance coffee intensity by using freshly brewed espresso instead of instant coffee powder, which can taste slightly bitter.
- Prep Time: 20 minutes
- Cook Time: 35 minutes
- Category: Desserts
- Method: Baking
- Cuisine: American
Nutrition
- Serving Size: 12
- Calories: 340 kcal
- Sugar: 35 g
- Sodium: 250 mg
- Fat: 12 g
- Saturated Fat: 7 g
- Unsaturated Fat: 4 g
- Trans Fat: 0.5 g
- Carbohydrates: 50 g
- Fiber: 3 g
- Protein: 4 g
- Cholesterol: 30 mg
Maya Thompson
Culinary Content Creator & Nutrition Enthusiast
Expertise
Healthy single-serving recipes, Meal prepping for individuals, Integrating nutrition into everyday cooking, Vegetarian and plant-based cuisine
Education
The Chef’s Academy at Harrison College
Associate of Applied Science in Culinary Arts
Focus: Nutrition, meal planning, and culinary techniques for healthy living.
Maya found her passion in the kitchen by mixing good food with good energy. After earning her culinary degree at The Chef’s Academy at Harrison College, she made it her mission to keep cooking simple, wholesome, and packed with flavor.
At Steelhead Diner, Maya shares easy, healthy recipes built for real life. For Maya, great food seems like a celebration of everyday moments, made better one fresh bite at a time.