Spooky Halloween Bloodshot Eyeballs Candy Recipe for Sweet Frights
Crafting spooky Halloween bloodshot eyeballs candy will send chills down every spine at your festive gathering.
Ghoulish treats like these delight guests with their wickedly clever design.
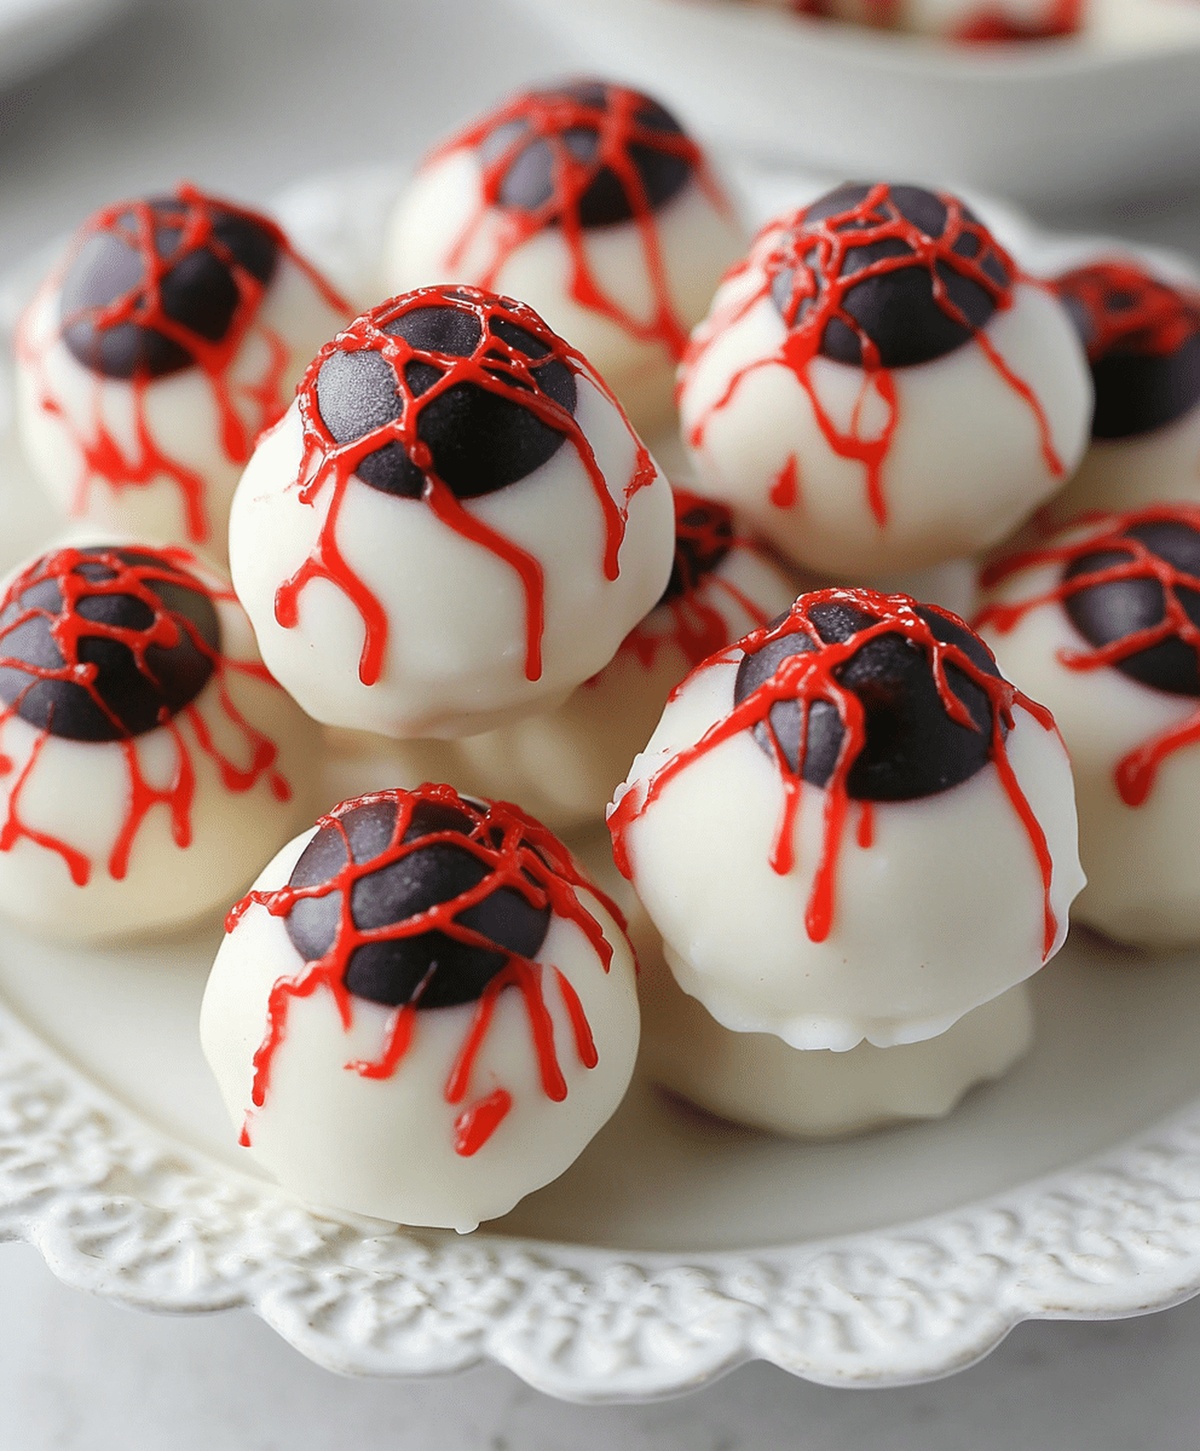
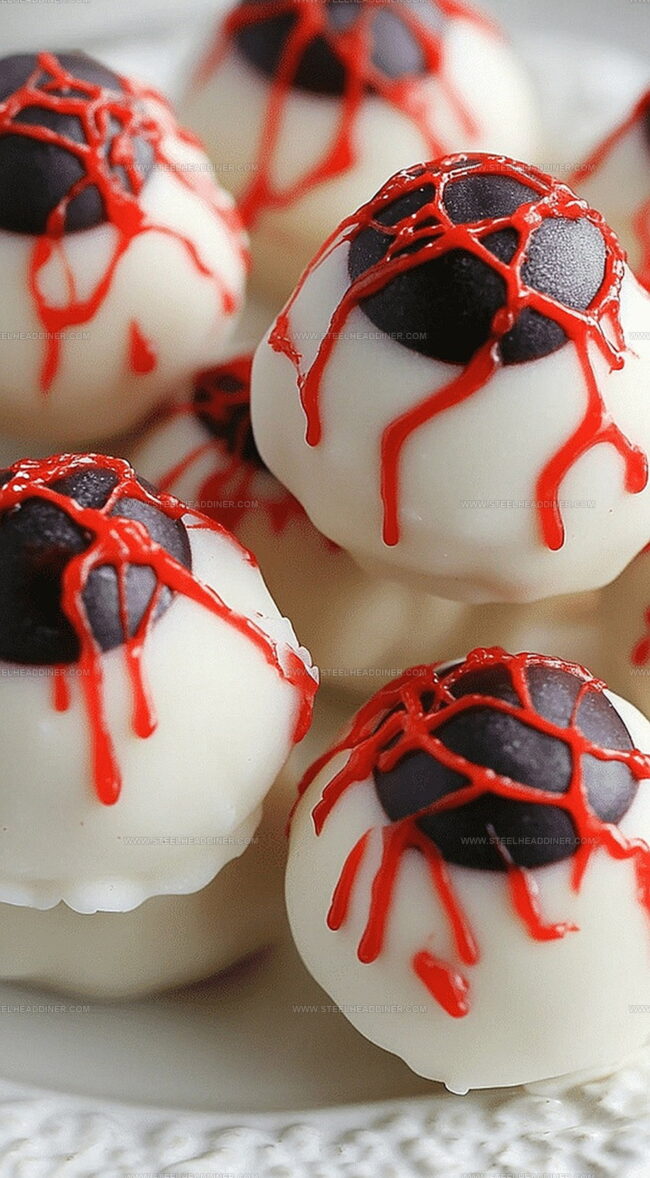
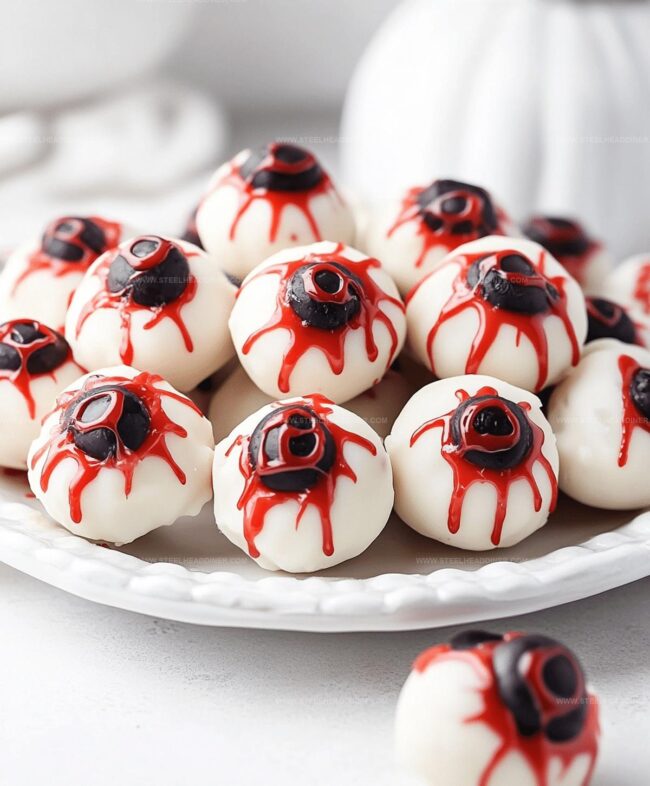
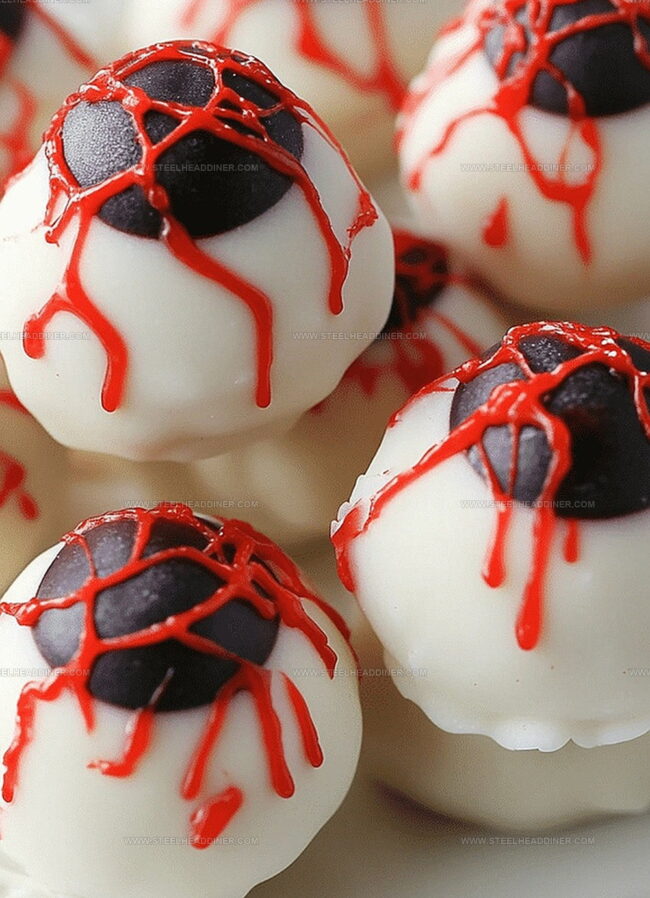
Creamy centers nestled in white chocolate create eerily realistic eyeball appearances.
candy makers adore how simple ingredients become something spectacularly sinister.
Decorative details make these confections look simultaneously delicious and disturbing.
Skilled bakers can whip up these macabre morsels in under thirty minutes.
You’ll become the ultimate Halloween party hero with these wickedly cool sweet bites.
Halloween Bloodshot Eyeballs Candy – Spooky and Sweet
Gather Ingredients for Bloodshot Eyeballs Candy
For the Base:For the Details:For the Decorative Elements:How to Make Bloodshot Eyeballs Candy for Halloween
Step 1: Prepare Melting Station
Set up a double boiler or microwave-safe bowl for melting white chocolate. Choose a clean, dry workspace with plenty of room for creating your spooky treats.
Step 2: Create Eyeball Bases
Carefully melt white chocolate until smooth and creamy. Use a small spoon or piping bag to drop round dollops onto a parchment-lined baking sheet.
Gently shape each dollop into a perfect sphere using the back of the spoon.
Step 3: Add Bloodshot Effects
Create a dramatic bloodshot look with red candy melts or food coloring.
Carefully drizzle or paint thin, wispy red lines across the white chocolate spheres to mimic blood vessels. Use a fine-tipped brush or toothpick for precise application.
Step 4: Draw Dramatic Pupils
Use an edible black marker or black gel icing to draw a realistic pupil in the center of each eyeball. Make the pupil slightly off-center for a more creepy, lifelike appearance.
Step 5: Decorate and Enhance
Embellish your eyeballs with:Step 6: Chill and Set
Place the decorated eyeballs in the refrigerator. Allow them to firm up completely, which typically takes about 15-20 minutes.
The cold temperature will help set the chocolate and lock in the spooky design.
Step 7: Serve and Spook
Remove the eyeball candies from the refrigerator just before serving.
Arrange them on a dark platter or Halloween-themed serving dish for maximum creepy effect.
Tips for Halloween Candy Eyeballs
Fun Changes for Bloodshot Eyeballs Candy
Present Bloodshot Eyeballs Candy for Halloween
Keep Bloodshot Eyeballs Candy for Next Party
FAQs
Not at all! They’re simple and fun, perfect for beginners who want to create a spooky Halloween treat.
Yes, kids can definitely help with supervision. They’ll love drawing the pupils and adding decorative touches.
Most people can complete the entire project in about 30-45 minutes, including setting time in the refrigerator.
Candy melts are recommended because they’re easier to work with and set faster than traditional white chocolate.
Print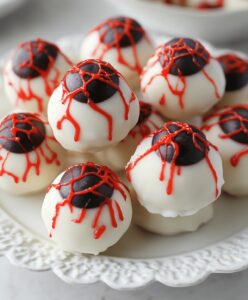
Halloween Bloodshot Eyeballs Candy Recipe
- Total Time: 20 minutes
- Yield: 12 1x
Description
Spooky halloween bloodshot eyeballs candy combines creamy white chocolate with ghoulish decorative details. Sweet treats will delight party guests with eerie red-veined spheres that look disturbingly realistic for your Halloween celebration.
Ingredients
- 12 oz white chocolate or candy melts
- 4 oz red candy melts or food coloring
- 1 edible black gel or marker
- 10–12 round candies (for pupils)
- Optional: 6-8 candy eyeballs
- Optional: 2 tbsps red icing for extra detail
Instructions
- Gently melt white chocolate in a microwave-safe bowl, heating in 30-second intervals and stirring until smooth and creamy.
- Using clean hands or a small spoon, carefully shape the melted chocolate into uniform round spheres resembling eyeballs, placing them on a parchment-lined tray.
- Create realistic bloodshot effects by drizzling red candy melts or using red food coloring in thin, veiny lines across the white chocolate surface.
- With a food-safe black gel pen or edible marker, precisely draw a dark circular pupil in the center of each white chocolate eyeball.
- Enhance the spooky design by strategically placing small round candies or pre-made candy eyeballs to add depth and texture.
- Chill the completed eyeball candies in the refrigerator for approximately 15-20 minutes at 40°F until completely firm and set.
Notes
- Ensure white chocolate is melted slowly and smoothly over low heat to prevent burning or seizing.
- Use toothpicks or dipping tools to create perfectly round eyeball shapes and maintain consistent size.
- For a dairy-free version, substitute white chocolate with vegan candy melts or coconut milk-based chocolate.
- Work quickly when adding red bloodshot lines to prevent the white chocolate from hardening before decorating.
- Prep Time: 20 minutes
- Cook Time: 0 minutes
- Category: Snacks, Desserts
- Method: Melting
- Cuisine: American
Nutrition
- Serving Size: 12
- Calories: 150 kcal
- Sugar: 20 g
- Sodium: 30 mg
- Fat: 8 g
- Saturated Fat: 5 g
- Unsaturated Fat: 3 g
- Trans Fat: 0 g
- Carbohydrates: 22 g
- Fiber: 0.5 g
- Protein: 1 g
- Cholesterol: 10 mg
Jack Monroe
Founder & Recipe Innovator
Expertise
Pacific Northwest cuisine, Single-serving recipe development, Sustainable sourcing and cooking, Modern comfort food
Education
Brightwater
Associate of Applied Science in Culinary Arts
Focus: Sustainable cooking, seasonal ingredients, and food systems education
Jack grew up with a fishing rod in one hand and a cast-iron skillet in the other. After graduating from Brightwater: A Center for the Study of Food, he set out to prove that cooking for one could still taste like a feast.
Jack believes that food should feel real: fresh, fearless, and a little wild, just like the rivers he grew up around. For Jack, every single dish is a small adventure, and the best ones are the ones you can cook with heart, not hassle.