The Perfect Homemade Orange Jam Recipe for Bright Breakfast Joy
Sweet, tangy homemade orange jam bursts with vibrant citrus flavor that dances on your taste buds.
Crafting this delightful spread transforms ordinary mornings into something extraordinary.
Ripe, juicy oranges become a delectable preserve with just a few simple ingredients.
The bright, zesty notes will make you fall in love with this easy-to-make condiment.
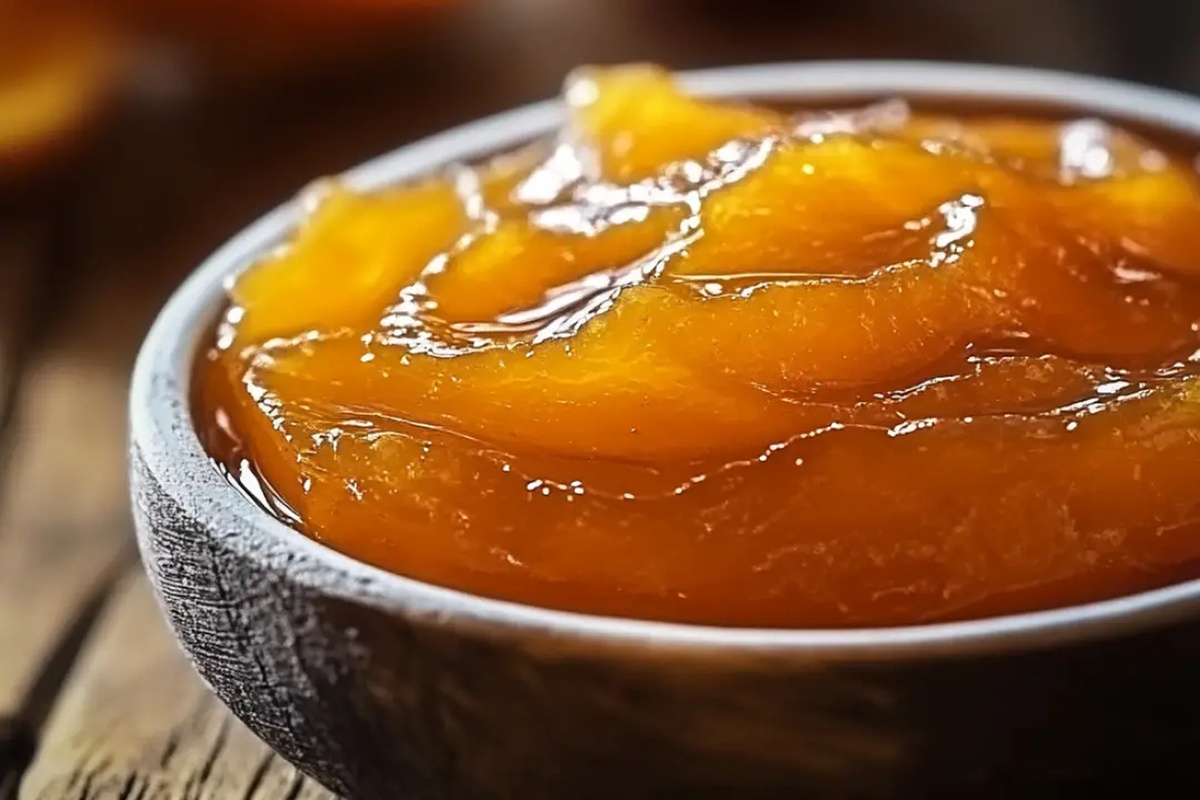
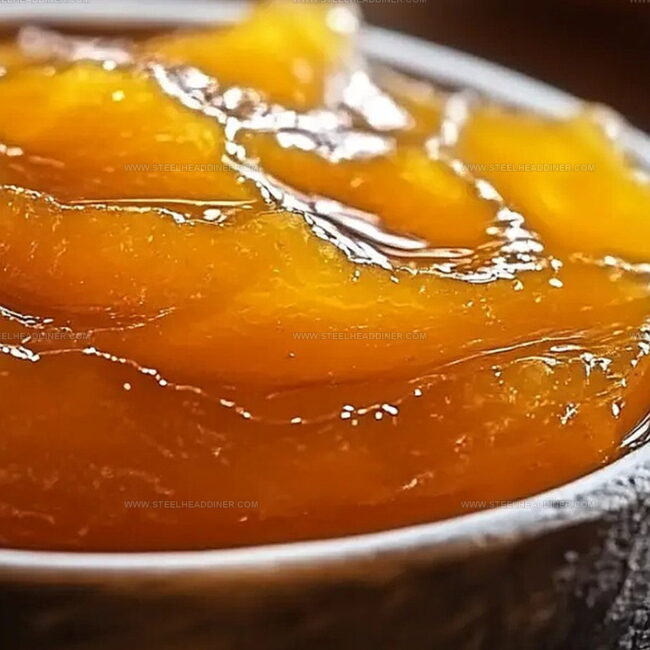
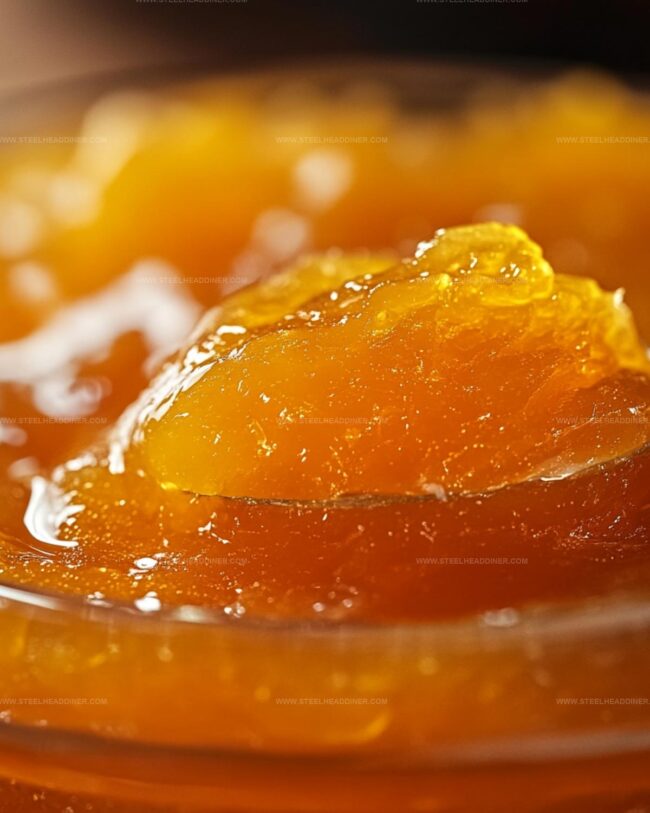
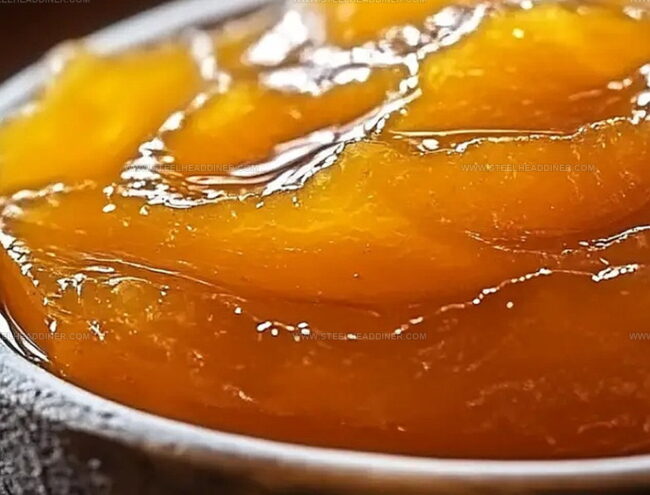
Each spoonful captures the essence of fresh oranges, creating a sunshine-filled preserve that elevates toast, pastries, and breakfast treats.
Prepare to savor a homemade jam that connects you directly to the pure, natural sweetness of citrus.
You’ll want to share this delicious creation with everyone at the table.
Homemade Orange Jam Notes
Ingredients For Homemade Orange Jam
Fruits:Sweeteners:Additional Flavoring:Step-By-Step Homemade Orange Jam Instructions
Step 1: Prepare the Oranges
Grab some fresh, juicy oranges and give them a good wash under cool running water. Peel the oranges carefully, setting aside the peels.
Slice those peels into delicate, thin strips about the width of a pencil line. Take your time to remove as much of the white part (pith) as you can to keep the jam from tasting bitter.
Chop the peeled orange flesh into bite-sized segments, tossing out any pesky seeds.
Step 2: Mix and Combine
Grab a large, roomy pot and toss in:Step 3: Simmer and Cook
Fire up the stove and bring your mixture to a rolling boil over medium heat.
Stir like crazy until the sugar completely melts and disappears. Lower the heat to a gentle simmer and let the magic happen.
Keep an occasional eye on the pot, giving it a gentle stir now and then. Let it bubble away for about 45-60 minutes until the mixture transforms into a thick, glossy jam.
Step 4: Check the Consistency
Want to know if your jam is ready? Drop a small dollop onto a chilled plate.
Run your finger through it – if it wrinkles and holds its shape, you’ve hit jam perfection! Pro tip: A candy thermometer works wonders too.
You’re aiming for 220F (104C).
Step 5: Jar the Goodness
Carefully remove the pot from the heat.
Using a steady hand, pour the hot jam into clean, sterilized jars. Leave a small space at the top – about the width of your pinky finger.
Wipe the jar rims clean with a damp cloth to ensure a perfect seal.
Step 6: Create the Seal
Flip those jars upside down on a clean surface.
Let them cool completely. This nifty trick helps create an airtight seal, keeping your jam fresh and delicious.
Helpful Tips For Homemade Orange Jam
Flavorful Variations For Homemade Orange Jam
Pairings To Enjoy With Homemade Orange Jam
How To Keep Homemade Orange Jam Fresh
FAQs
The white pith can make the jam taste bitter, so carefully scraping it off ensures a sweeter, more pleasant flavor.
Reducing sugar might prevent the jam from setting properly, as sugar helps create the right texture and acts as a preservative.
When properly sealed and stored in a cool, dark place, the jam can last up to 12 months unopened. Once opened, refrigerate and consume within 3-4 weeks.
No, oranges naturally contain pectin, which helps the jam thicken, so additional pectin isn’t required for this specific recipe.
Print
Homemade Orange Jam Recipe
- Total Time: 1 hour 20 minutes
- Yield: 8 1x
Description
Sweet citrus magic comes alive in homemade orange jam, delivering sunshine-soaked flavor straight from your kitchen. Zesty Mediterranean notes dance with sugary undertones, inviting you to savor each spoonful of pure seasonal delight.
Ingredients
Main Ingredients:
- 35 ounces (1 kilogram) oranges
- 26 ounces (740 grams) granulated sugar
Acidic Components:
- 1 lemon (juice)
Liquid:
- 17 fluid ounces (500 milliliters) water
Instructions
- Meticulously cleanse oranges under cool running water, ensuring no residue remains. Carefully remove peels, slicing them into delicate, gossamer-thin strips approximately 1/8 inch wide. Gently scrape away excess white pith to prevent unwelcome bitterness. Segment the peeled citrus fruits, discarding any unwanted seeds.
- Transfer the fragmented orange pieces, gossamer peel strips, granulated sweetener, citrus extract, and liquid into a capacious cooking vessel. Position over medium flame, stirring vigorously until sugar crystals completely dissolve.
- Reduce thermal intensity to minimal setting. Allow mixture to gently simmer for approximately 45-60 minutes, occasionally stirring to prevent scorching. Monitor the transformation as liquid gradually thickens and develops a luscious, glossy texture.
- Validate jam’s readiness through precision techniques. Deposit a modest dollop onto a pre-chilled ceramic surface. Trace a path with your fingertip – if the substance wrinkles, it signals perfect consistency. Alternatively, utilize a culinary thermometer; optimal temperature registers at 220°F (104°C).
- Carefully extract the molten preserve from heat source. Methodically transfer into sanitized glass receptacles, maintaining approximately 1/4 inch headspace. Pristinely wipe vessel rims to ensure immaculate sealing.
- Position sealed containers inversely on pristine surface, allowing complete cooling. This strategic orientation facilitates vacuum sealing, preserving the jam’s exquisite flavor profile.
Notes
- Maximize flavor by choosing ripe, fragrant oranges with vibrant color and minimal blemishes.
- Remove as much white pith as possible to prevent bitter undertones in the final jam.
- Use a candy thermometer for precise consistency and accurate temperature monitoring during cooking.
- Store homemade jam in sterilized glass jars in a cool, dark pantry for optimal preservation and freshness.
- Prep Time: 20 minutes
- Cook Time: 60 minutes
- Category: Breakfast, Snacks, Desserts
- Method: Simmering
- Cuisine: American
Nutrition
- Serving Size: 8
- Calories: 228
- Sugar: 55 g
- Sodium: 0 mg
- Fat: 0 g
- Saturated Fat: 0 g
- Unsaturated Fat: 0 g
- Trans Fat: 0 g
- Carbohydrates: 58 g
- Fiber: 1 g
- Protein: 1 g
- Cholesterol: 0 mg
Maya Thompson
Culinary Content Creator & Nutrition Enthusiast
Expertise
Healthy single-serving recipes, Meal prepping for individuals, Integrating nutrition into everyday cooking, Vegetarian and plant-based cuisine
Education
The Chef’s Academy at Harrison College
Associate of Applied Science in Culinary Arts
Focus: Nutrition, meal planning, and culinary techniques for healthy living.
Maya found her passion in the kitchen by mixing good food with good energy. After earning her culinary degree at The Chef’s Academy at Harrison College, she made it her mission to keep cooking simple, wholesome, and packed with flavor.
At Steelhead Diner, Maya shares easy, healthy recipes built for real life. For Maya, great food seems like a celebration of everyday moments, made better one fresh bite at a time.