
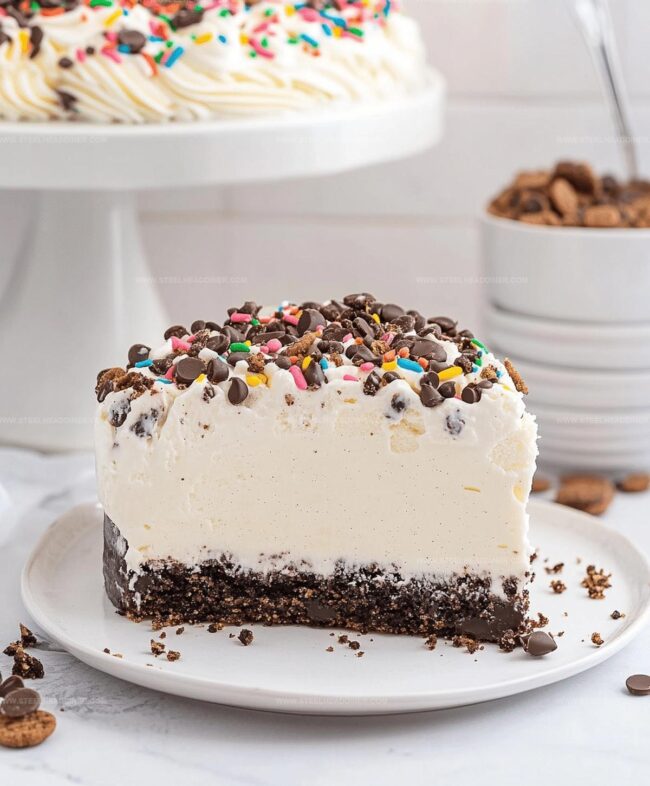
Dreamy Ice Cream Cake With Cookie Crunch Recipe For Celebrations
Crafting a delectable ice cream cake with cookie crunch promises pure dessert magic that’ll make taste buds dance.
Layers of creamy sweetness blend perfectly with crisp cookie textures.
Summers call for cool, indulgent treats that spark joy at every bite.
Friends and family will marvel at your culinary creation.
Minimal effort yields maximum deliciousness in this crowd-pleasing recipe.
Simple ingredients transform into an extraordinary dessert experience.
You’ll want to savor every single crumbly, frozen moment of this delightful treat.
What Makes This Ice Cream Cake Great
Ingredients for Ice Cream Cake
For the Crust:For the Ice Cream Layers:For the Sauce and Topping:For the Preparation:How to Build This Ice Cream Cake
Step 1: Prepare The Pan
Line a springform pan with parchment paper, ensuring the paper covers the bottom and sides completely for easy removal later.
Step 2: Create Cookie Base
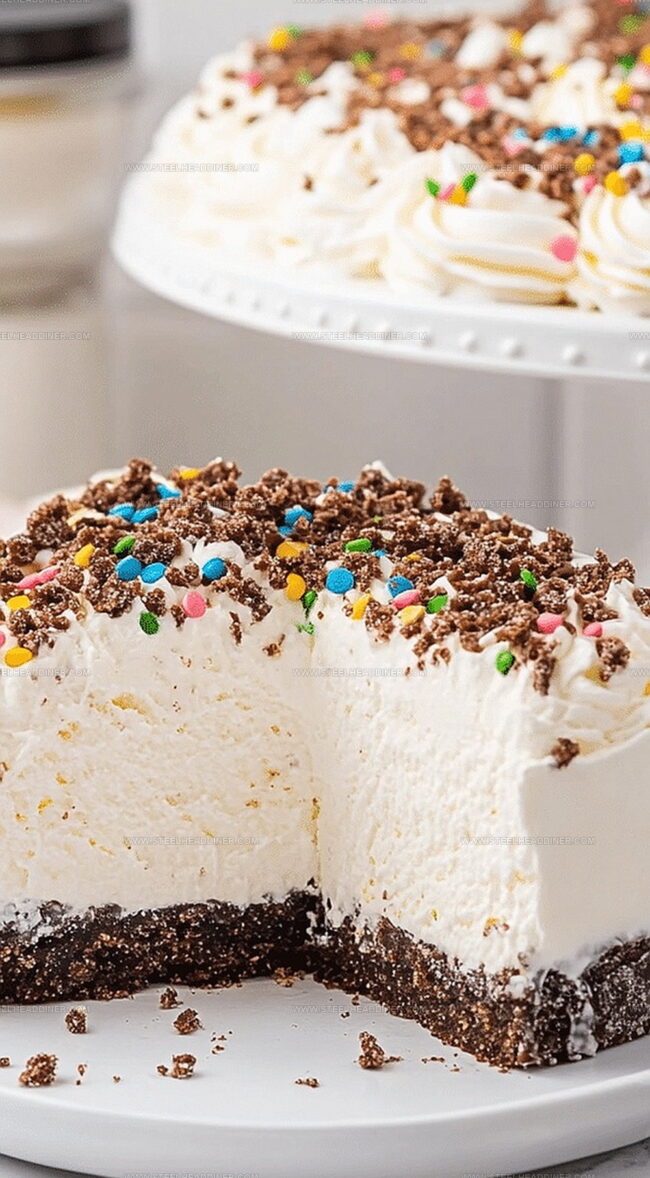
Crush chocolate sandwich cookies into fine crumbs and mix with melted butter.
Press the mixture firmly into the bottom of the pan, creating an even, compact layer. Place the pan in the freezer for 10 minutes to set the base.
Step 3: Add Vanilla Ice Cream Layer
Remove the pan from the freezer and spread softened vanilla ice cream evenly over the cookie base. Use a spatula to create a smooth surface.
Return the pan to the freezer for 30 minutes to allow the layer to firm up.
Step 4: Drizzle Chocolate Sauce
Warm hot fudge sauce and carefully pour it over the vanilla ice cream layer.
Use a gentle motion to create an even distribution. Place the pan back in the freezer for 10 minutes to slightly set the chocolate layer.
Step 5: Top With Chocolate Ice Cream
Spread softened chocolate ice cream over the fudge sauce layer, creating a final smooth surface. Carefully place the pan in the freezer and let it set for at least 4 hours or preferably overnight.
Step 6: Decorate And Serve
Remove the cake from the freezer and carefully release the springform pan. Transfer the cake to a serving plate.
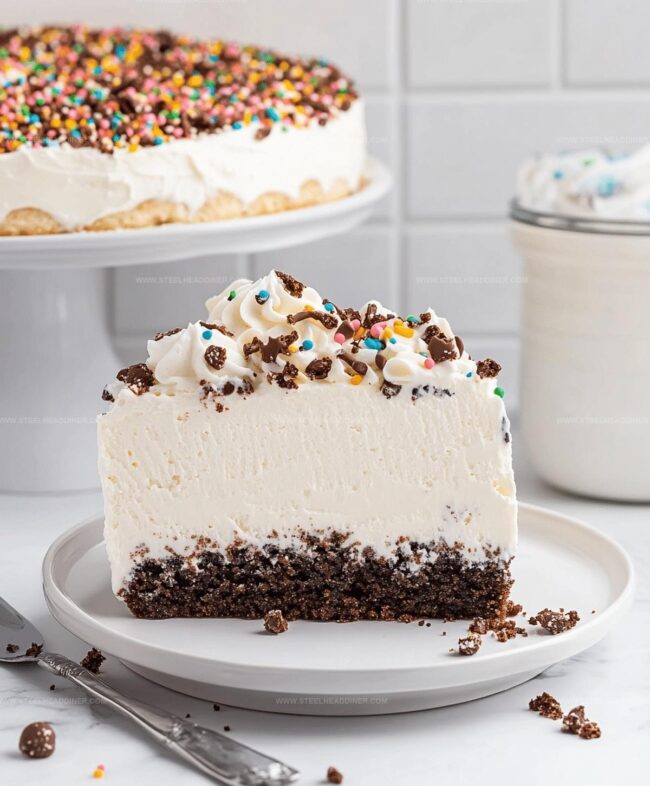
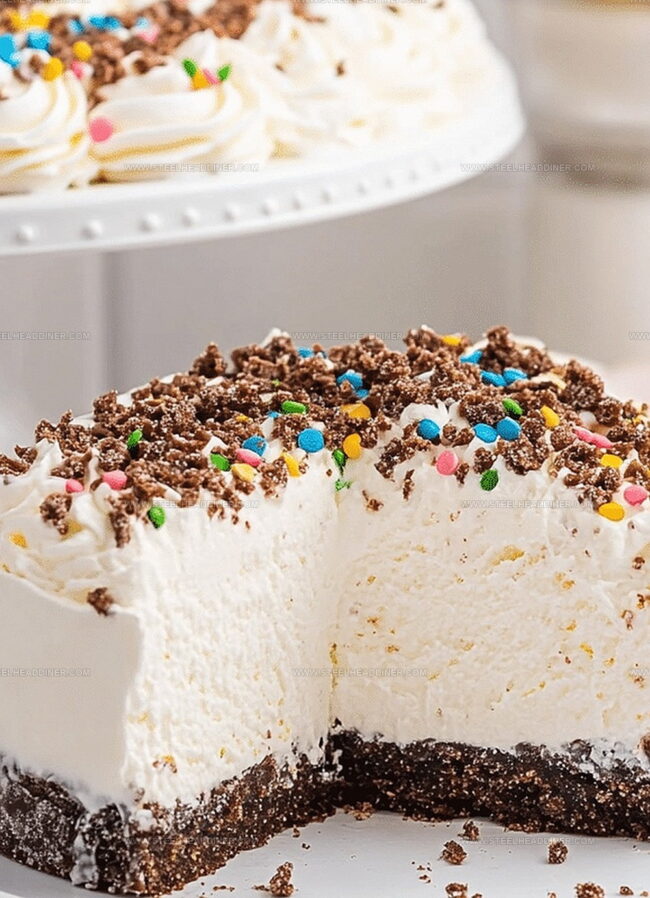
Top with fluffy whipped cream and sprinkle colorful jimmies or chocolate shavings for extra decoration. Slice with a warm knife and serve immediately.
Helpful Notes for Cookie Crunch Cake
Flavor Options for Ice Cream Cake Fans
Best Ways to Serve This Frozen Cake
Storing Cookie Crunch Cake Correctly
FAQs
Yes, you can swap graham crackers, chocolate cookies, or any crunchy cookie you prefer. Just ensure they’re finely crushed for a solid base.
Work quickly and keep your ice cream slightly softened but not completely melted. Put the pan in the freezer between each layer to maintain firmness.
Absolutely! You can prepare the entire cake up to 5 days in advance. Just keep it tightly wrapped in the freezer and add fresh whipped cream before serving.
Use a regular cake pan lined with plastic wrap, which will help you easily lift out the cake after freezing. Just ensure the pan is freezer-safe.
Print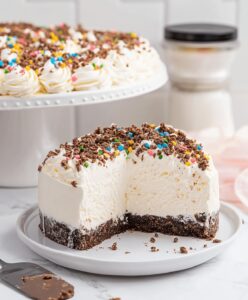
Ice Cream Cake With Cookie Crunch Recipe
- Total Time: 8 hours 30 minutes
- Yield: 8 1x
Description
Indulgent homemade ice cream cake with cookie crunch combines layers of creamy delight and crunchy texture. Cool summer desserts like this delight guests with rich, playful flavors that satisfy sweet cravings.
Ingredients
- 1 quart vanilla ice cream (softened)
- 1 quart chocolate ice cream (softened)
- 2 cups chocolate sandwich cookies (crushed)
- 1 cup hot fudge sauce
- 1/4 cup (60 ml) unsalted butter (melted)
- 1/2 cup (120 ml) whipped cream
Instructions
- Prepare a springform pan by lining the bottom and sides with parchment paper, ensuring a smooth surface for easy cake removal.
- Crush cookies into fine crumbs and combine with melted butter, creating a compact base. Press the mixture firmly into the pan’s bottom, creating an even layer. Chill in the freezer for 10 minutes to set.
- Soften vanilla ice cream slightly, then carefully spread it over the chilled cookie crust in a smooth, even layer. Return to the freezer for 30 minutes to firm up.
- Gently warm hot fudge sauce and drizzle it evenly across the vanilla ice cream layer. Place back in the freezer for 10 minutes to allow the sauce to set slightly.
- Allow chocolate ice cream to soften momentarily, then spread it uniformly over the fudge layer, creating a final smooth surface. Freeze for 4-6 hours or preferably overnight to ensure complete solidification.
- Remove the cake from the freezer and let it sit at room temperature for 5-10 minutes to ease removal from the pan. Carefully release the springform sides and transfer to a serving plate.
- Decorate the top with fluffy whipped cream, creating elegant swirls or peaks. Sprinkle colorful decorative sprinkles over the cream for a festive finish.
- Slice with a knife dipped in hot water for clean, precise cuts. Serve immediately and enjoy the layered frozen dessert.
Notes
- Swap out cookies for gluten-free alternatives to make the cake suitable for those with gluten sensitivities.
- Let ice cream soften slightly at room temperature for easier spreading, preventing tears and creating smooth layers.
- Use a heated knife when slicing to get clean, precise cuts through the frozen cake layers.
- Try different cookie types like chocolate sandwich cookies or graham crackers for unique flavor variations.
- Prep Time: 8 hours 30 minutes
- Cook Time: 0 minutes
- Category: Desserts
- Method: Freezing
- Cuisine: American
Nutrition
- Serving Size: 8
- Calories: 418 kcal
- Sugar: 39 g
- Sodium: 120 mg
- Fat: 23 g
- Saturated Fat: 14 g
- Unsaturated Fat: 7 g
- Trans Fat: 0.5 g
- Carbohydrates: 49 g
- Fiber: 2 g
- Protein: 4 g
- Cholesterol: 55 mg
Maya Thompson
Culinary Content Creator & Nutrition Enthusiast
Expertise
Healthy single-serving recipes, Meal prepping for individuals, Integrating nutrition into everyday cooking, Vegetarian and plant-based cuisine
Education
The Chef’s Academy at Harrison College
Associate of Applied Science in Culinary Arts
Focus: Nutrition, meal planning, and culinary techniques for healthy living.
Maya found her passion in the kitchen by mixing good food with good energy. After earning her culinary degree at The Chef’s Academy at Harrison College, she made it her mission to keep cooking simple, wholesome, and packed with flavor.
At Steelhead Diner, Maya shares easy, healthy recipes built for real life. For Maya, great food seems like a celebration of everyday moments, made better one fresh bite at a time.