
The Tastiest Italian Sliders Recipe for Your Family Gathering
Tiny Italian sliders pack a delightful punch of Mediterranean flavors that will make your taste buds dance.
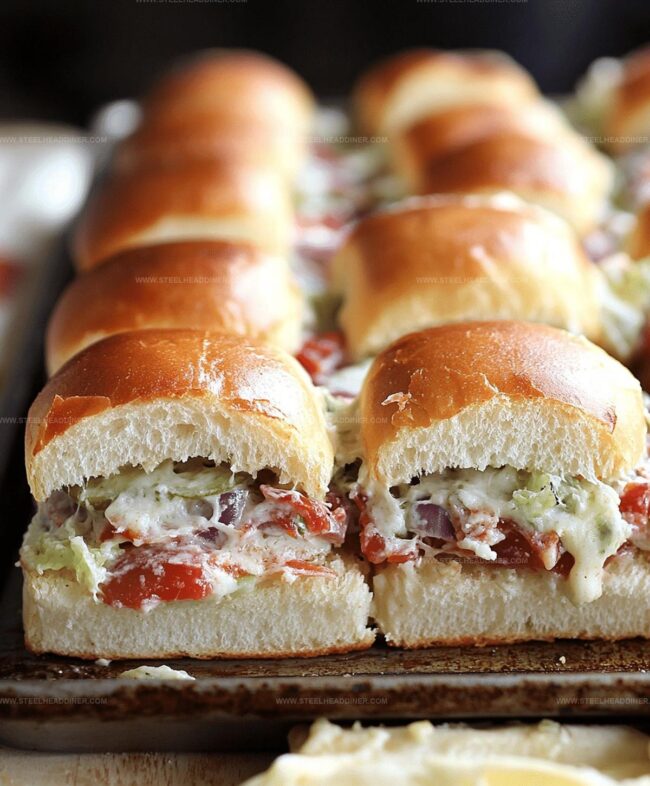
Miniature sandwiches deliver big personality on small plates.
Compact and irresistible, these little bites bring serious culinary excitement to any gathering.
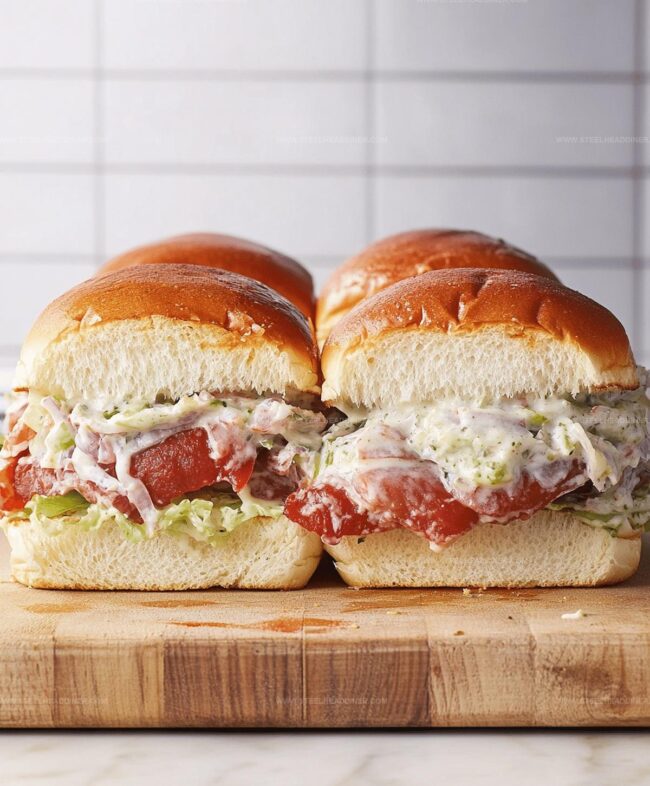
Classic ingredients like fresh mozzarella, basil, and salami create mouthwatering combinations in each compact package.
Crispy bread rolls cradle savory fillings that promise immediate satisfaction.
Perfectly sized for snacking, these sliders guarantee everyone gets a taste of authentic Italian comfort.
Whip up this crowd-pleasing recipe and watch how quickly they disappear from the serving platter.
What Makes Italian Sliders Shine
What You Need For Italian Sliders
For the Buns:For the Meat Layers:For the Cheese:For the Sauce:For the Topping Mixture:How To Cook Italian Sliders
Step 1: Warm Up The Oven
Crank your oven to a toasty 350 degrees Fahrenheit, getting ready for some serious slider magic.
Step 2: Prepare Bun Base
Slice the slider buns horizontally while keeping them connected, then gently place the bottom half into a baking dish.
Step 3: Spread Saucy Goodness
Generously coat the bottom bun layer with rich marinara sauce, creating a zesty foundation.
Step 4: Build Flavor Layers
Create a delicious protein and cheese foundation by adding:Distribute these ingredients evenly across the marinara-covered buns.
Step 5: Crown With Bun Tops
Carefully place the top half of the buns over the layered ingredients.
Step 6: Craft Buttery Seasoning
Whisk together a delectable topping mixture with:Brush this flavorful concoction generously over the bun tops.
Step 7: Initial Baking
Cover the baking dish with foil and slide into the preheated oven. Bake for 15 minutes to let flavors meld.
Step 8: Final Golden Touch
Remove the foil and return to the oven for an additional 5 minutes, allowing the buns to transform into a gorgeous golden brown.
Step 9: Serve And Enjoy
Slice the sliders and serve them warm, ready to be devoured by hungry guests.
Handy Insights For Italian Sliders
Taste Tweaks For Italian Sliders
Best Pairings With Italian Sliders
Keeping Italian Sliders Fresh Longer
FAQs
The combination of salami, ham, pepperoni, and provolone cheese creates a classic Italian deli-style flavor profile that sets these sliders apart from traditional hamburger sliders.
Yes, you can prepare the sliders up to the point of baking and refrigerate them, covered, for up to 4 hours before baking. This makes them perfect for entertaining or meal prep.
Absolutely! These Italian sliders are perfect for game days, potlucks, or casual gatherings because they’re easy to make, serve, and everyone loves them. They’re bite-sized and packed with flavor.
Print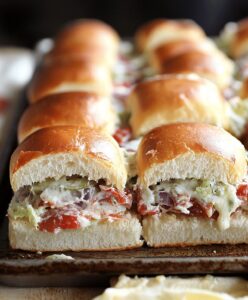
Italian Sliders Recipe
- Total Time: 35 minutes
- Yield: 6 1x
Description
Mouthwatering Italian sliders blend classic Mediterranean flavors with miniature burger magic. Herb-infused beef patties nestled in crisp rolls promise a delectable journey through Italian culinary traditions that you’ll savor with each delightful bite.
Ingredients
- 12 slider buns
- 6 slices pepperoni
- 6 slices salami
- 6 slices ham
- 6 slices provolone cheese
- 1/2 cup (120 ml) marinara sauce
- 1/4 cup (60 ml) butter, melted
- 1 tbsp grated Parmesan cheese
- 1 tsp Italian seasoning
- 1/2 tsp garlic powder
Instructions
- Warm the oven to 350F (175C), preparing a baking dish for assembly.
- Carefully slice slider buns horizontally while keeping them connected as a single unit, maintaining structural integrity.
- Generously spread marinara sauce across the bottom layer of interconnected buns, creating a flavorful foundation.
- Strategically arrange layers of salami, ham, pepperoni, and provolone cheese, ensuring even distribution across the surface.
- Gently position the top half of buns over the layered ingredients, creating a complete sandwich stack.
- Create a savory butter mixture by combining melted butter with Italian seasoning, garlic powder, and Parmesan cheese, whisking until well incorporated.
- Carefully brush the aromatic butter mixture across the top of the buns, coating them thoroughly for enhanced flavor and golden appearance.
- Shield the baking dish with aluminum foil and bake for 15 minutes, allowing ingredients to meld and heat through.
- Remove foil and continue baking for an additional 5 minutes until buns transform into a crispy, golden-brown masterpiece.
- Slice into individual sliders and serve piping hot, ready to be devoured.
Notes
- Customize meats by swapping salami, ham, or pepperoni with turkey, chicken, or vegetarian alternatives for dietary preferences.
- Enhance flavor intensity by toasting buns lightly before assembling to prevent sogginess and create extra crunch.
- Reduce sodium content by selecting low-sodium deli meats and using less Parmesan cheese in the butter mixture.
- Make ahead by preparing sliders completely, covering, and refrigerating up to 24 hours before baking, which allows flavors to meld beautifully.
- Prep Time: 15 minutes
- Cook Time: 20 minutes
- Category: Lunch, Dinner, Appetizer, Snacks
- Method: Baking
- Cuisine: Italian
Nutrition
- Serving Size: 6
- Calories: 280 kcal
- Sugar: 3 g
- Sodium: 680 mg
- Fat: 15 g
- Saturated Fat: 6 g
- Unsaturated Fat: 7 g
- Trans Fat: 0.2 g
- Carbohydrates: 24 g
- Fiber: 2 g
- Protein: 14 g
- Cholesterol: 40 mg
Maya Thompson
Culinary Content Creator & Nutrition Enthusiast
Expertise
Healthy single-serving recipes, Meal prepping for individuals, Integrating nutrition into everyday cooking, Vegetarian and plant-based cuisine
Education
The Chef’s Academy at Harrison College
Associate of Applied Science in Culinary Arts
Focus: Nutrition, meal planning, and culinary techniques for healthy living.
Maya found her passion in the kitchen by mixing good food with good energy. After earning her culinary degree at The Chef’s Academy at Harrison College, she made it her mission to keep cooking simple, wholesome, and packed with flavor.
At Steelhead Diner, Maya shares easy, healthy recipes built for real life. For Maya, great food seems like a celebration of everyday moments, made better one fresh bite at a time.