
No-Bake Chocolate Peanut Butter Pinwheels Recipe: Sweet Spirals
Sweet tooths will adore these no bake chocolate peanut butter pinwheels that combine rich, creamy flavors in a delightful twist.
Layers of smooth chocolate and nutty peanut butter create a decadent treat without turning on the oven.
Minimal ingredients and simple steps make this dessert a perfect go-to for quick cravings.
Chilled and sliced, these pinwheels offer a cool, refreshing alternative to traditional baked sweets.
Each bite promises a perfect balance of chocolate and peanut butter that melts in your mouth.
Cool and slice these treats for an instant crowd-pleaser that feels like a gourmet indulgence.
Jump into this easy recipe and prepare to impress everyone with minimal effort and maximum flavor.
No Bake Chocolate Peanut Butter Pinwheels Creation
Ingredients For No Bake Chocolate Peanut Butter Pinwheels
For the Base:For the Chocolate Layer:For the Preparation:How To Make Chocolate Peanut Butter Pinwheels

Step 1: Blend Creamy Base
In a spacious mixing bowl, combine powdered sugar, peanut butter, graham cracker crumbs, and a touch of salt. Stir and knead the ingredients until a smooth, pliable dough emerges that holds together perfectly.
Step 2: Create Chocolate Variation
Take half of the prepared dough and transform it into a chocolatey counterpart by incorporating cocoa powder and milk. Mix thoroughly until the chocolate dough develops a rich, consistent color and texture.
Step 3: Roll Out Delicate Layers
Grab two sheets of parchment paper and gently roll out the peanut butter dough and chocolate dough separately. Use a rolling pin to create even, thin layers that will form beautiful pinwheel patterns.
Step 4: Stack and Press Layers
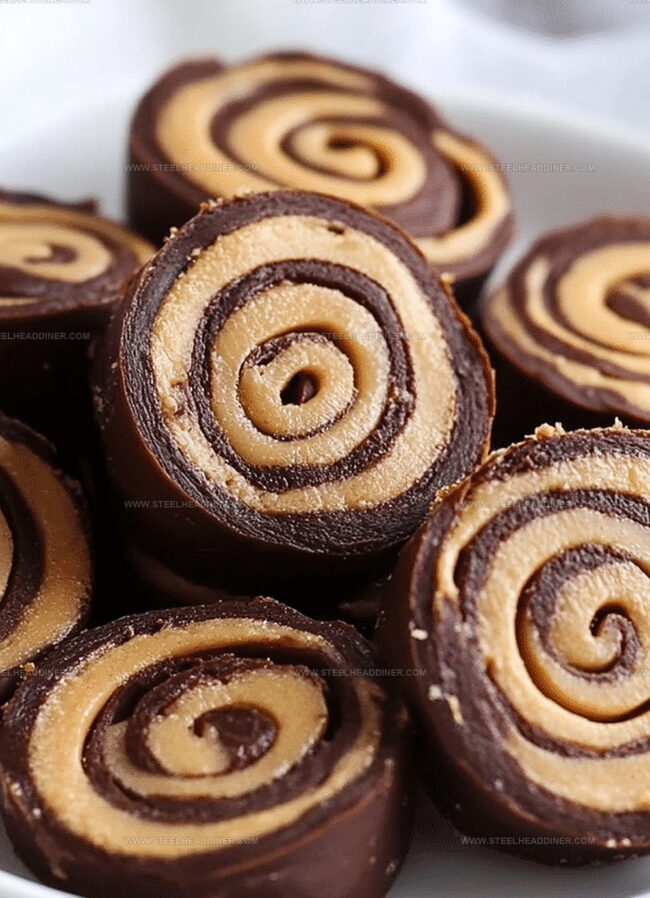
Carefully place the chocolate dough layer on top of the peanut butter dough layer. Use gentle pressure with your fingertips to ensure the layers adhere smoothly and create a perfect marbled effect.
Step 5: Shape Into Elegant Log
Starting from one end, carefully roll the layered dough into a tight, compact log. Wrap the log in plastic wrap to maintain its shape and prevent drying.
Step 6: Chill and Set
Transfer the wrapped log to the refrigerator and allow it to firm up for at least one hour. The cooling process helps the pinwheels maintain their structure and enhances the flavor melding.
Step 7: Slice and Serve
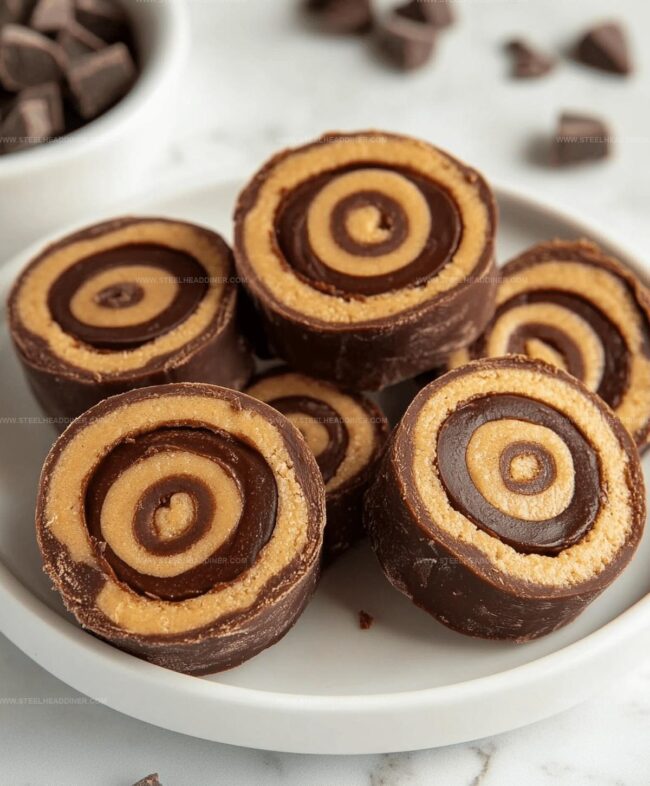
Remove the log from the refrigerator and slice into elegant pinwheel rounds. Arrange on a serving plate and enjoy these cool, delightful treats chilled.
Tips For Perfect No Bake Chocolate Peanut Butter Pinwheels
Flavor Variations For Peanut Butter Pinwheels
Serving Matches For Peanut Butter Pinwheels
Storage Techniques For Peanut Butter Pinwheels
FAQs
Yes, graham cracker crumbs provide texture and help bind the ingredients together, creating a stable no-bake dough.
Creamy peanut butter works best for smooth consistency, but you can use natural peanut butter. Just ensure it’s well-mixed and not too oily.
Roll the dough to about 1/4 inch thickness between parchment paper for the best pinwheel pattern and even layers.
If the dough is too soft, refrigerate it for 15-20 minutes before rolling to make it easier to handle and create cleaner layers.
Print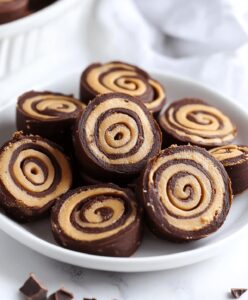
No Bake Chocolate Peanut Butter Pinwheels Recipe
- Total Time: 1 hour 20 minutes
- Yield: 4 1x
Description
Chocolate peanut butter pinwheels deliver a delightful no-bake dessert combining rich flavors from classic ingredients. Sweet spirals of creamy chocolate and nutty peanut butter create an irresistible treat you’ll crave again and again.
Ingredients
- 1 cup peanut butter (smooth)
- 1 cup graham cracker crumbs
- 1 cup powdered sugar
- 1/4 cup unsweetened cocoa powder
- 1/4 cup milk (60 ml)
- Pinch of salt
Instructions
- Craft a pliable mixture by thoroughly blending powdered sugar, peanut butter, graham cracker crumbs, and salt until a cohesive dough develops.
- Separate the dough into two equal portions, then infuse one half with cocoa powder and milk, ensuring complete integration.
- Utilize parchment paper to meticulously roll out both the peanut butter and chocolate dough layers into uniform, thin sheets.
- Carefully position the chocolate layer atop the peanut butter layer, applying gentle pressure to create a seamless connection.
- Tightly roll the layered dough into a compact cylindrical log, maintaining even tension throughout the process.
- Refrigerate the log for a minimum of 60 minutes, allowing the ingredients to solidify and the flavors to meld.
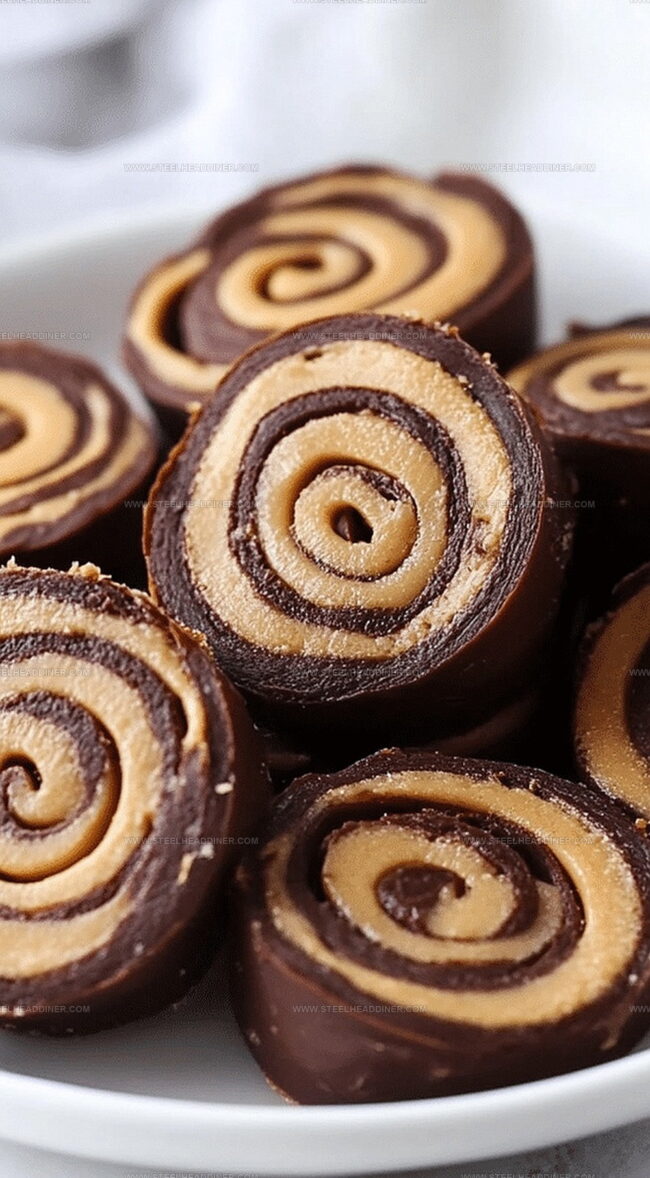
- Remove from refrigerator and slice the chilled log into delicate pinwheel rounds, revealing the swirled pattern.
- Serve immediately or store in an airtight container in the refrigerator for optimal texture and flavor preservation.
Notes
- Customize texture by adjusting graham cracker crumbs for desired firmness in the dough.
- Swap traditional peanut butter with almond or sunflower seed butter for nut-free alternatives.
- Use dark cocoa powder for richer chocolate flavor and potential antioxidant benefits.
- Chill dough longer for cleaner, more defined pinwheel slices and enhanced flavor melding.
- Prep Time: 20 minutes
- Cook Time: 1 hour
- Category: Snacks, Desserts
- Method: Rolling
- Cuisine: American
Nutrition
- Serving Size: 4
- Calories: 360 kcal
- Sugar: 32 g
- Sodium: 150 mg
- Fat: 22 g
- Saturated Fat: 5 g
- Unsaturated Fat: 15 g
- Trans Fat: 0 g
- Carbohydrates: 34 g
- Fiber: 4 g
- Protein: 9 g
- Cholesterol: 5 mg
Maya Thompson
Culinary Content Creator & Nutrition Enthusiast
Expertise
Healthy single-serving recipes, Meal prepping for individuals, Integrating nutrition into everyday cooking, Vegetarian and plant-based cuisine
Education
The Chef’s Academy at Harrison College
Associate of Applied Science in Culinary Arts
Focus: Nutrition, meal planning, and culinary techniques for healthy living.
Maya found her passion in the kitchen by mixing good food with good energy. After earning her culinary degree at The Chef’s Academy at Harrison College, she made it her mission to keep cooking simple, wholesome, and packed with flavor.
At Steelhead Diner, Maya shares easy, healthy recipes built for real life. For Maya, great food seems like a celebration of everyday moments, made better one fresh bite at a time.