
Quick & Zesty No-Bake Key Lime Cheesecake Jars Recipe
My creamy key lime cheesecake jars promise a delightful dessert adventure without turning on the oven.
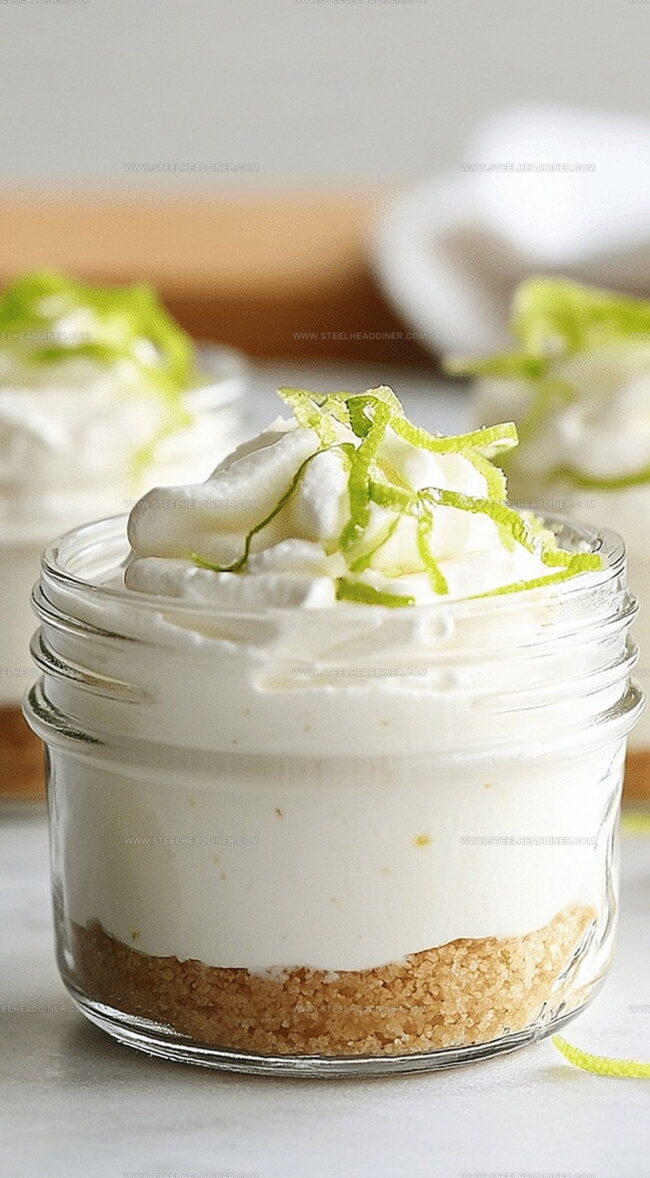
Cool summer vibes burst from these tiny glass containers filled with tangy, sweet goodness.
Layers of velvety smooth filling create a dreamy texture that melts in your mouth.
Graham cracker crumbs add a perfect crunch to complement the silky cheesecake base.
Fresh lime zest brings a bright, zingy note that makes each spoonful pop with flavor.
Simple ingredients come together quickly, letting you whip up these elegant treats in minutes.
You’ll absolutely fall in love with how easy and delicious these miniature desserts can be.
Why No-Bake Key Lime Cheesecake Jars Shine
Ingredients for No-Bake Key Lime Cheesecake Jars
For the Crust:For the Filling:For the Topping:How to Prepare No-Bake Key Lime Cheesecake Jars
Step 1: Crush Graham Crackers for Crust
Break graham crackers into fine crumbs using a food processor or by placing them in a sealed plastic bag and crushing with a rolling pin. The goal is to create a uniform, sandy texture that will form a perfect base for your cheesecake.
Step 2: Create Crust Foundation
Mix graham cracker crumbs with melted butter until the mixture resembles wet sand. This will help the crust hold together and create a delightful buttery base in your dessert jars.
Step 3: Prepare Jar Bases
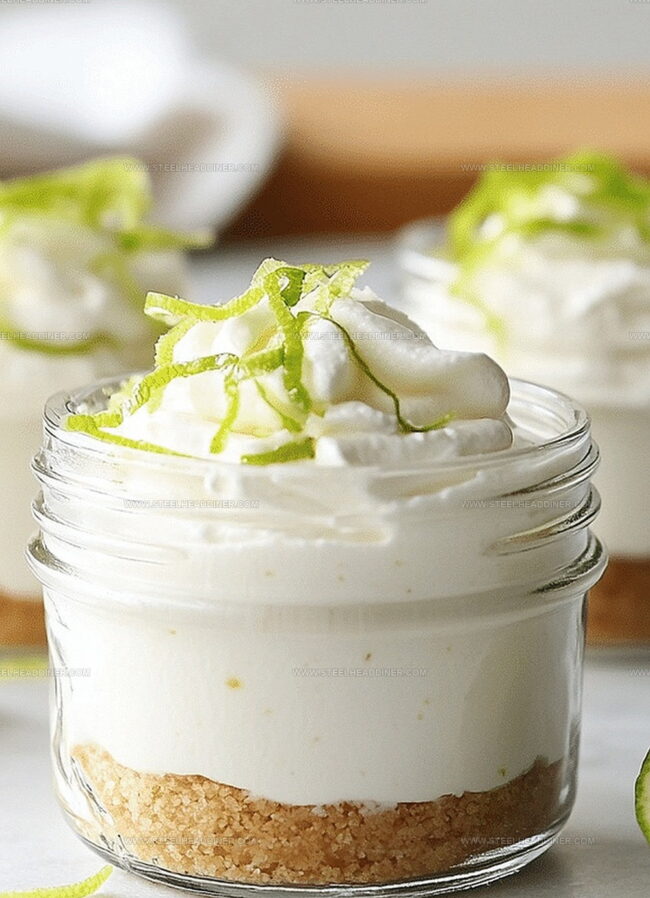
Gently press the graham cracker and butter mixture into the bottom of clean glass jars, creating an even layer. Use the back of a spoon or your fingers to compact the crust firmly and create a smooth surface.
Step 4: Whip Cream Cheese
In a large mixing bowl, beat cream cheese until it becomes completely smooth and free of any lumps. Use an electric mixer on medium speed to achieve a creamy, silky texture that will be the foundation of your cheesecake filling.
Step 5: Create Filling Mixture
Add these ingredients to the cream cheese:Blend until the mixture becomes light, smooth, and fully incorporated. The combination will create a tangy and sweet filling with bright citrus notes.
Step 6: Fill Dessert Jars
Carefully spoon the lime cheesecake mixture over the graham cracker crust in each jar. Use a spatula to spread the filling evenly and create a smooth top surface.
Step 7: Chill and Set
Refrigerate the jars for at least 2 hours, allowing the cheesecake to firm up and develop a rich, creamy texture. The cooling time helps the dessert set and enhances the flavor.
Step 8: Garnish and Serve
Top each jar with a dollop of whipped cream and sprinkle additional lime zest for a fresh, decorative touch. Serve chilled and enjoy the perfect no-bake dessert that’s both visually appealing and deliciously tangy.
Pro Tips for No-Bake Key Lime Cheesecake Jars
Variations for No-Bake Key Lime Cheesecake Jars
Serving Suggestions for No-Bake Key Lime Cheesecake Jars
How to Store No-Bake Key Lime Cheesecake Jars
FAQs
Graham crackers provide a sweet, buttery base that complements the tangy lime flavor and adds a nice crunch to the cheesecake texture.
Fresh lime juice is recommended for the best flavor, but bottled lime juice can work in a pinch. Just ensure it’s 100% lime juice without added preservatives.
Beat the cream cheese until completely smooth before adding other ingredients, and mix on low speed to prevent air bubbles from forming.
Let the cream cheese sit at room temperature for about 30 minutes before mixing to ensure a smooth, lump-free filling.
Print
No-bake Key Lime Cheesecake Jars Recipe
- Total Time: 20 minutes
- Yield: 6 1x
Description
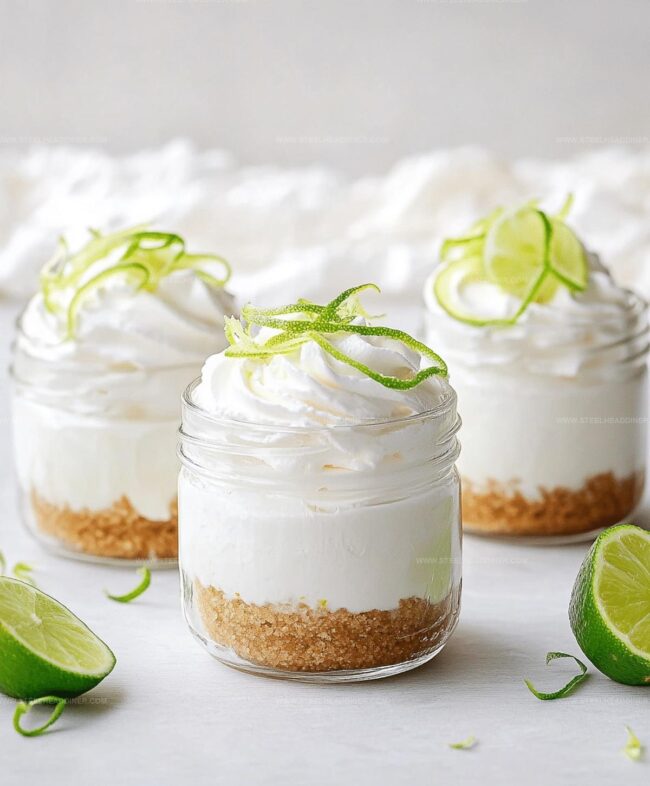
Key lime cheesecake jars deliver a zesty tropical dessert perfect for summer gatherings. Graham cracker crumbs and creamy lime filling create a refreshing treat you’ll want to savor slowly.
Ingredients
- 1 cup graham crackers, crushed
- 1/4 cup (57 g) butter, melted
- 16 oz (454 g) cream cheese, softened
- 1 can (14 oz/397 g) sweetened condensed milk
- 1/2 cup (120 ml) fresh key lime juice
- 2 tbsps lime zest
- Whipped cream (optional for topping)
Instructions
- Crush graham crackers into fine crumbs and blend thoroughly with melted butter to create a uniform base mixture.
- Gently compact the crumbly graham mixture into the bottom of individual serving jars, ensuring an even, firm layer.
- Using an electric mixer, whip cream cheese until silky and completely free of lumps.
- Incorporate sweetened condensed milk into the cream cheese, stirring until the mixture becomes smooth and integrated.
- Add freshly squeezed lime juice and finely grated lime zest, blending until the filling achieves a consistent, creamy texture.
- Carefully transfer the vibrant lime-infused filling over the graham cracker foundation in each jar, distributing evenly.
- Refrigerate the assembled dessert jars for a minimum of 2 hours, allowing the filling to set and flavors to meld.
- Prior to serving, crown each jar with a delicate swirl of whipped cream and sprinkle additional lime zest for a bright, decorative finish.
Notes
- Ensure graham crackers are finely crushed for a smooth, compact crust that holds together perfectly.
- Use room temperature cream cheese to achieve a silky, lump-free filling that blends effortlessly.
- Adjust lime juice and zest to balance tanginess – start with less and taste, adding more for a bolder citrus punch.
- Swap graham crackers with gluten-free alternatives like almond flour or gluten-free cookie crumbs for a celiac-friendly version.
- Prep Time: 20 minutes
- Cook Time: 0 minutes
- Category: Desserts
- Method: Chilling
- Cuisine: American
Nutrition
- Serving Size: 6
- Calories: 350 kcal
- Sugar: 30 g
- Sodium: 150 mg
- Fat: 22 g
- Saturated Fat: 13 g
- Unsaturated Fat: 7 g
- Trans Fat: 0.5 g
- Carbohydrates: 28 g
- Fiber: 1 g
- Protein: 6 g
- Cholesterol: 60 mg
Maya Thompson
Culinary Content Creator & Nutrition Enthusiast
Expertise
Healthy single-serving recipes, Meal prepping for individuals, Integrating nutrition into everyday cooking, Vegetarian and plant-based cuisine
Education
The Chef’s Academy at Harrison College
Associate of Applied Science in Culinary Arts
Focus: Nutrition, meal planning, and culinary techniques for healthy living.
Maya found her passion in the kitchen by mixing good food with good energy. After earning her culinary degree at The Chef’s Academy at Harrison College, she made it her mission to keep cooking simple, wholesome, and packed with flavor.
At Steelhead Diner, Maya shares easy, healthy recipes built for real life. For Maya, great food seems like a celebration of everyday moments, made better one fresh bite at a time.