Quick & Chewy Peanut Butter Lunch Lady Cookie Bars Recipe
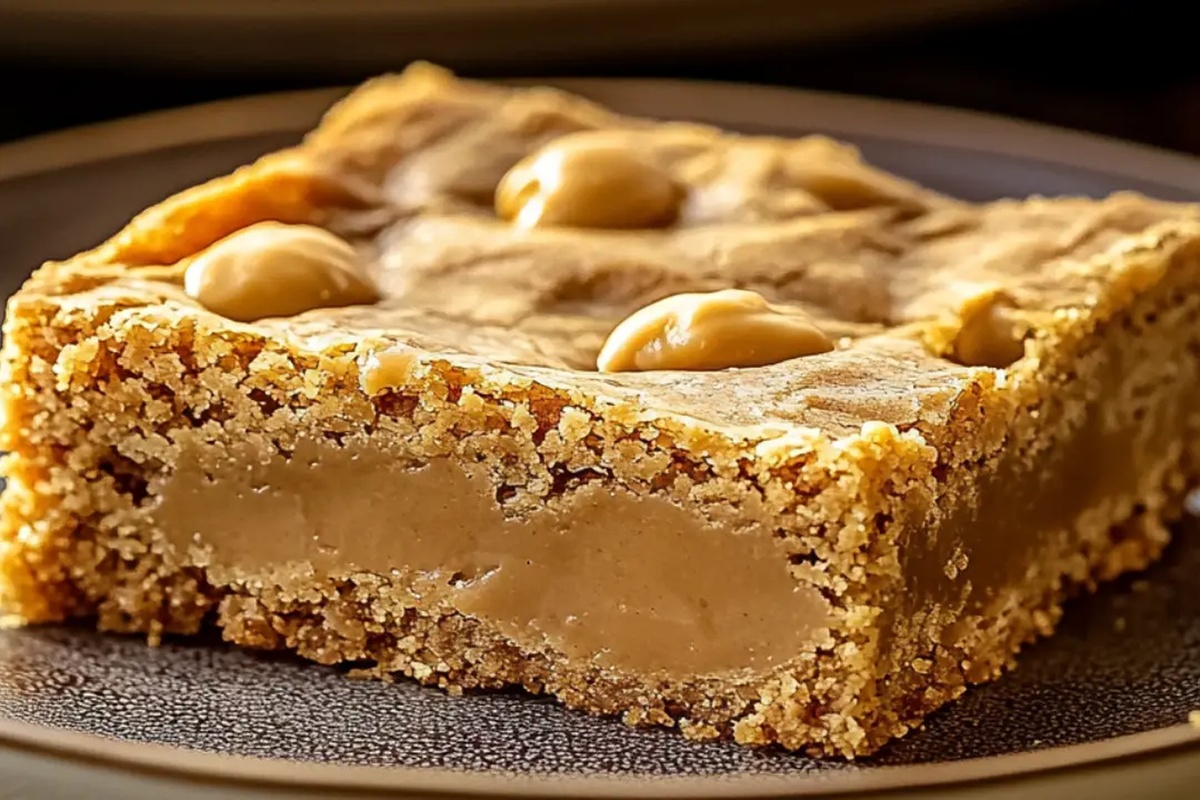
Soft, chewy, and utterly irresistible, these peanut butter lunch lady cookie bars transport you straight back to childhood cafeteria memories.
The classic nostalgic treat brings comfort with every single bite.
School lunch favorites never tasted so good with this incredible homemade version.
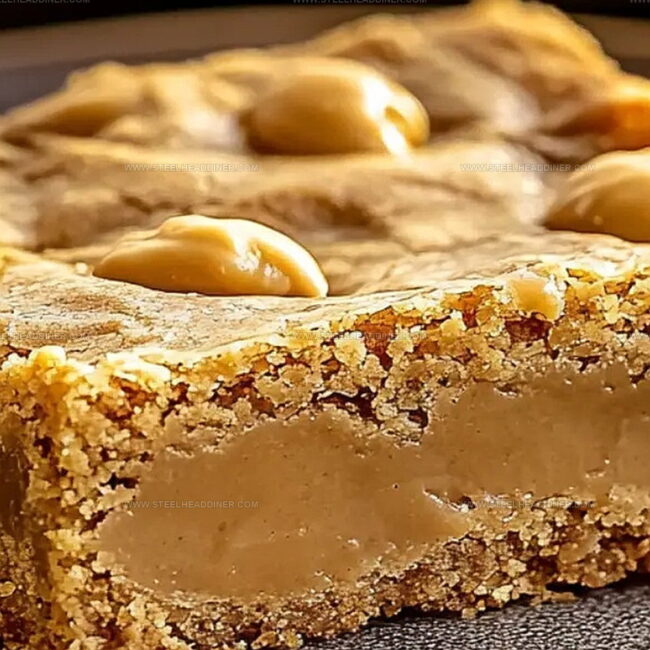
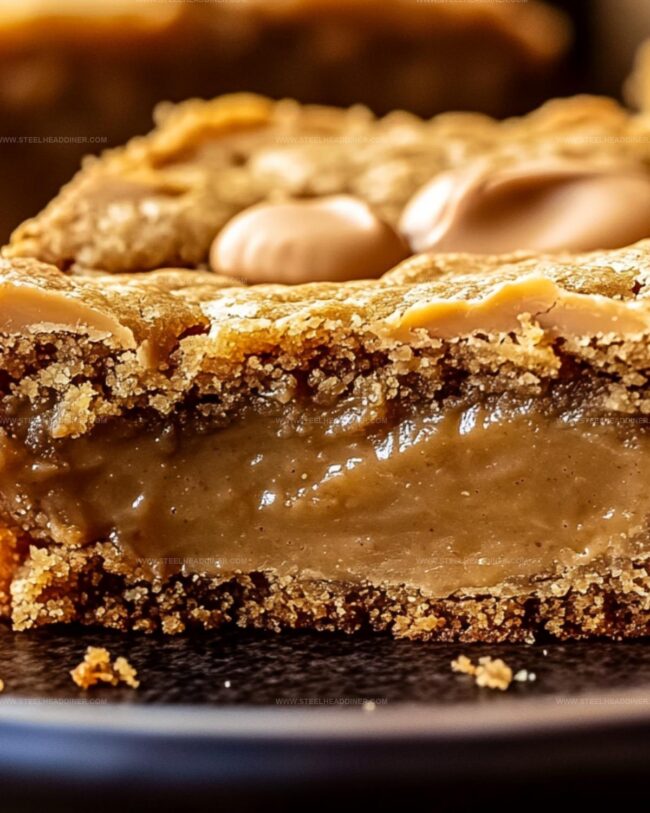
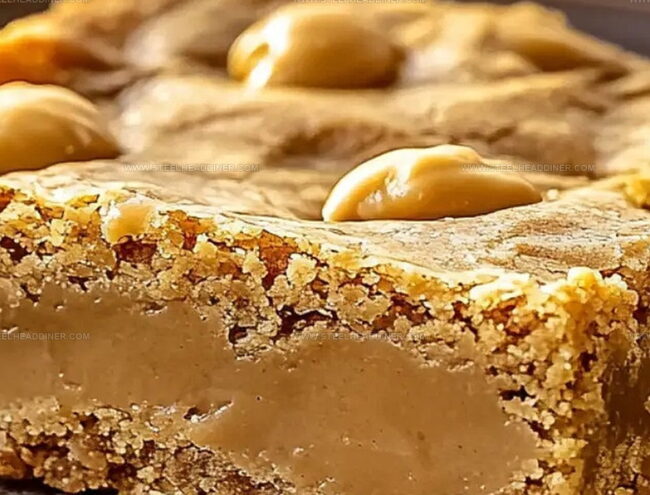
Rich, buttery layers combine perfectly crisp edges with a tender center that melts in your mouth.
Generations have fallen in love with these simple yet decadent bars that require minimal effort.
Packed with sweet and salty notes, these cookies promise to become your new go-to dessert for any occasion.
Bake a batch and watch them disappear faster than you can say “seconds, please!”.
Why Peanut Butter Lunch Lady Cookie Bars Rock
Ingredients For Peanut Butter Lunch Lady Bars
Cookie Base Ingredients:Wet Ingredients:Butter and Peanut Butter Ingredients:Frosting Ingredients:Step-By-Step Guide To Lunch Lady Cookie Bars
Step 1: Prepare Baking Space
Grab a cookie sheet and lightly coat it with cooking spray or butter. Preheat the oven to a toasty 400F (200C) so it’s ready for action.
Step 2: Create Dry Ingredient Blend
Grab a spacious mixing bowl and toss in:Whisk these dry ingredients until they’re perfectly combined.
Step 3: Whip Up Wet Ingredient Mixture
In a separate bowl, blend together:Whisk until the mixture looks smooth and well-incorporated.
Step 4: Develop Cookie Bar Base
Melt butter and peanut butter in a saucepan over medium heat. Stir until the mixture becomes silky smooth.
Pour this warm blend into the dry ingredients and fold in the egg mixture. Mix thoroughly until everything is beautifully combined.
Step 5: Spread and Bake
Transfer the cookie bar batter onto the prepared sheet. Use a spatula to spread it evenly across the surface.
Slide the sheet into the preheated oven and bake for 20 minutes. Look for a golden color and firm texture.
Step 6: Cool Down Cookie Base
Remove the baking sheet from the oven. Let the cookie bars cool completely at room temperature.
This helps them set and makes frosting easier.
Step 7: Craft Creamy Peanut Butter Frosting
In a saucepan, melt:Add milk and powdered sugar.
Stir continuously until the frosting becomes luxuriously smooth.
Step 8: Frost and Finish
Once the cookie base has cooled, generously spread the peanut butter frosting across the surface.
Allow the frosting to set for a few minutes.
Step 9: Slice and Serve
Cut the frosted bars into delightful squares.
Serve and watch everyone’s faces light up with pure joy!
Helpful Tips To Perfect Lunch Lady Cookie Bars
Creative Twists To Try With Lunch Lady Bars
Best Pairings To Enjoy With Lunch Lady Bars
Tips To Store Peanut Butter Cookie Bars
FAQs
Yes, you can substitute smooth with crunchy peanut butter. The texture will be slightly different, but the flavor will remain delicious.
You can try using gluten-free flour blend as a direct replacement for regular flour. Make sure all other ingredients are gluten-free as well.
Look for golden edges and a set center. When you gently press the surface, it should spring back slightly and not feel wet or sticky.
Absolutely! Kids can help measure ingredients, mix dry ingredients, and spread frosting. Always supervise them around hot surfaces and sharp utensils.
Print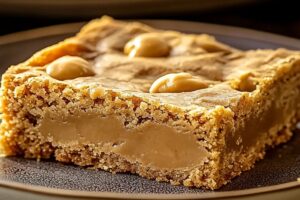
Peanut Butter Lunch Lady Cookie Bars Recipe
- Total Time: 45 minutes
- Yield: 24 1x
Description
Nostalgic school cafeteria peanut butter lunch lady cookie bars bring comfort and sweetness to modern dessert tables. Classic flavors merge with childhood memories, inviting you to savor each rich, buttery square that connects generations through simple, delicious ingredients.
Ingredients
Dry Ingredients:
- 2 cups (240 grams) flour
- 1 teaspoon baking soda
- 1 teaspoon salt
Wet Ingredients:
- 3 sticks (340 grams) butter
- 2 cups (400 grams) sugar
- 2 eggs
- 1 1/2 cups (360 milliliters) peanut butter
- 1/2 cup (120 milliliters) milk
Flavor Enhancers:
- 1 teaspoon vanilla extract
Instructions
- Preheat the oven to 400F (200C) and prepare a cookie sheet by lightly greasing its surface to prevent sticking.
- In a spacious mixing bowl, thoroughly blend the dry ingredients, ensuring an even distribution of flour, sugar, baking soda, and salt.
- Create a separate mixture by whisking milk, vanilla extract, and eggs until well combined and smooth.
- Using a saucepan over medium heat, gently melt butter and peanut butter together, stirring continuously until the mixture reaches a silky consistency.
- Incorporate the melted butter-peanut butter blend into the dry ingredients, then fold in the egg mixture until a uniform batter forms.
- Transfer the batter to the prepared cookie sheet, carefully spreading it into an even layer to ensure consistent baking.
- Slide the sheet into the preheated oven and bake for 20 minutes, watching for a golden-brown color and firm texture.
- Remove from oven and allow the bars to cool completely, which helps set the structure and prevents crumbling.
- Prepare the frosting by melting butter and peanut butter in a saucepan, then gradually introducing milk and powdered sugar while stirring to create a smooth, glossy finish.
- Once the bars have cooled, generously apply the peanut butter frosting across the surface, ensuring complete and even coverage.
- Let the frosting set for several minutes to achieve a stable consistency before slicing into squares.
- Serve and savor the rich, decadent peanut butter bars.
Notes
- Use room temperature ingredients to ensure smooth mixing and consistent texture.
- Opt for natural, creamy peanut butter for a richer, more authentic flavor profile.
- Line the baking sheet with parchment paper for easier removal and cleanup of the cookie bars.
- Adjust baking time slightly if you prefer softer or crispier edges, watching carefully to prevent burning.
- Prep Time: 25 minutes
- Cook Time: 20 minutes
- Category: Breakfast, Snacks, Desserts
- Method: Baking
- Cuisine: American
Nutrition
- Serving Size: 24
- Calories: 290 kcal
- Sugar: 20 g
- Sodium: 150 mg
- Fat: 18 g
- Saturated Fat: 6 g
- Unsaturated Fat: 11 g
- Trans Fat: 0.5 g
- Carbohydrates: 28 g
- Fiber: 2 g
- Protein: 7 g
- Cholesterol: 35 mg
Maya Thompson
Culinary Content Creator & Nutrition Enthusiast
Expertise
Healthy single-serving recipes, Meal prepping for individuals, Integrating nutrition into everyday cooking, Vegetarian and plant-based cuisine
Education
The Chef’s Academy at Harrison College
Associate of Applied Science in Culinary Arts
Focus: Nutrition, meal planning, and culinary techniques for healthy living.
Maya found her passion in the kitchen by mixing good food with good energy. After earning her culinary degree at The Chef’s Academy at Harrison College, she made it her mission to keep cooking simple, wholesome, and packed with flavor.
At Steelhead Diner, Maya shares easy, healthy recipes built for real life. For Maya, great food seems like a celebration of everyday moments, made better one fresh bite at a time.