The Dreamy Pink Velvet Cookie Recipe Everyone Adores
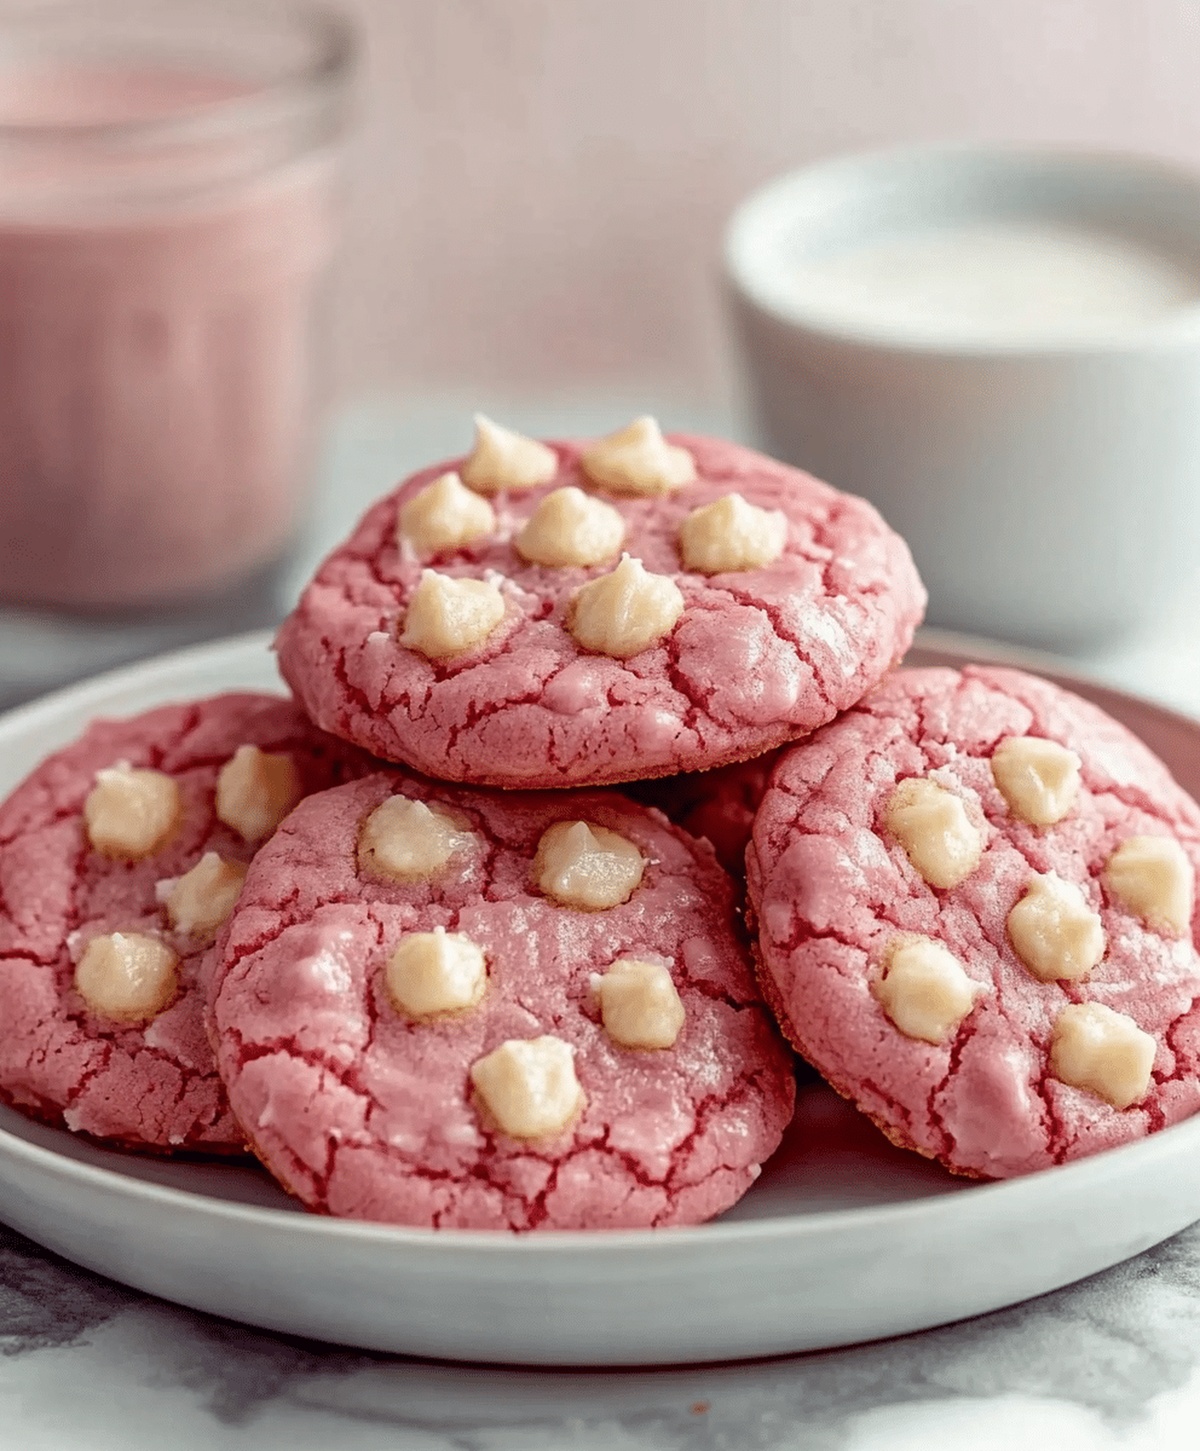
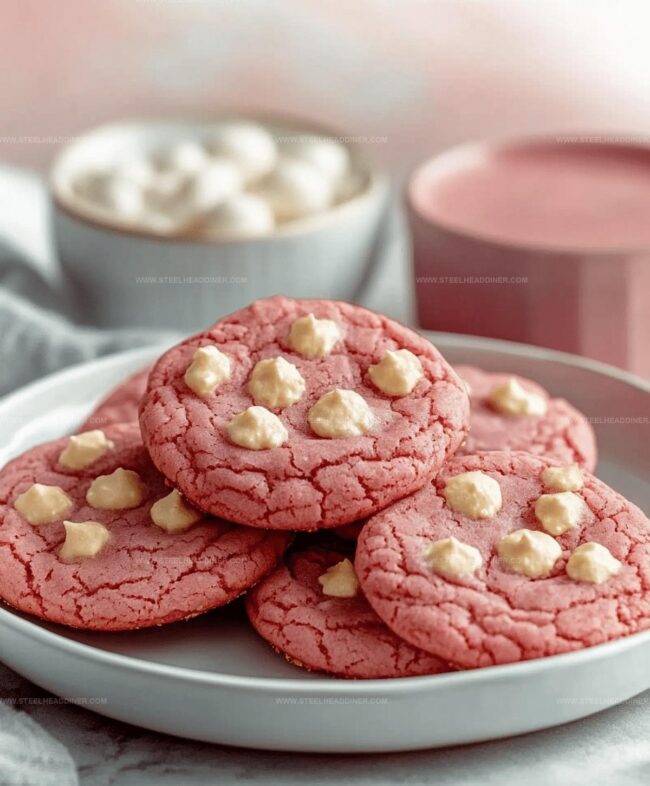
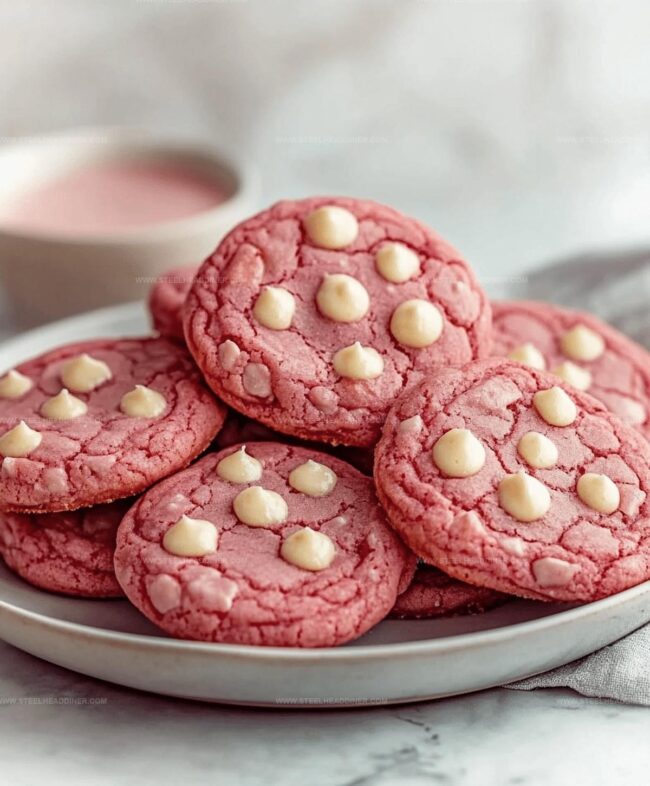
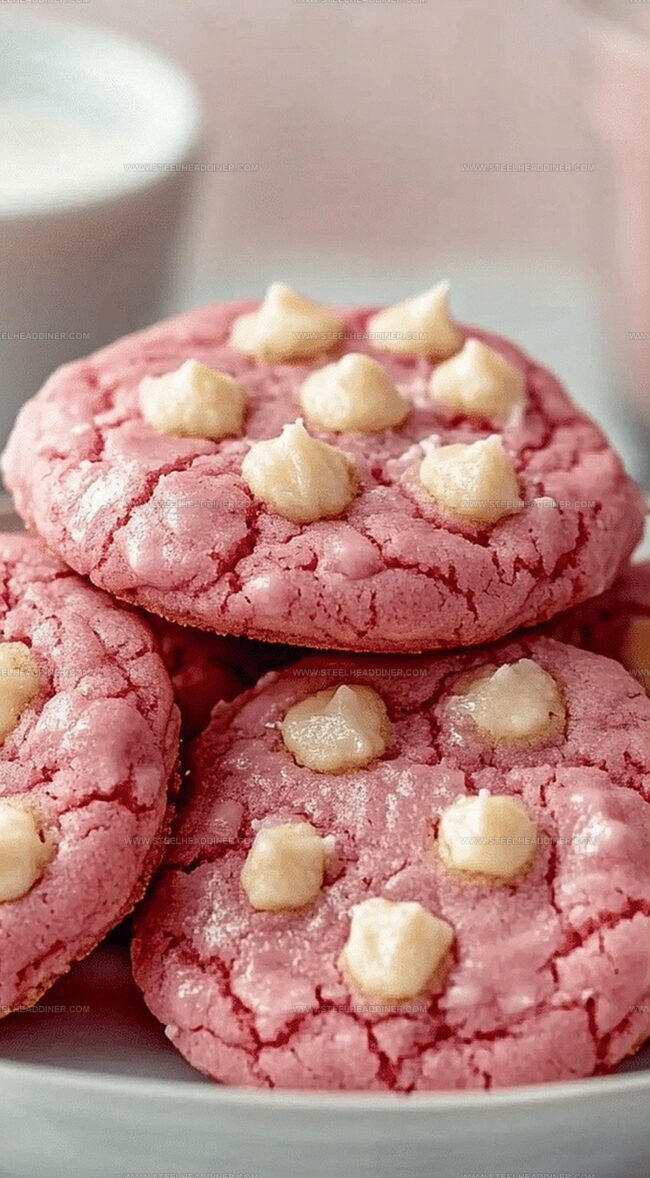
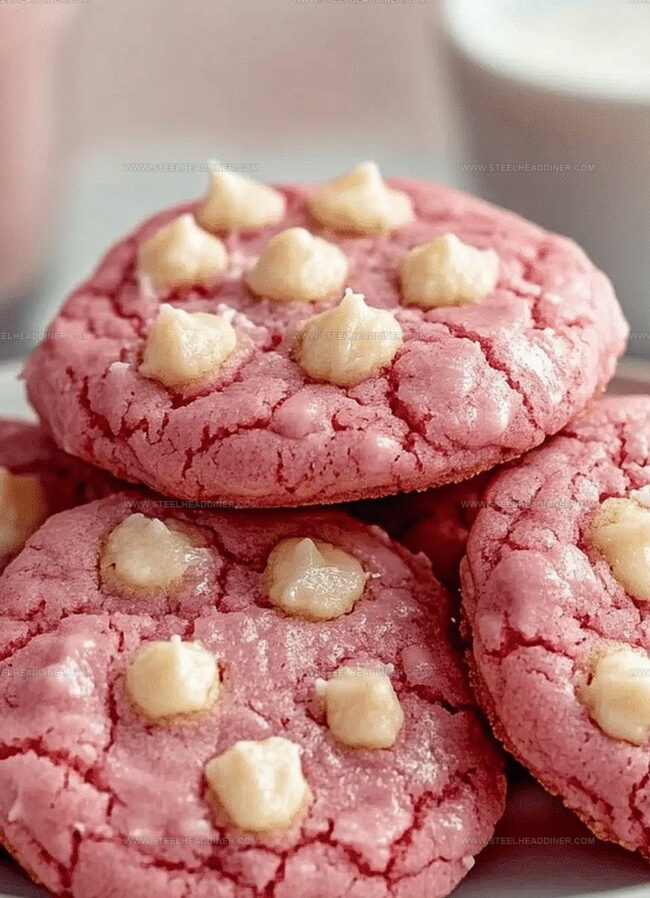
Soft, pillowy pink velvet cookies have become my latest obsession in the baking world.
Whispers of delicate rose-hued sweetness drift through my kitchen each time I mix this magical recipe.
Crimson hints dance among tender crumbs, creating a visual masterpiece that captivates everyone who sees them.
Delicate cream cheese frosting adds a luxurious touch to these dreamy confections.
Butter and vanilla intertwine, producing a rich flavor profile that melts seamlessly on your tongue.
Elegant yet simple, these cookies promise a delightful experience for anyone who craves something special.
You’ll fall in love with every single bite of this irresistible treat.
Pink Velvet Cookie Essentials
Ingredients For Pink Velvet Cookie
For the Dry Ingredients:For the Wet Ingredients:For the Color and Decoration:Baking Instructions For Pink Velvet Cookie
Step 1: Prepare Baking Station
Preheat the oven to 350°F. Cover a baking sheet with parchment paper for perfect cookie placement.
Step 2: Blend Dry Ingredients
Grab a mixing bowl and whisk together:Combine until everything looks evenly mixed.
Step 3: Cream Sugars and Fats
In another bowl, beat together:Whip until the mixture becomes light and fluffy with a creamy texture.
Step 4: Add Wet Ingredients
Pour in:Mix thoroughly until all ingredients are well incorporated and the batter looks smooth and vibrant pink.
Step 5: Combine Wet and Dry Mixtures
Slowly add the dry ingredient mixture into the wet ingredients.
Stir gently until just combined, being careful not to overmix.
Step 6: Shape Cookie Dough
Scoop rounded portions of dough onto the prepared baking sheet.
Space each cookie about 2 inches apart to allow room for spreading.
Step 7: Bake to Perfection
Place the baking sheet in the preheated oven.
Bake for 10-12 minutes until cookie edges look set and slightly golden.
Step 8: Cool and Serve
Transfer cookies to a wire rack and let them cool completely.
The cookies will be soft, chewy, and beautifully pink.
Cooking Tips For Pink Velvet Cookie
Flavorful Twists For Pink Velvet Cookie
Serving Suggestions For Pink Velvet Cookie
Storage Guidelines For Pink Velvet Cookie
FAQs
Buttermilk and vinegar help create a tender, soft texture and enhance the chemical reaction that makes the cookies light and fluffy. They also contribute to the classic velvet cake-like consistency.
No, cocoa powder is essential for the subtle chocolate flavor and helps achieve the signature pink velvet color. Without it, the cookies won’t have the same depth of flavor and color profile.
Pink food coloring is crucial for creating the distinctive pink velvet look. Without it, the cookies will look like standard chocolate chip cookies. Use gel food coloring for the most vibrant color.
Print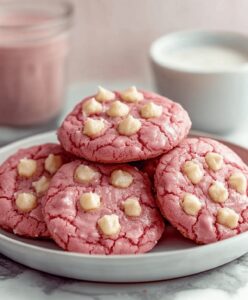
Pink Velvet Cookie Recipe
- Total Time: 27 minutes
- Yield: 24 1x
Description
Pink velvet cookies blend rich buttermilk flavor with delicate rose-hued charm. Chocolate chips and cream cheese create luxurious texture, while almond extract adds subtle sophistication you’ll savor with each delightful bite.
Ingredients
- 1 large egg
- 1/2 cup unsalted butter, softened
- 1/2 cup vegetable oil
- 1 cup granulated sugar
- 1/2 cup brown sugar, packed
- 2 1/2 cups all-purpose flour
- 2 tablespoons unsweetened cocoa powder
- 1 tablespoon cornstarch
- 1 teaspoon baking soda
- 1/4 teaspoon salt
- 2 teaspoons vanilla extract
- 1 tablespoon buttermilk
- 1 teaspoon vinegar
- Pink gel food coloring
Instructions
- Preheat the oven to 350F (175C) and cover a baking sheet with parchment paper to prevent sticking.
- Combine all dry ingredients – flour, cornstarch, baking soda, salt, and cocoa powder – in a mixing bowl, whisking thoroughly to eliminate any potential lumps.
- In a separate large bowl, cream butter, oil, granulated sugar, and brown sugar until the mixture becomes smooth and airy, creating a fluffy base for the cookies.
- Incorporate egg, vanilla extract, buttermilk, vinegar, and pink food coloring into the sugar mixture, blending until the ingredients are completely integrated and uniform in color.
- Gradually fold the dry ingredient mixture into the wet ingredients, stirring gently until just combined to maintain the cookie’s tender texture.
- Using a cookie scoop or spoon, drop dough portions onto the prepared baking sheet, ensuring approximately 2 inches of space between each cookie to allow for spreading during baking.
- Bake for 10-12 minutes, watching for slightly set edges and a soft center, which indicates the perfect cookie consistency.
- Transfer cookies to a wire rack, allowing them to cool completely and develop their signature soft and chewy texture.
- Serve and savor the delightful pink velvet cookies with their subtle cocoa undertones and vibrant pink appearance.
Notes
- Customize Food Coloring by using natural alternatives like beetroot powder or raspberry puree for a vibrant pink hue without artificial additives.
- Chill Dough Before Baking to prevent excessive spreading and maintain a perfectly round cookie shape, refrigerate for 30 minutes.
- Gluten-Free Adaptation can be achieved by substituting all-purpose flour with a 1:1 gluten-free baking blend, ensuring everyone can enjoy these delightful cookies.
- Adjust Buttermilk Substitute by using regular milk mixed with a teaspoon of vinegar if buttermilk is unavailable, maintaining the recipe’s signature tangy flavor profile.
- Prep Time: 15 minutes
- Cook Time: 12 minutes
- Category: Snacks, Desserts
- Method: Baking
- Cuisine: American
Nutrition
- Serving Size: 24
- Calories: 154
- Sugar: 6 g
- Sodium: 48 mg
- Fat: 8 g
- Saturated Fat: 3 g
- Unsaturated Fat: 5 g
- Trans Fat: 0 g
- Carbohydrates: 19 g
- Fiber: 1 g
- Protein: 2 g
- Cholesterol: 13 mg
Maya Thompson
Culinary Content Creator & Nutrition Enthusiast
Expertise
Healthy single-serving recipes, Meal prepping for individuals, Integrating nutrition into everyday cooking, Vegetarian and plant-based cuisine
Education
The Chef’s Academy at Harrison College
Associate of Applied Science in Culinary Arts
Focus: Nutrition, meal planning, and culinary techniques for healthy living.
Maya found her passion in the kitchen by mixing good food with good energy. After earning her culinary degree at The Chef’s Academy at Harrison College, she made it her mission to keep cooking simple, wholesome, and packed with flavor.
At Steelhead Diner, Maya shares easy, healthy recipes built for real life. For Maya, great food seems like a celebration of everyday moments, made better one fresh bite at a time.