
The Cozy Old Fashioned Custard Pie Recipe for Sweet Comfort
Sweet memories of grandma’s kitchen come alive with this classic old fashioned custard pie nestled between creamy layers of nostalgia and comfort.
Generations have cherished this delectable dessert that whispers stories of traditional baking.
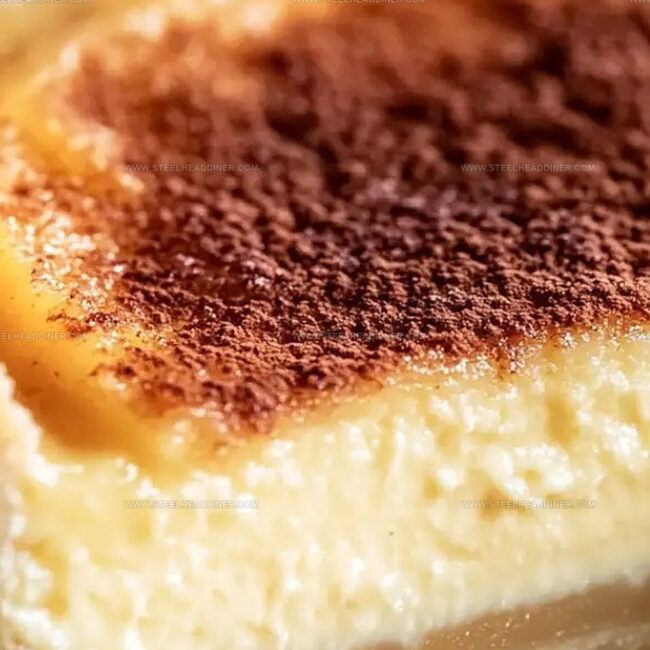
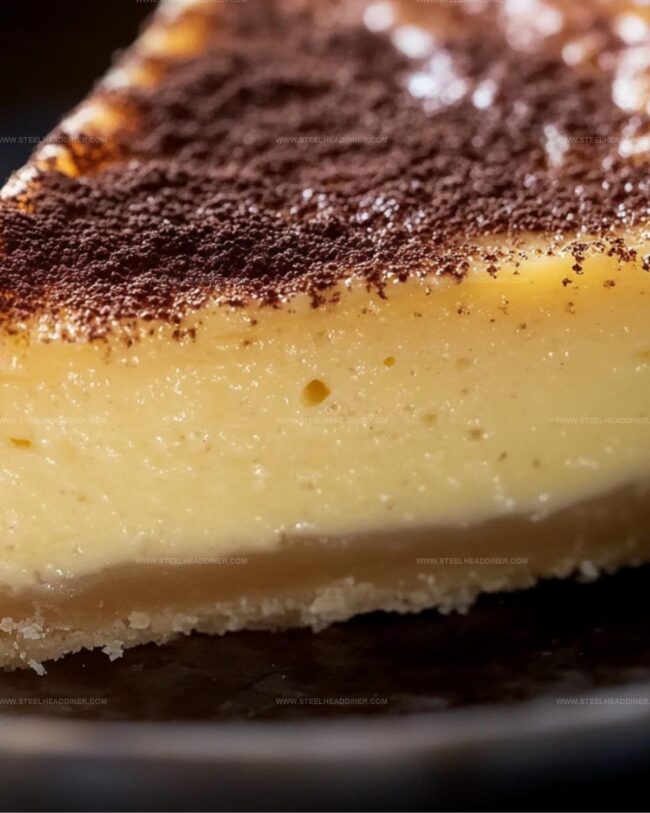
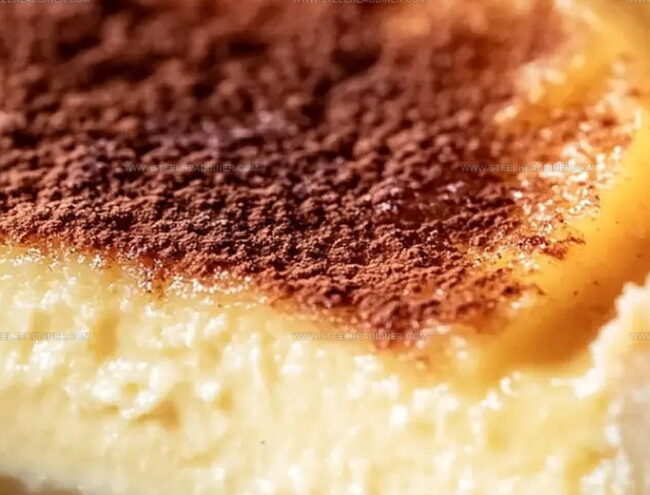
Smooth, silky custard fills a perfectly golden crust, promising a taste of pure comfort.
Each slice carries the warmth of home-cooked love and timeless simplicity.
the delicate balance of eggs, milk, and subtle spices creates a dessert that melts in your mouth.
Rich and elegant, this pie transforms ordinary ingredients into a spectacular treat.
You’ll fall in love with every velvety, custardy bite that celebrates the art of simple, heartwarming baking.
Old Fashioned Custard Pie’s Lasting Appeal
Ingredients Needed For Custard Pie Baking
Pie Crust:Custard Filling Base:Spices and Seasonings:Stepwise Guide To Classic Custard Pie
Step 1: Warm Up the Oven
Fire up your oven and set the temperature to 350°F. Make sure the rack is positioned in the center of the oven for even baking.
Step 2: Create the Silky Custard Base
In a mixing bowl, gently whisk the eggs until they’re slightly broken up. Add in:Blend everything together until the mixture becomes smooth and perfectly combined, with no lumps in sight.
Step 3: Fill the Pie Crust
Carefully pour the luxurious custard mixture into an unbaked pie shell. Ensure the filling is evenly distributed throughout the crust.
Step 4: Bake to Golden Perfection
Slide the pie into the preheated oven and let it bake for 35 to 40 minutes. You’ll know it’s done when the custard sets and the top turns a beautiful light golden color.
Step 5: Cool and Garnish
Remove the pie from the oven and let it cool completely. For an extra burst of flavor, sprinkle some freshly ground nutmeg over the top.
Slice and serve this classic dessert that’s sure to bring smiles to everyone’s faces.
Key Pointers For Custard Pie Success
Fun Variations For Custard Pie Lovers
Perfect Dishes To Serve With Custard Pie
Storing Custard Pie To Maintain Freshness
FAQs
Eggs, milk, and sugar create the rich, silky texture of the custard pie. The eggs help thicken the mixture while providing a smooth, velvety consistency.
Nutmeg adds a warm, aromatic flavor that is traditional in classic custard pies. It brings a subtle spice and depth that enhances the overall taste of the dessert.
The pie is done when the custard is set but still slightly jiggly in the center, and the top has a light golden color. A knife inserted near the center should come out clean.
Print
The Old Fashioned Custard Pie Recipe
- Total Time: 50 minutes
- Yield: 8 1x
Description
Grandma’s classic Old Fashioned Custard Pie whispers nostalgia from every silky slice. Creamy, delicate filling nestled in a buttery crust promises comfort that connects generations with simple, heartwarming flavors you’ll savor.
Ingredients
Main Ingredients:
- 2 2/3 cups (630 milliliters) milk
- 3 large eggs
- 1 unbaked pie shell (Marie Callendars deep dish)
Sweeteners and Seasonings:
- 1/2 cup (100 grams) sugar
- 1 teaspoon pure vanilla extract
- 1/2 teaspoon nutmeg
- 1/2 teaspoon salt
Instructions
- Set the oven temperature to 350°F (175°C) to ensure proper baking environment for the custard pie.
- Gently whisk eggs in a mixing bowl, creating a light and airy base for the custard filling.
- Incorporate sugar, salt, and nutmeg into the eggs, stirring until the mixture appears uniform and smooth.
- Gradually pour milk into the egg mixture, whisking continuously to create a silky, well-blended custard.
- Transfer the custard mixture into an unbaked pie shell, ensuring an even distribution across the surface.
- Place the pie in the preheated oven and bake for 35-40 minutes, watching for a slightly golden top and a set custard consistency.
- Once baked, remove the pie from the oven and allow it to cool completely at room temperature.
- Enhance the pie’s flavor by sprinkling fresh ground nutmeg over the surface just before serving.
- Slice the cooled custard pie and serve, enjoying the creamy, delicate texture and warm spice notes.
Notes
- Customize the custard’s sweetness by adjusting sugar levels, ensuring it suits different taste preferences without compromising the classic texture.
- Use whole milk or cream for a richer, more luxurious custard, or substitute with lower-fat alternatives for a lighter version.
- Prevent soggy pie crust by blind baking the shell for 10 minutes before adding the custard, creating a crisp, golden base that holds the creamy filling perfectly.
- Achieve a silky smooth custard by straining the mixture through a fine-mesh sieve, eliminating any potential egg lumps and ensuring a perfectly creamy consistency.
- Prep Time: 15 minutes
- Cook Time: 35 minutes
- Category: Desserts
- Method: Baking
- Cuisine: American
Nutrition
- Serving Size: 8
- Calories: 190
- Sugar: 13 g
- Sodium: 100 mg
- Fat: 8 g
- Saturated Fat: 3 g
- Unsaturated Fat: 4 g
- Trans Fat: 0.2 g
- Carbohydrates: 22 g
- Fiber: 0 g
- Protein: 6 g
- Cholesterol: 110 mg
Maya Thompson
Culinary Content Creator & Nutrition Enthusiast
Expertise
Healthy single-serving recipes, Meal prepping for individuals, Integrating nutrition into everyday cooking, Vegetarian and plant-based cuisine
Education
The Chef’s Academy at Harrison College
Associate of Applied Science in Culinary Arts
Focus: Nutrition, meal planning, and culinary techniques for healthy living.
Maya found her passion in the kitchen by mixing good food with good energy. After earning her culinary degree at The Chef’s Academy at Harrison College, she made it her mission to keep cooking simple, wholesome, and packed with flavor.
At Steelhead Diner, Maya shares easy, healthy recipes built for real life. For Maya, great food seems like a celebration of everyday moments, made better one fresh bite at a time.