
Sizzling Cheesy Garlic Chicken Wraps Recipe for Dinner Magic
Crafting delectable cheesy garlic chicken wraps promises a culinary adventure that sparks excitement in any kitchen.
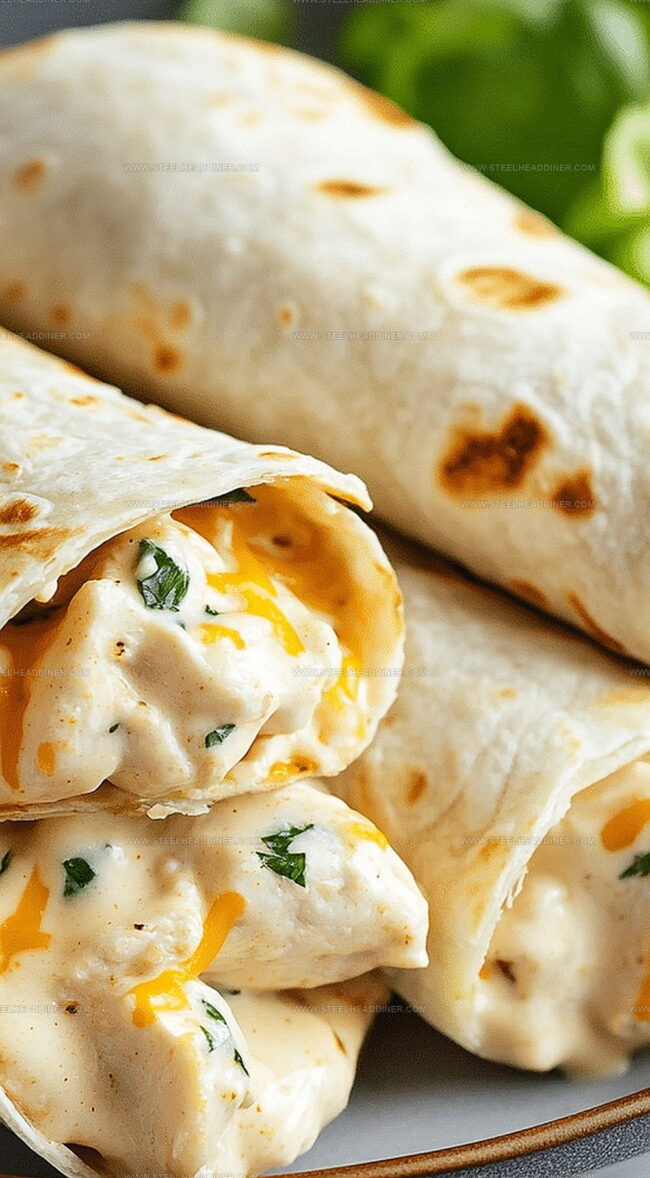
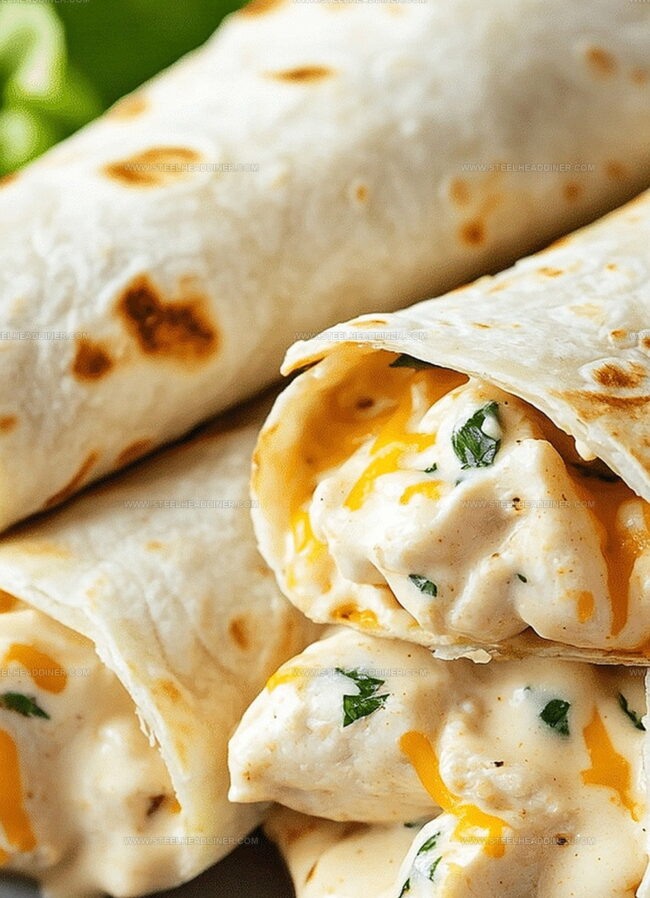
Crisp tortillas embrace succulent chicken seasoned with robust garlic notes.
Rich melted cheese adds unexpected depth to each bite.
Simplicity meets flavor in this quick meal that satisfies hunger and delights taste buds.
Home cooks can whip up these wraps faster than ordering takeout.
Fresh ingredients combine to create a meal bursting with comfort and zest.
You won’t believe how easily these wraps come together, making dinner both effortless and delicious.
Cheesy Garlic Chicken Wraps Overview
Ingredients for Cheesy Garlic Chicken Wraps
Main Protein:Dairy and Cheese:Aromatics and Seasonings:Wrap Base:Cooking Fat:Optional Garnish:Cooking Instructions for Cheesy Garlic Chicken Wraps

Step 1: Warm Up the Cooking Surface
Heat a skillet over medium heat and add olive oil or butter, allowing it to coat the bottom of the pan evenly.
Step 2: Awaken the Garlic Aroma
Toss in minced garlic and sauté until it releases its fragrant, mouth-watering scent, which typically takes about 30-60 seconds.
Step 3: Prepare the Protein
Add the shredded chicken to the skillet and season with:Stir the chicken around and cook until it’s thoroughly heated and slightly golden.
Step 4: Create the Cheesy Wrap Foundation
Place a soft tortilla into the skillet and sprinkle a generous layer of cheese across its surface.
Step 5: Assemble the Delicious Package
Spread the seasoned chicken mixture over half of the tortilla, then carefully fold the other half over to create a half-moon shape.
Step 6: Crisp and Melt
Cook the wrap for 2-3 minutes on each side, pressing gently with a spatula, until the tortilla turns a beautiful golden brown and the cheese melts completely.
Step 7: Finish and Serve
Transfer the wrap to a plate and optionally garnish with chopped fresh parsley.
Slice in half and serve immediately while hot and crispy.
Tips for Cheesy Garlic Chicken Wraps
Variations on Cheesy Garlic Chicken Wraps
Serving Ideas for Cheesy Garlic Chicken Wraps
Storage Guidelines for Cheesy Garlic Chicken Wraps
FAQs
Yes, rotisserie chicken works perfectly and saves time. Simply shred the chicken and follow the recipe as instructed.
Cheddar, mozzarella, or monterey jack cheese are excellent choices. They melt well and provide great flavor for the chicken wraps.
Use whole wheat tortillas, lean chicken breast, and reduce the amount of cheese. You can also add extra vegetables like spinach or bell peppers for more nutrition.
Absolutely! Kids love cheesy chicken wraps, and you can adjust the seasoning to make it mild and appealing to children’s taste preferences.
Print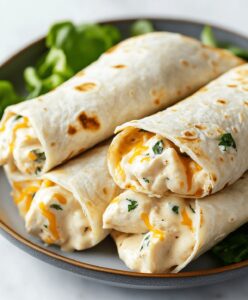
Cheesy Garlic Chicken Wraps Recipe
- Total Time: 16 minutes
- Yield: 4 1x
Description
Mouthwatering cheesy garlic chicken wraps bring Mediterranean flavors straight to your kitchen. Crisp tortillas stuffed with tender chicken, melted cheese, and zesty garlic create a quick, satisfying meal you’ll crave again and again.
Ingredients
Main Protein:
- 2 chicken breasts (cooked and shredded)
Cheese:
- 1 cup shredded cheese (cheddar or mozzarella)
Seasonings and Extras:
- 2 cloves garlic (minced)
- 4 tortillas
- 2 tablespoons olive oil or butter
- 1/2 teaspoon salt
- 1/4 teaspoon black pepper
- 2 tablespoons fresh parsley (optional)
Instructions
- Warm a skillet over medium heat and coat the surface with olive oil or butter for even cooking.
- Sauté minced garlic until its aromatic essence releases and fills the kitchen with a rich fragrance.
- Introduce shredded chicken to the skillet, seasoning with salt and pepper, and gently heat until thoroughly warmed.
- Position a soft tortilla in the skillet, creating a canvas for the upcoming flavor composition.
- Distribute cheese evenly across the tortilla’s surface, ensuring complete coverage for maximum melting potential.
- Carefully layer the seasoned chicken mixture over the cheese, preparing for a delectable transformation.
- Gently fold the tortilla, creating a half-moon shape that encapsulates the savory filling.
- Cook each side for 2-3 minutes, allowing the exterior to turn golden brown and crispy while the cheese melts into a creamy consistency.
- Remove from heat when the wrap achieves a perfect balance of crispness and gooey cheese texture.
- Optional: Sprinkle fresh parsley on top for a vibrant garnish that adds a touch of freshness.
- Serve immediately while the wrap is warm and the cheese remains delightfully melted.
Notes
- Experiment with different cheese varieties like sharp cheddar, pepper jack, or mozzarella for unique flavor profiles.
- Swap chicken with rotisserie or leftover grilled chicken to save preparation time and add extra flavor depth.
- For a low-carb version, replace tortillas with large lettuce leaves or use low-carb tortilla alternatives.
- Add extra nutrition by incorporating diced bell peppers, spinach, or corn into the chicken mixture for more texture and color.
- Prep Time: 10 minutes
- Cook Time: 6 minutes
- Category: Lunch, Dinner, Snacks
- Method: Sautéing
- Cuisine: American
Nutrition
- Serving Size: 4
- Calories: 350 kcal
- Sugar: 2 g
- Sodium: 450 mg
- Fat: 18 g
- Saturated Fat: 6 g
- Unsaturated Fat: 10 g
- Trans Fat: 0.5 g
- Carbohydrates: 25 g
- Fiber: 3 g
- Protein: 30 g
- Cholesterol: 70 mg
Jack Monroe
Founder & Recipe Innovator
Expertise
Pacific Northwest cuisine, Single-serving recipe development, Sustainable sourcing and cooking, Modern comfort food
Education
Brightwater
Associate of Applied Science in Culinary Arts
Focus: Sustainable cooking, seasonal ingredients, and food systems education
Jack grew up with a fishing rod in one hand and a cast-iron skillet in the other. After graduating from Brightwater: A Center for the Study of Food, he set out to prove that cooking for one could still taste like a feast.
Jack believes that food should feel real: fresh, fearless, and a little wild, just like the rivers he grew up around. For Jack, every single dish is a small adventure, and the best ones are the ones you can cook with heart, not hassle.