The Magic of Disneyland Peanut Butter Squares Recipe at Home
Sweet memories of childhood blend perfectly with these delectable Disneyland peanut butter squares that transport you straight to magical moments.
Theme park treats often spark nostalgic feelings of joy and wonder.
The creamy, rich flavors capture something truly special about classic desserts.
Recreating this beloved recipe allows you to bring a touch of Disney magic directly into your kitchen.
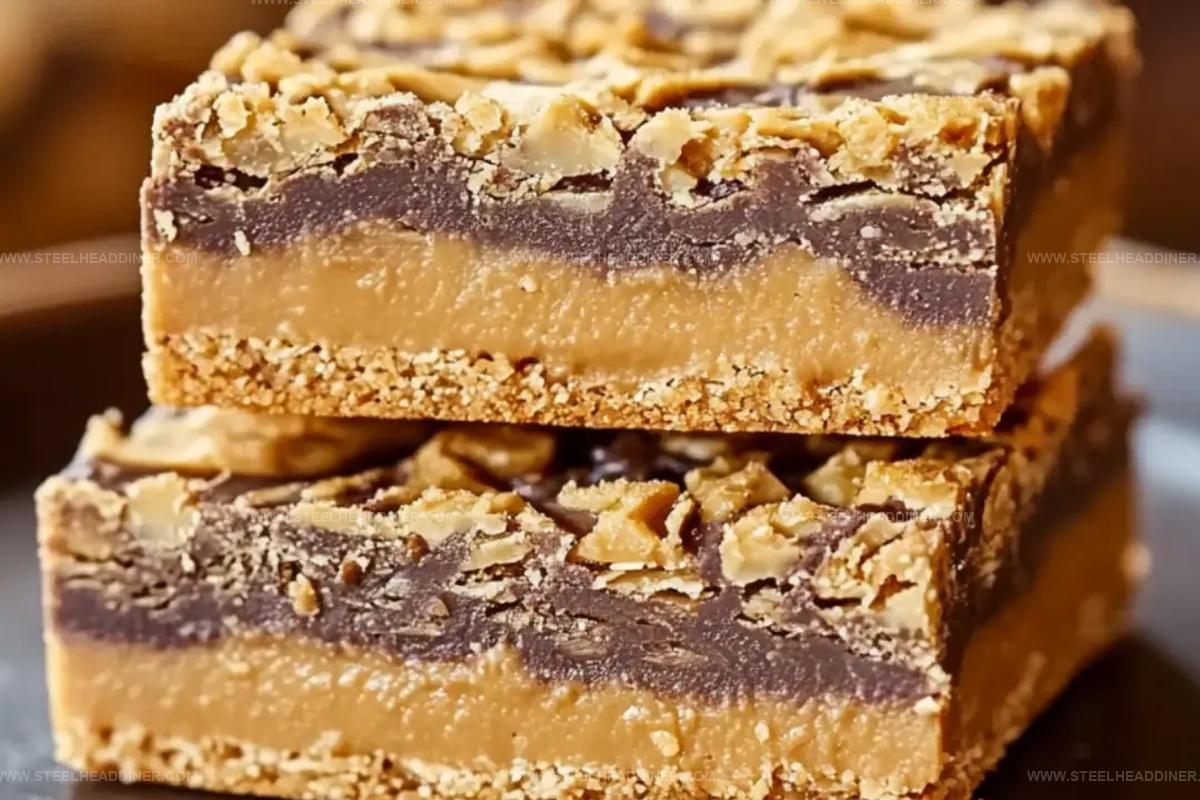
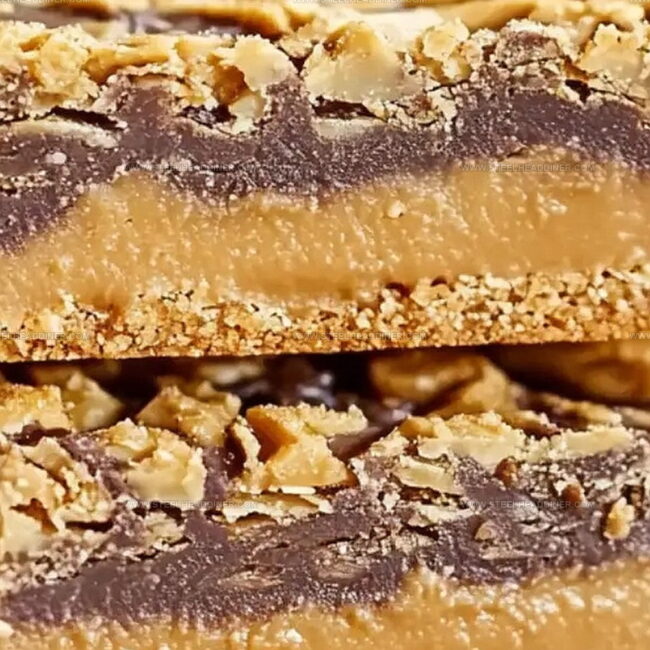
Layers of smooth peanut butter and sweet chocolate create an irresistible combination that everyone adores.
These squares promise to delight both kids and adults with their incredible taste and simple preparation.
Prepare to indulge in a dessert that brings happiness with every single bite.
Disneyland Peanut Butter Squares To Try
Ingredients For Disneyland Peanut Butter Squares
Base Ingredients:Binding and Flavor Ingredients:Preparation Ingredients:Making Disneyland Peanut Butter Squares Easily
Step 1: Prepare the Baking Surface
Grab a 9×13-inch glass baking dish and give it a quick spray of non-stick coating to ensure easy removal later.
Step 2: Create Graham Cracker Crumbs
Toss whole graham cracker sheets into a Ziploc bag and crush them into fine, sandy crumbs using a meat mallet or the bottom of a sturdy glass.
Set these magical crumbs aside for a crunchy topping.
Step 3: Craft the Peanut Butter Filling
In a spacious mixing bowl, combine:Blend these ingredients until they form a silky, smooth mixture.
Gradually fold in powdered sugar, stirring consistently until the filling becomes thick and luscious.
Step 4: Melt the Chocolate Coating
Select a microwave-safe bowl and add:Zap the mixture in 30-second bursts, stirring between each interval.
Continue until the chocolate transforms into a glossy, perfectly melted sauce. Be careful not to overheat.
Step 5: Build the Layered Masterpiece
Create a foundation by laying whole graham cracker sheets across the bottom of the prepared dish. Pour one-third of the melted chocolate, spreading it evenly to create a smooth base.
Use your hands to flatten the peanut butter mixture, covering the chocolate completely. Drizzle another third of chocolate over the peanut butter layer.
Add a second layer of graham crackers and finish with the remaining chocolate, ensuring an even, tempting surface.
Step 6: Chill and Garnish
Sprinkle the reserved graham cracker crumbs across the top for a delightful crunch.
Slide the dish into the refrigerator and let it set for at least an hour until firm and irresistible.
Step 7: Serve and Enjoy
Slice into perfect squares and savor the magic of these Disneyland-inspired treats!
Tips For Peanut Butter Squares

Flavor Twists For Disneyland Peanut Butter Squares
Presentation Ideas For Peanut Butter Squares
Storing Disneyland Peanut Butter Squares Properly
FAQs
The key ingredients are graham crackers, peanut butter, powdered sugar, butter, chocolate chips, and shortening. These create a delicious layered dessert with rich chocolate and creamy peanut butter flavors.
No, this recipe is quite simple and beginner-friendly. It requires basic mixing and layering skills, with no complicated cooking techniques. Anyone with minimal baking experience can successfully make these squares.
You can substitute creamy or crunchy peanut butter, use different types of chocolate chips, and even swap graham crackers for similar cookie bases. Just ensure the proportions remain consistent for the best results.
Print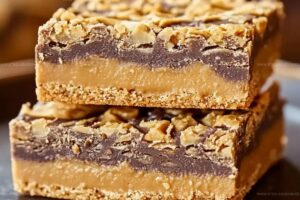
Disneyland Peanut Butter Squares Recipe
- Total Time: 20 minutes
- Yield: 16 1x
Description
Magical Disneyland Peanut Butter Squares blend nostalgic theme park memories with irresistible chocolate and peanut butter layers. Creamy, rich squares transport desert lovers straight to Disneyland’s sweet enchantment, promising pure indulgence with each delectable bite.
Ingredients
Protein & Dairy:
- 2 lbs ground breakfast sausage
- 16 ounces (453 grams) cream cheese (softened)
- 8 large eggs
- 2 cups shredded cheese
- 2 cups milk
Hashbrowns:
- 32 ounces (907 grams) frozen shredded hash brown potatoes
Seasonings:
- 14 teaspoons garlic powder
- 14 teaspoons onion powder
- Salt to taste
- Pepper to taste
Instructions
- Prepare a 9×13-inch glass baking dish with non-stick spray to create a clean surface for layering.
- Crush graham crackers into fine crumbs using a meat mallet or glass bottom, reserving some for final garnish.
- Create a silky peanut butter mixture by blending peanut butter, butter, vanilla, and salt until completely smooth.
- Gradually incorporate powdered sugar into the peanut butter mixture, stirring until fully integrated and uniform.
- Melt chocolate chips with shortening in a microwave, using 30-second intervals and stirring between each heating, until glossy and completely liquid.
- Construct the first layer by arranging graham crackers across the entire bottom of the prepared dish.
- Drizzle and spread one-third of the melted chocolate evenly over the graham cracker base.
- Carefully spread the peanut butter mixture across the chocolate layer, ensuring complete coverage.
- Pour another third of the melted chocolate over the peanut butter, creating a smooth surface.
- Add a second layer of graham crackers on top of the chocolate.
- Complete the dessert by pouring the remaining chocolate, spreading it uniformly across the top.
- Sprinkle reserved graham cracker crumbs as a decorative garnish.
- Refrigerate for at least 1 hour until the dessert is completely set and firm.
- Slice into neat squares and serve chilled.
Notes
- Ensure graham crackers are uniformly placed to create a stable base for the layers.
- Use room temperature ingredients to achieve a smoother, more consistent peanut butter filling.
- Melt chocolate carefully to prevent burning, stirring frequently and using short microwave intervals.
- For gluten-free version, substitute graham crackers with gluten-free crackers or almond flour-based cookies.
- Consider using dark chocolate for a richer flavor profile and lower sugar content.
- To reduce calories, swap full-fat butter with reduced-fat versions or Greek yogurt.
- Chill the dessert longer for firmer, easier-to-cut squares that hold their shape better.
- Store in an airtight container in the refrigerator for up to 5 days to maintain freshness and texture.
- Prep Time: 20 minutes
- Cook Time: 0 minutes
- Category: Snacks, Desserts
- Method: Chilling
- Cuisine: American
Nutrition
- Serving Size: 16
- Calories: 478
- Sugar: 1 g
- Sodium: 732 mg
- Fat: 36 g
- Saturated Fat: 13 g
- Unsaturated Fat: 19 g
- Trans Fat: 0.5 g
- Carbohydrates: 9 g
- Fiber: 1 g
- Protein: 28 g
- Cholesterol: 238 mg
Maya Thompson
Culinary Content Creator & Nutrition Enthusiast
Expertise
Healthy single-serving recipes, Meal prepping for individuals, Integrating nutrition into everyday cooking, Vegetarian and plant-based cuisine
Education
The Chef’s Academy at Harrison College
Associate of Applied Science in Culinary Arts
Focus: Nutrition, meal planning, and culinary techniques for healthy living.
Maya found her passion in the kitchen by mixing good food with good energy. After earning her culinary degree at The Chef’s Academy at Harrison College, she made it her mission to keep cooking simple, wholesome, and packed with flavor.
At Steelhead Diner, Maya shares easy, healthy recipes built for real life. For Maya, great food seems like a celebration of everyday moments, made better one fresh bite at a time.