The Ultimate Homemade Baked Mac And Cheese Recipe Everyone Loves
Creamy mac and cheese brings pure comfort to your dinner table with minimal effort and maximum satisfaction.
cheese lovers know this classic dish never disappoints hungry souls craving something warm and indulgent.
Pasta shapes like elbow macaroni create the perfect canvas for melted cheddar and rich dairy goodness.
Sharp cheese blends make ordinary meals extraordinary with just a few simple ingredients.
Kitchen magic happens when you combine pantry staples into something miraculous and delicious.
Cozy nights call for this ultimate crowd-pleasing recipe that will have everyone asking for seconds.
One bite promises to transport you straight to childhood memories of home-cooked happiness.
What Makes Baked Mac And Cheese Shine
What You Need For Baked Mac And Cheese
For the Pasta:For the Cheese:For the Base and Seasoning:For the Optional Topping:How To Cook Baked Mac And Cheese

Step 1: Warm Up The Oven
Crank your oven to a toasty 375°F (190°C). Grab a 9×13-inch baking dish and give it a light butter or cooking spray coating to prevent sticking.
Step 2: Cook Pasta Perfectly
Boil your elbow macaroni in salted water until tender and al dente. Once cooked, drain the pasta and set it aside, ready for its cheesy transformation.
Step 3: Create A Velvety Roux
In a large saucepan, melt butter over medium heat. Sprinkle in flour and whisk continuously for 1-2 minutes, creating a golden, smooth roux that will thicken your sauce.
Step 4: Pour In Creamy Milk
Slowly stream milk into the roux, whisking constantly to avoid lumps. Keep stirring until the mixture becomes thick and silky.
Step 5: Melt Cheese Wonderland
Add your cheese trio:Stir until the cheeses melt into a luxurious sauce. Season with:Step 6: Combine Pasta And Cheese
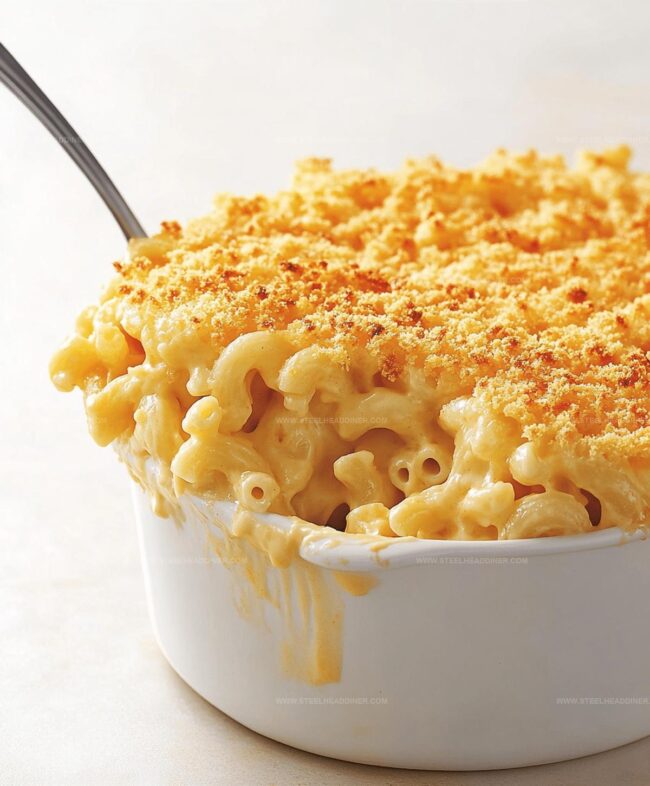
Fold the cooked macaroni into the cheese sauce, ensuring every noodle gets a perfect cheesy coating.
Transfer the mixture into your prepared baking dish.
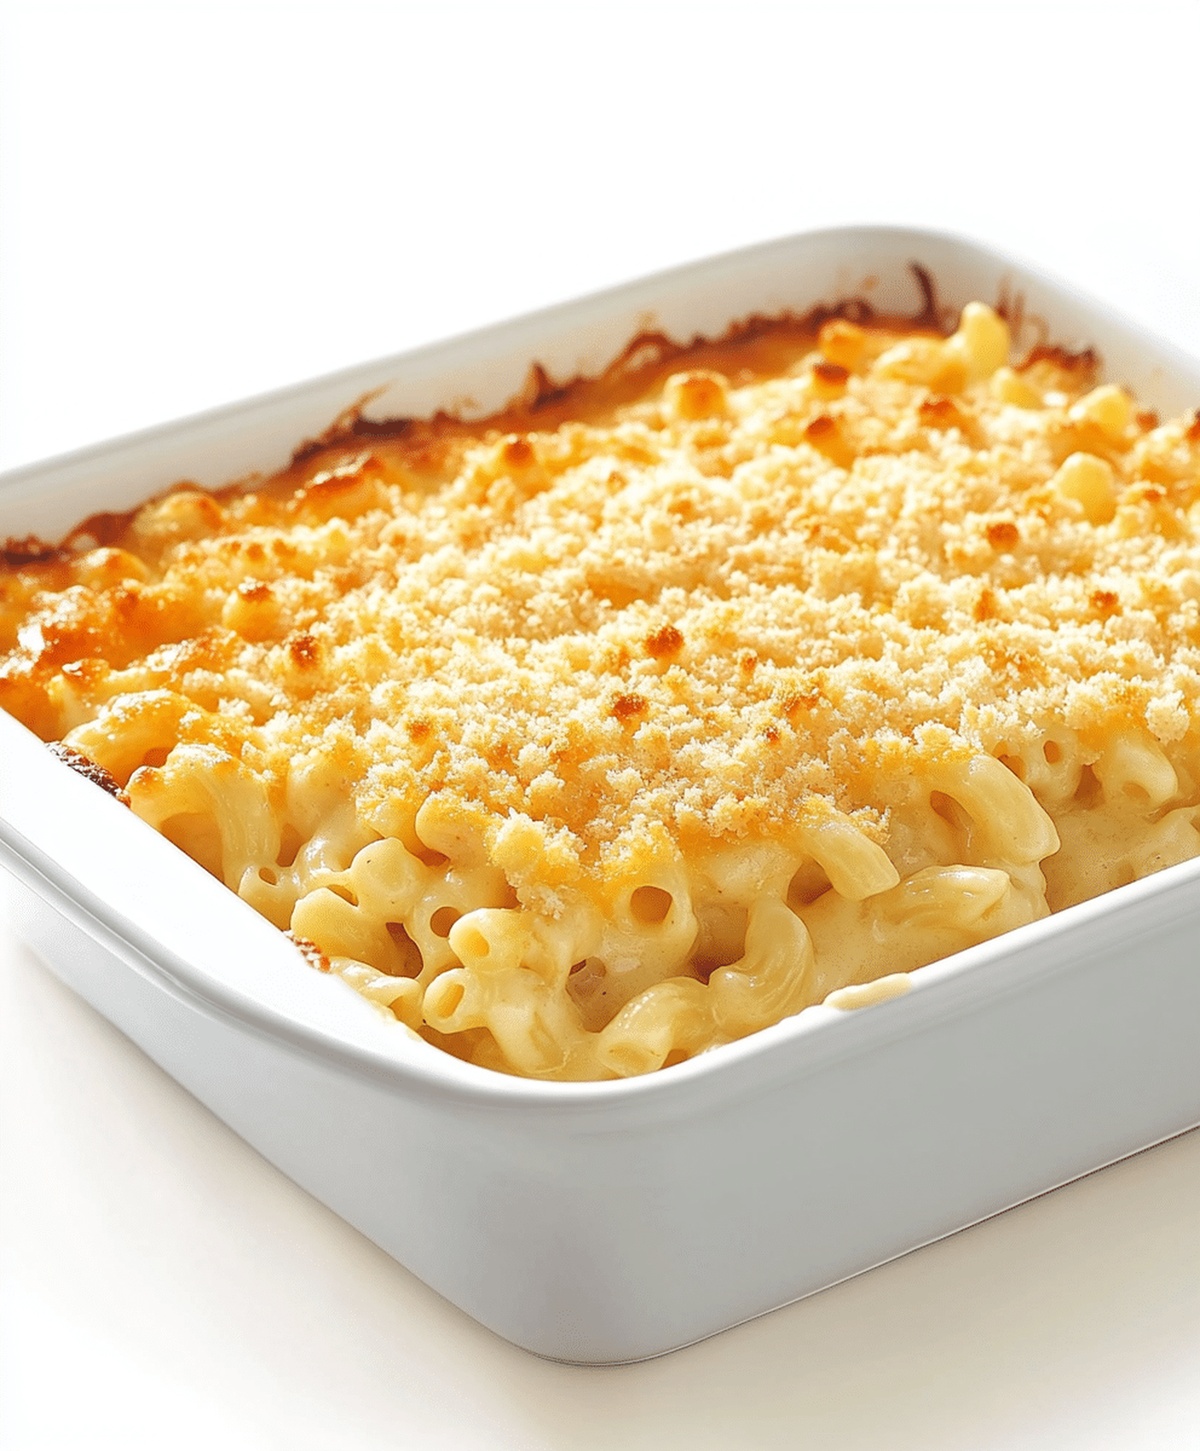
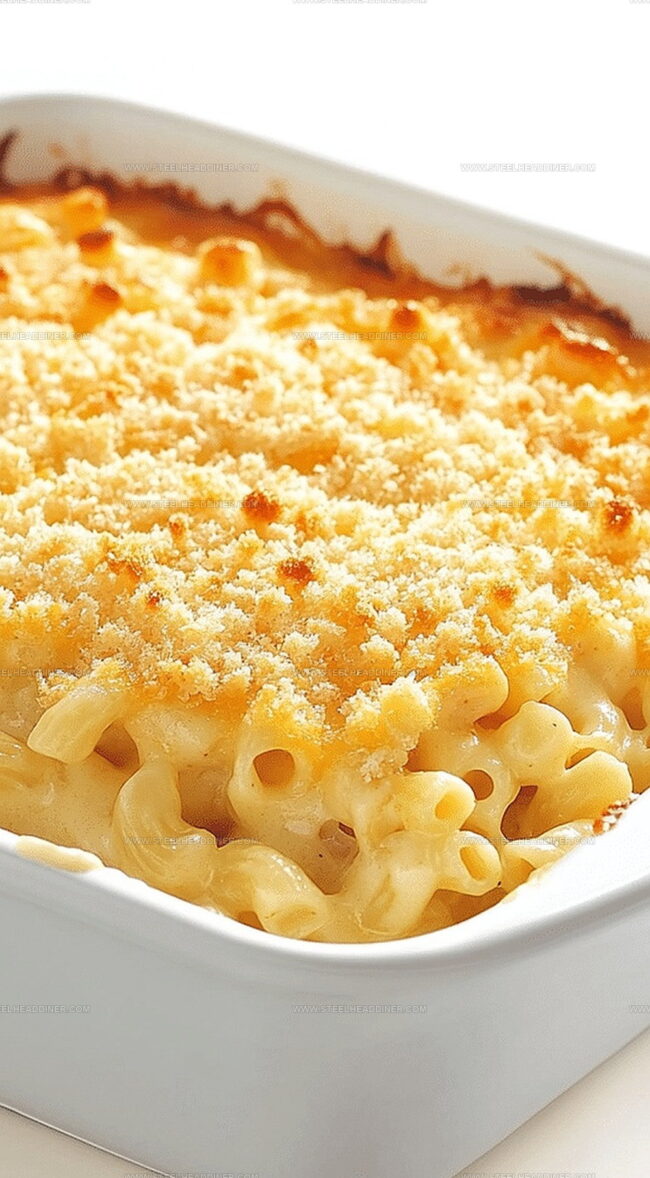
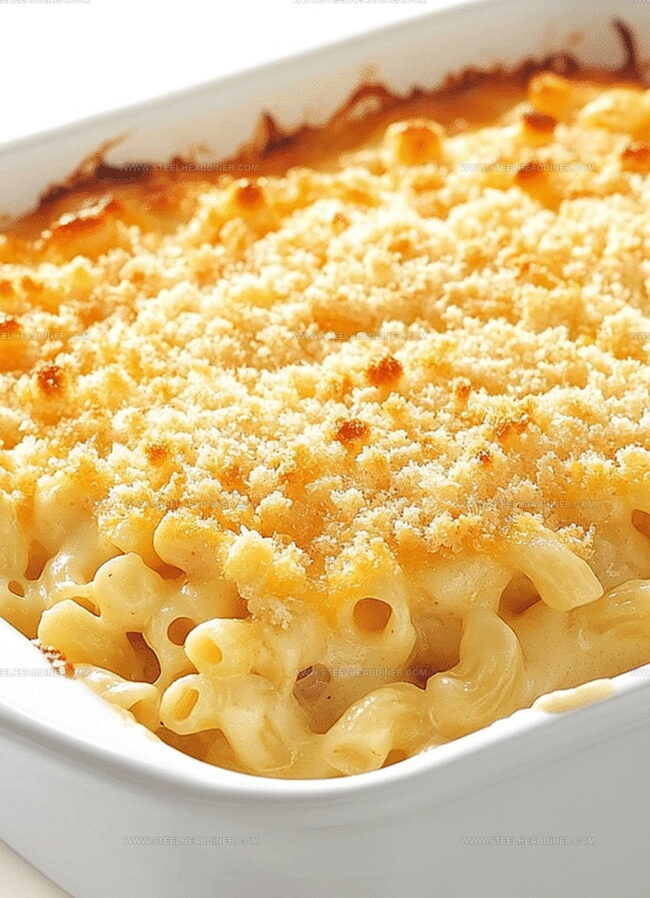
Step 7: Add Crunchy Topping
Mix panko breadcrumbs with melted butter.
Sprinkle this golden crumbly mixture evenly across the mac and cheese for a delightful crispy layer.
Step 8: Bake To Perfection
Slide the dish into the preheated oven.
Bake for 20-25 minutes until the top turns golden brown and the edges become bubbly and irresistible.
Step 9: Serve And Savor
Pull out your masterpiece, let it cool for a few minutes, then serve hot.
Enjoy the creamy, cheesy goodness with friends and family!
Handy Insights For Baked Mac And Cheese
Taste Tweaks For Baked Mac And Cheese
Best Pairings With Baked Mac And Cheese
Keeping Baked Mac And Cheese Fresh Longer
FAQs
Sharp cheddar provides the most flavor, while mozzarella adds creaminess and Parmesan brings a tangy depth. Combining these three cheeses creates a rich, complex taste that elevates the classic dish.
Yes, simply substitute regular flour with gluten-free flour and use gluten-free pasta. The breadcrumb topping can be replaced with gluten-free panko or omitted entirely.
Always add cheese to the sauce off the heat and stir until smooth. Use room temperature cheese and avoid overheating, which can cause the cheese to separate and become grainy.
Print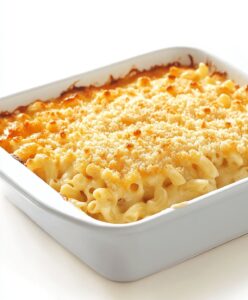
Homemade Baked Mac And Cheese Recipe
- Total Time: 45 minutes
- Yield: 6 1x
Description
Classic homemade baked mac and cheese recipe delights families with creamy, cheesy goodness. Rich cheddar and smooth bechamel sauce create a comforting meal you’ll crave again and again.
Ingredients
- 2 cups shredded cheddar cheese
- 1 cup shredded mozzarella cheese
- 1 cup grated Parmesan cheese
- 1 lb elbow macaroni
- 4 cups whole milk
- 4 tbsp unsalted butter
- 4 tbsp all-purpose flour
- 1/2 tsp garlic powder
- 1/2 tsp onion powder
- Salt and pepper to taste
- 1/2 cup panko breadcrumbs (optional for topping)
- 2 tbsp melted butter (optional for topping)
Instructions
- Preheat the oven to 375F (190C) and thoroughly coat a 9×13-inch baking dish with cooking spray or butter.
- Boil the elbow macaroni in salted water until al dente, following package directions. Drain completely and set aside.
- Create a roux by melting butter in a large saucepan over medium heat, then whisk in flour. Cook for 1-2 minutes, stirring continuously to prevent burning.
- Slowly stream milk into the roux, whisking vigorously to prevent lumps and create a smooth, thickening base.
- Incorporate cheddar, mozzarella, and Parmesan cheeses into the milk mixture, stirring until fully melted and achieving a velvety consistency.
- Season the cheese sauce with garlic powder, onion powder, salt, and pepper, adjusting to taste.
- Fold the cooked macaroni into the cheese sauce, ensuring each pasta piece is evenly coated.
- Transfer the cheesy macaroni mixture into the prepared baking dish, spreading it uniformly.
- Combine panko breadcrumbs with melted butter in a separate bowl, then sprinkle the mixture evenly across the top for a crispy golden crust.
- Bake for 20-25 minutes until the surface turns golden brown and the edges become bubbly.
- Remove from oven and let rest for 5 minutes before serving to allow the sauce to set slightly.
Notes
- Make the roux carefully by cooking flour and butter together, which helps prevent a grainy cheese sauce and creates a smooth, silky texture.
- Try different cheese combinations like sharp cheddar, gruyere, or gouda to add depth and complexity to the flavor profile.
- Use whole milk or even a mix of heavy cream and milk for an extra rich and creamy mac and cheese that feels indulgent and luxurious.
- For a gluten-free version, substitute regular flour with cornstarch or gluten-free flour blend, and use gluten-free breadcrumbs to maintain the classic crispy topping.
- Prep Time: 20 minutes
- Cook Time: 25 minutes
- Category: Lunch, Dinner, Snacks
- Method: Baking
- Cuisine: American
Nutrition
- Serving Size: 6
- Calories: 623
- Sugar: 4 g
- Sodium: 520 mg
- Fat: 33 g
- Saturated Fat: 20 g
- Unsaturated Fat: 12 g
- Trans Fat: 1 g
- Carbohydrates: 56 g
- Fiber: 2 g
- Protein: 32 g
- Cholesterol: 92 mg
Maya Thompson
Culinary Content Creator & Nutrition Enthusiast
Expertise
Healthy single-serving recipes, Meal prepping for individuals, Integrating nutrition into everyday cooking, Vegetarian and plant-based cuisine
Education
The Chef’s Academy at Harrison College
Associate of Applied Science in Culinary Arts
Focus: Nutrition, meal planning, and culinary techniques for healthy living.
Maya found her passion in the kitchen by mixing good food with good energy. After earning her culinary degree at The Chef’s Academy at Harrison College, she made it her mission to keep cooking simple, wholesome, and packed with flavor.
At Steelhead Diner, Maya shares easy, healthy recipes built for real life. For Maya, great food seems like a celebration of everyday moments, made better one fresh bite at a time.