The Sweetest Red Velvet Cookie Cups with Cream Cheese Frosting Recipe
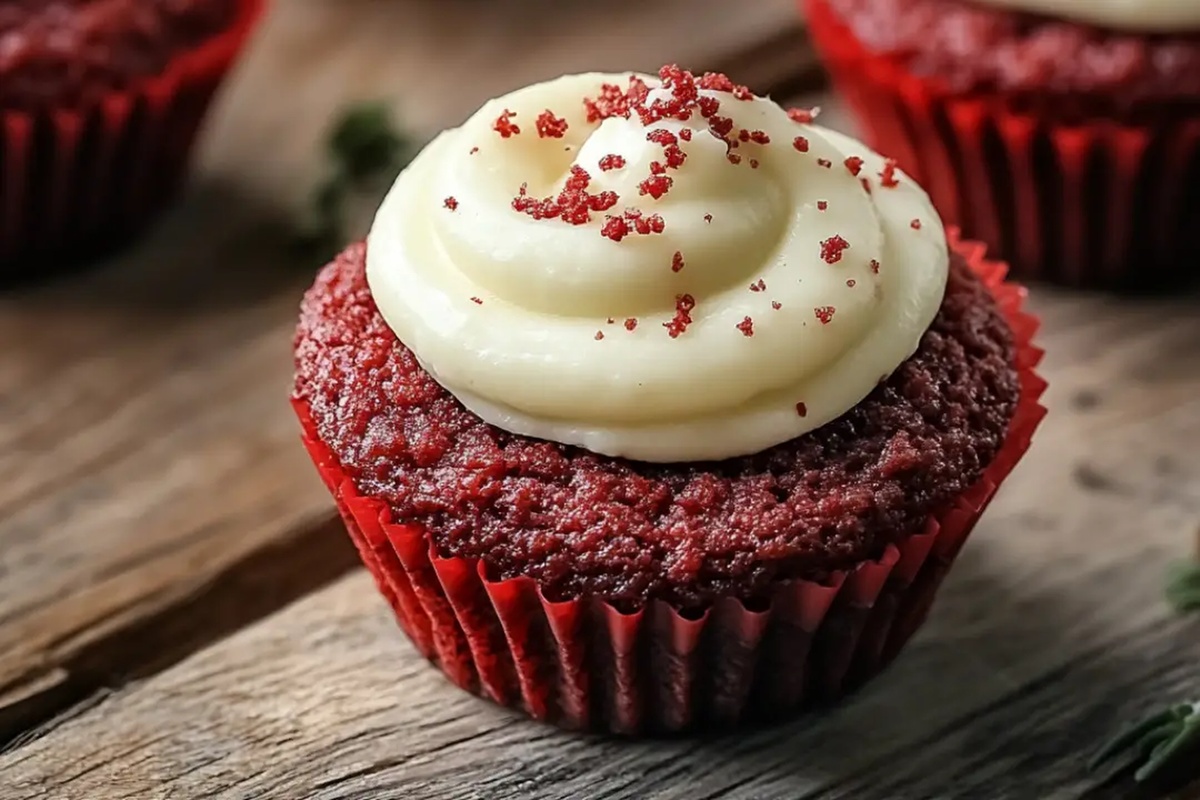
Sweet and decadent red velvet cookie cups with cream cheese frosting bring a delightful twist to classic dessert favorites.
These irresistible treats blend rich chocolate undertones with velvety smooth textures.
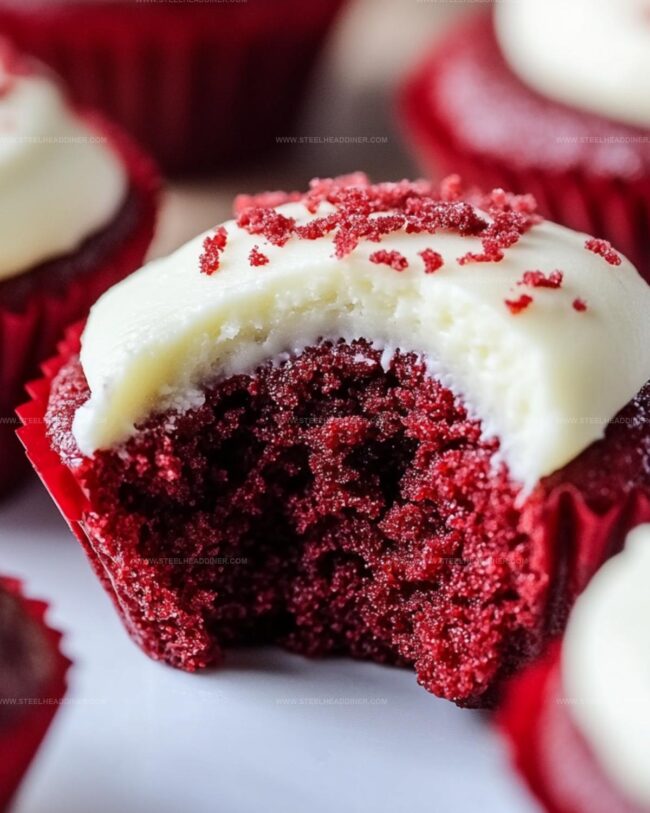
Soft, chewy cookie bases create perfect little vessels for creamy frosting.
Each bite delivers a luxurious combination of flavors that dance across your palate.
Crumbly yet moist cookies provide a stunning canvas for the tangy cream cheese topping.
Bakers of all skill levels can master this crowd-pleasing dessert with simple ingredients and straightforward techniques.
Prepare to impress your guests with these elegant and delectable miniature delights.
Red Velvet Cookie Cups with Cream Cheese Frosting
Ingredients for Red Velvet Cookie Cups
Cookie Base Ingredients:Frosting Ingredients:Decoration Ingredients:How to Make Red Velvet Cookie Cups with Frosting
Step 1: Warm Up the Oven
Crank your oven to a cozy 350F (175C) and give your mini muffin tin a quick spray of non-stick magic.
Step 2: Mix the Magical Dough
Grab a large mixing bowl and toss in:Stir everything until a soft, dreamy dough comes together.
Step 3: Fill the Muffin Tin
Scoop about a tablespoon of dough into each muffin cup. Gently press down to create a smooth, flat surface.
Step 4: Bake to Perfection
Slide the tin into the oven and bake for 10-12 minutes until the edges look just right.
Step 5: Shape the Cookie Cups
Right after pulling the tin out, grab a teaspoon or tart tamper.
Carefully press the center of each cookie to create adorable cup shapes.
Step 6: Cool Down
Let the cookie cups chill in the tin for 5 minutes, then transfer them to a wire rack to cool completely.
Step 7: Whip Up the Creamy Frosting
In a medium bowl, blend cream cheese and butter until silky smooth.
Step 8: Finish the Frosting
Slowly add in:Mix until the frosting becomes light and fluffy.
Step 9: Pipe the Frosting
Fill a piping bag with your creamy frosting. If you don’t have one, a zip-top bag with a snipped corner works perfectly.
Step 10: Decorate and Serve
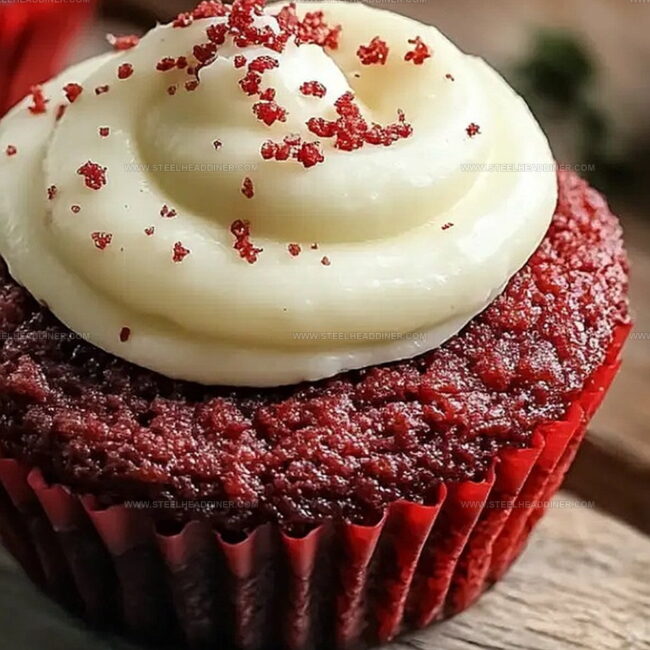
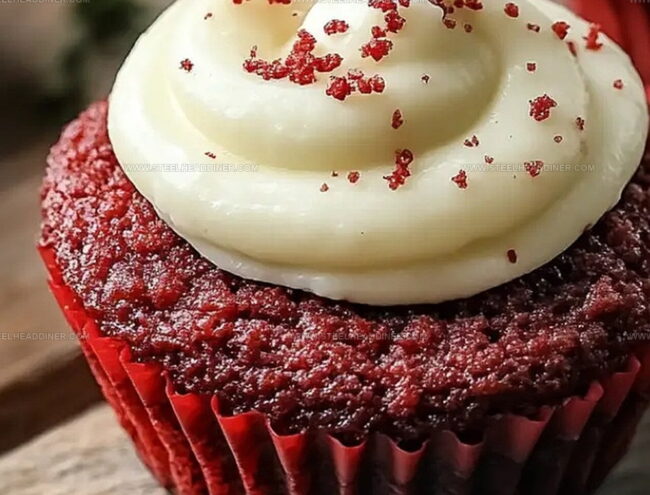
Swirl the frosting into each cooled cookie cup. Sprinkle with festive red and white decorations or cute heart-shaped candies.
Tips for Perfect Red Velvet Cookie Cups
Flavor Variations for Red Velvet Cookie Cups
Pairing Suggestions for Red Velvet Cookie Cups
Storage Tips for Red Velvet Cookie Cups
FAQs
You’ll need a red velvet cake mix, eggs, melted butter, vanilla extract, cream cheese, powdered sugar, and optional sprinkles or heart-shaped candies.
Yes, but you’ll need to adjust baking time and may get fewer cookie cups. A standard muffin tin will create larger cups that might require slightly longer baking.
Use the back of a teaspoon or a tart tamper to press down the center of each cookie immediately after baking, while they’re still hot and soft. This creates the cup shape before they cool and harden.
Print
Red Velvet Cookie Cups With Cream Cheese Frosting Recipe
- Total Time: 32 minutes
- Yield: 24 1x
Description
Indulgent Red Velvet Cookie Cups blend rich cocoa and cream cheese frosting into a delightful dessert sensation. Sweet crimson cookies cradle silky smooth frosting, promising pure bliss with each irresistible bite you’ll savor.
Ingredients
Cookie Cups:
- 1 box red velvet cake mix
- 2 large eggs
- 0.5 cup (118 milliliters) unsalted butter, melted
- 0.5 teaspoon vanilla extract
Cream Cheese Frosting:
- 8 ounces (226 grams) cream cheese, softened
- 0.5 cup (118 milliliters) unsalted butter, softened
- 2 cups (240 grams) powdered sugar
- 1 teaspoon vanilla extract
Decoration:
- Red sprinkles
- White sprinkles
- Mini heart-shaped candies (optional)
Instructions
- Preheat oven to 350F (175C) and thoroughly coat a mini muffin tin with non-stick spray to prevent sticking.
- Blend red velvet cake mix, eggs, melted butter, and vanilla extract in a large mixing bowl until a cohesive, soft dough develops.
- Distribute approximately one tablespoon of dough into each muffin cavity, gently pressing to create an even surface.
- Bake for 10-12 minutes, ensuring the cookie edges become firm and slightly golden.
- Immediately after removing from oven, use a teaspoon or tart tamper to create a cup-like indentation in the center of each warm cookie.
- Let cookie cups rest in the tin for 5 minutes, then delicately transfer to a wire rack for complete cooling.
- Whip cream cheese and butter together until achieving a smooth, uniform consistency.
- Incorporate powdered sugar and vanilla extract, mixing until the frosting becomes light and airy.
- Transfer frosting into a piping bag equipped with a star tip or a zip-top bag with a trimmed corner.
- Elegantly pipe a decorative frosting swirl into each fully cooled cookie cup.
- Embellish with festive red and white sprinkles or charming mini heart-shaped candies for a whimsical finishing touch.
Notes
- Swap cake mix for gluten-free alternatives to accommodate dietary restrictions, ensuring everyone can enjoy these sweet treats.
- Chill the dough briefly before scooping into muffin tins to prevent spreading and maintain perfect cup shapes.
- Use room temperature cream cheese and butter for smoother, lump-free frosting that pipes beautifully.
- Store cookie cups in an airtight container for up to 3 days, separating layers with parchment paper to preserve their delicate texture.
- Prep Time: 20 minutes
- Cook Time: 12 minutes
- Category: Desserts, Snacks
- Method: Baking
- Cuisine: American
Nutrition
- Serving Size: 24
- Calories: 209
- Sugar: 18 g
- Sodium: 121 mg
- Fat: 13 g
- Saturated Fat: 7 g
- Unsaturated Fat: 5 g
- Trans Fat: 0.2 g
- Carbohydrates: 22 g
- Fiber: 0.3 g
- Protein: 2 g
- Cholesterol: 37 mg
Maya Thompson
Culinary Content Creator & Nutrition Enthusiast
Expertise
Healthy single-serving recipes, Meal prepping for individuals, Integrating nutrition into everyday cooking, Vegetarian and plant-based cuisine
Education
The Chef’s Academy at Harrison College
Associate of Applied Science in Culinary Arts
Focus: Nutrition, meal planning, and culinary techniques for healthy living.
Maya found her passion in the kitchen by mixing good food with good energy. After earning her culinary degree at The Chef’s Academy at Harrison College, she made it her mission to keep cooking simple, wholesome, and packed with flavor.
At Steelhead Diner, Maya shares easy, healthy recipes built for real life. For Maya, great food seems like a celebration of everyday moments, made better one fresh bite at a time.