Easy & Juicy Grilled Cheese Patty Melts Recipe
Crafting the ultimate grilled cheese patty melts requires a delightful blend of comfort and creativity.
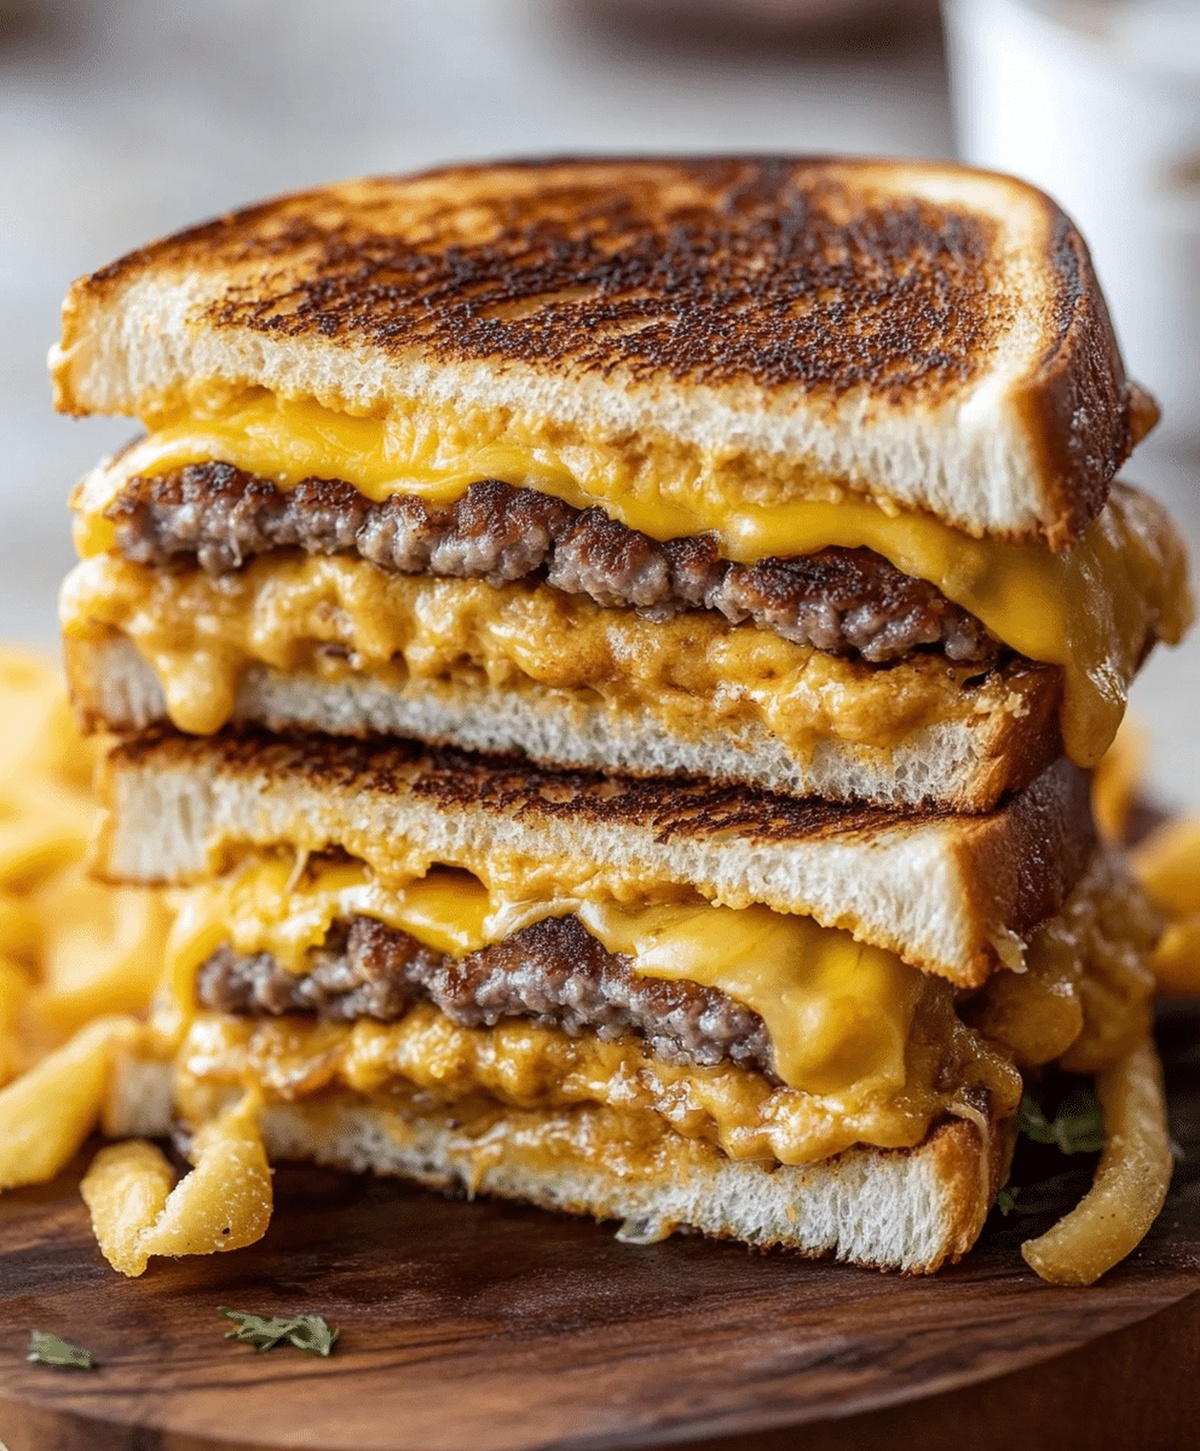
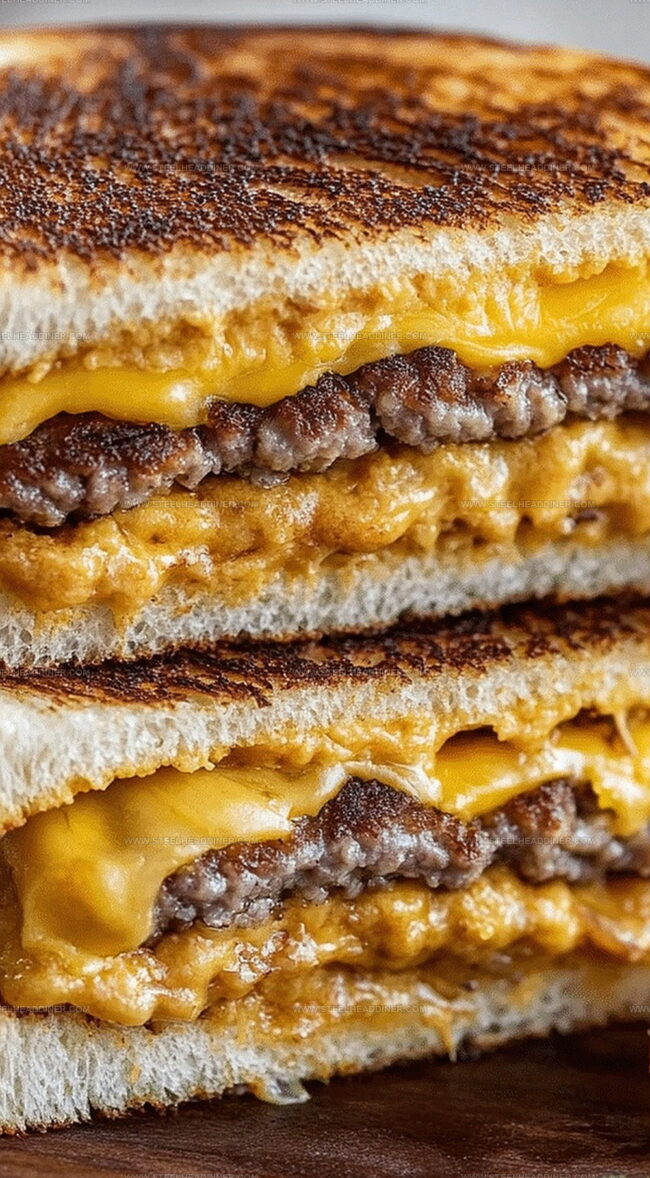
Crispy bread meets juicy beef in a sandwich that breaks all traditional rules.
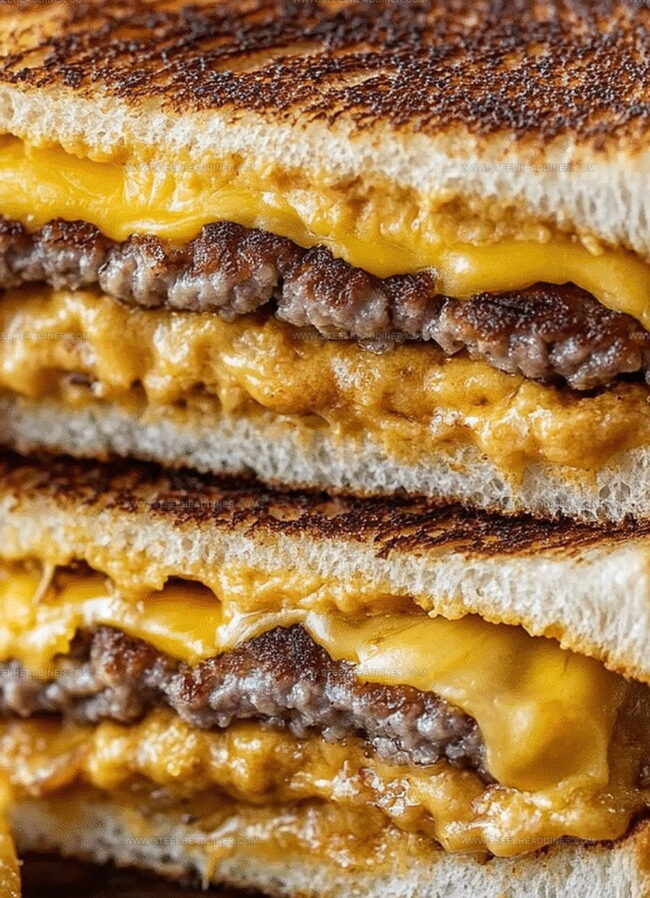
Melted cheese cascades between perfectly toasted sourdough slices, creating a mouthwatering masterpiece.
Layers of savory goodness promise a seriously satisfying meal that elevates the classic sandwich experience.
Each bite combines rich flavors and textures that dance across your palate.
Restaurants might charge a premium, but you can easily master this culinary magic at home.
Grab your skillet and prepare to become the neighborhood sandwich hero.
Why Grilled Cheese Patty Melts Are So Popular
Ingredients for Grilled Cheese Patty Melts
For the Meat:For the Seasonings:For the Dairy:For the Bread:For the Vegetable:How to Make Grilled Cheese Patty Melts
Step 1: Create Juicy Beef Patties
Mix ground beef with salt, pepper, garlic powder, and onion powder. Gently shape the meat into thin, even patties that will fit perfectly on your bread slices.
Press the center of each patty slightly to prevent bulging during cooking.
Step 2: Sear Meat to Perfection
Heat a heavy skillet over medium-high heat.
Cook patties for 3-4 minutes on each side until they develop a beautiful golden-brown crust and reach your desired doneness. Transfer cooked patties to a clean plate and let them rest.
Step 3: Slow-Cook Caramelized Onions
In the same skillet, melt butter and add sliced onions. Reduce heat to low-medium and cook slowly, stirring occasionally.
Allow onions to transform into sweet, golden-brown strands that will add incredible depth to your sandwich.
Step 4: Build Mouthwatering Sandwiches
Butter one side of each bread slice.
On the non-buttered side, layer:Top with the second bread slice, buttered side facing out.
Step 5: Grill to Golden Deliciousness
Place a skillet or griddle over medium heat.
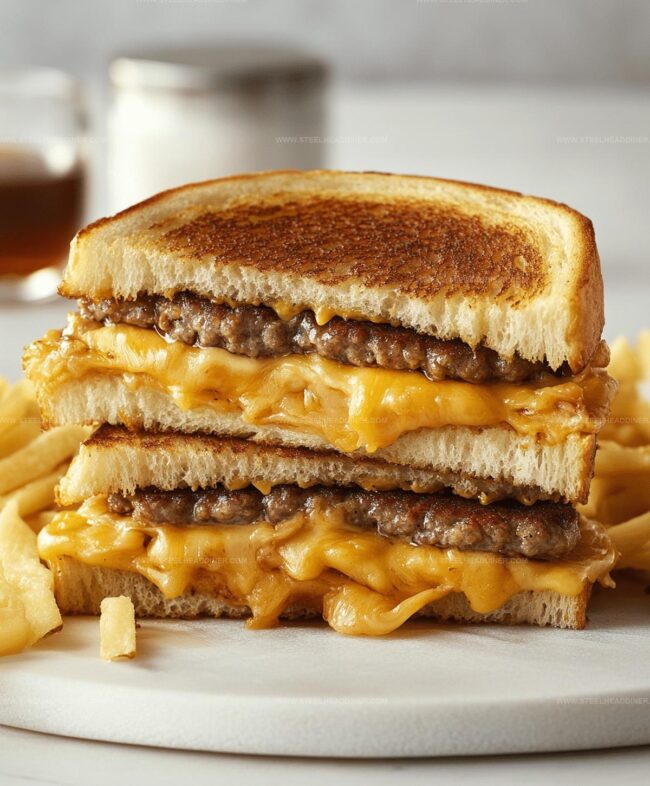
Carefully transfer sandwiches and cook until bread turns crispy and golden, and cheese melts into gooey perfection. Flip once and repeat on the other side.
Slice diagonally and serve immediately while hot and crispy.
Pro Tips for Grilled Cheese Patty Melts
Flavor Variations for Grilled Cheese Patty Melts
Serving Suggestions for Grilled Cheese Patty Melts
Storing Grilled Cheese Patty Melts Properly
FAQs
Ground chuck with 80/20 fat content provides the most flavor and juiciness for these sandwiches, ensuring a tender and rich-tasting patty.
Yes, you can prepare the seasoned patties up to a day in advance. Store them covered in the refrigerator, separated by parchment paper to prevent sticking.
Use a meat thermometer to check that the internal temperature reaches 160°F for safe ground beef consumption. For medium doneness, aim for 140-145°F.
Caramelized onions add a deep, sweet flavor that complements the savory beef and creates a more complex taste profile for the patty melt.
Print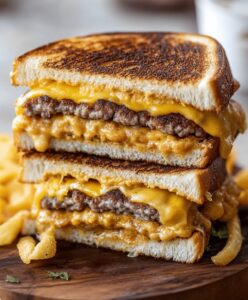
Grilled Cheese Patty Melts Recipe
- Total Time: 55 minutes
- Yield: 4 1x
Description
Cheesy grilled cheese patty melts combine hearty beef patties with melted swiss on toasted rye bread. Sizzling sandwiches deliver classic diner comfort with rich, savory flavors you’ll crave again and again.
Ingredients
- 8 slices of cheddar cheese
- 1 lb ground beef
- 8 slices of bread (sourdough or rye recommended)
- 1 large onion, thinly sliced
- 2 tablespoons butter (for cooking onions)
- 2 tablespoons butter (for grilling)
- 1 teaspoon salt
- 1/2 teaspoon black pepper
- 1/2 teaspoon garlic powder
- 1/2 teaspoon onion powder
- Optional: pickles, mustard, or any favorite toppings
Instructions
- Craft lean ground beef patties by blending salt, pepper, garlic powder, and onion powder. Shape into 4 delicate, thin discs ensuring uniform thickness.
- Sear patties in a hot skillet over medium-high heat for 3-4 minutes per side until thoroughly cooked. Transfer to a holding plate.
- Use the same skillet to transform onions into golden, sweet caramelized delights. Melt butter and cook onions on low-medium heat, stirring occasionally for 15-20 minutes until rich amber and silky.
- Prepare sandwich foundations by generously buttering bread exterior. Layer each sandwich with a cheese slice, perfectly cooked patty, luxurious caramelized onions, another cheese slice, then crown with a second buttered bread slice.
- Grill assembled sandwiches on a medium-heated skillet or griddle. Cook 3-4 minutes per side, rotating to achieve a crispy, golden-brown exterior and ensuring cheese melts into a creamy embrace. Serve piping hot for maximum flavor enjoyment.
Notes
- Choose lean ground beef for a healthier version of the patty melt, which reduces overall fat content without compromising flavor.
- Try different cheese varieties like Swiss, provolone, or smoked Gouda to create unique taste profiles and add depth to the sandwich.
- Season patties generously and let them rest at room temperature for 10 minutes before cooking to ensure even cooking and maximum flavor absorption.
- Use a cast-iron skillet for achieving the perfect golden-brown crust and developing rich caramelization on both the patties and bread slices.
- Prep Time: 10 minutes
- Cook Time: 45 minutes
- Category: Lunch, Dinner, Snacks, Appetizer
- Method: Grilling
- Cuisine: American
Nutrition
- Serving Size: 4
- Calories: 567 kcal
- Sugar: 2 g
- Sodium: 710 mg
- Fat: 39 g
- Saturated Fat: 18 g
- Unsaturated Fat: 19 g
- Trans Fat: 1 g
- Carbohydrates: 29 g
- Fiber: 2 g
- Protein: 33 g
- Cholesterol: 105 mg
Maya Thompson
Culinary Content Creator & Nutrition Enthusiast
Expertise
Healthy single-serving recipes, Meal prepping for individuals, Integrating nutrition into everyday cooking, Vegetarian and plant-based cuisine
Education
The Chef’s Academy at Harrison College
Associate of Applied Science in Culinary Arts
Focus: Nutrition, meal planning, and culinary techniques for healthy living.
Maya found her passion in the kitchen by mixing good food with good energy. After earning her culinary degree at The Chef’s Academy at Harrison College, she made it her mission to keep cooking simple, wholesome, and packed with flavor.
At Steelhead Diner, Maya shares easy, healthy recipes built for real life. For Maya, great food seems like a celebration of everyday moments, made better one fresh bite at a time.